AW11 Roof Racks
prusaprinters
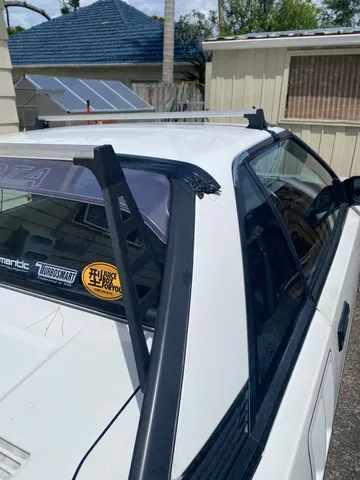
Print Details:Front Arm x2 - Print on the side with supportsFront Cap x2 Rear Spacer x4 Rear Top x2 Rear Bottom x2 Front Foot x2 - TPUParts 1-5 can be printed in your favorite heat-resistant flavor of filament, I used PA6-CF with good results.Part 6 is designed to be printed in a flexible filament like TPU.Other parts required:M6x20 Cap Head Bolt - x2M6x14 Cap Head Bolt - x8M6x 40 Cap Head Bolt - x430x25mm roof rack extrusion 3 metersM6 Rivet nut x2Tap threads in the Rear Top holes, and bolt the rear bottom to the rear using the 14mm cap Head bolts. Remove bolts from the rear trim and insert the spacer, use 40mm bolts to fix the rear bottom through the spacer onto the trim. Tap threads in the hole in Front Cap, use the 20mm bolts to secure the Front arm and use bolts to tension in place.Cut roof rack extrusion to size, using Front cap as guide drill hole and fit M6 Rivet nut in place, bolt through with 20mm bolts. Fit and tension.
With this file you will be able to print AW11 Roof Racks with your 3D printer. Click on the button and save the file on your computer to work, edit or customize your design. You can also find more 3D designs for printers on AW11 Roof Racks.