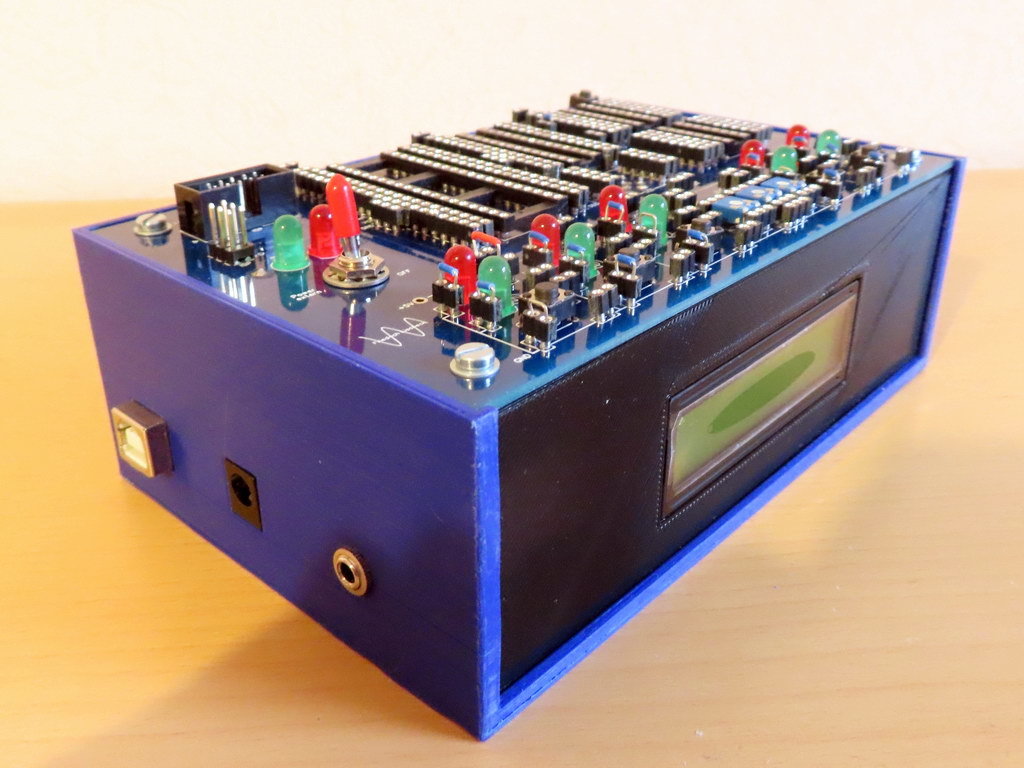
AVR evaluation Board Case
thingiverse
Housing for an AVR evaluation board This thing is the housing for an AVR evaluation board, which is used for programming different AVR types and then trying out the circuits to be developed. The description of the electronics and circuit boards, as well as their Gerber files, can be found at http://www.lischeck.de/AVR%20Programmer%20230121/AVR-Programmer2301.html This page is in german language. You can use babelfish for example for translation. https://www.babelfish.de The "ears" on the corners of the parts are used for better adhesion on the print bed and can easily be broken off after printing. You have to cut the threads yourself. The resolution of the printer is not sufficient to print the thread. If you don't have an M3 tap, just screw an M3 screw into the hole. Do not overtighten the screws when attaching the circuit boards, otherwise the thread will tear out. Remember: The material is only PLA and not high-strength steel. The front panel with the cut-out for the LCD display is printed separately and inserted into the housing. The large circuit board holds the front panel in place. Gehäuse für ein AVR- Entwicklungsboard Dieses thing ist das Gehäuse für ein AVR Evaluationsbord, das der Programmierung von unterschiedlichen AVR- Typen und dem anschließenden Ausprobieren der zu entwickelnden Schaltungen dient. Die Beschreibung der Elektronik und Platinen, sowie deren Gerberdateien, finden Sie unter http://www.lischeck.de/AVR%20Programmer%20230121/AVR-Programmer2301.html Die „Ohren“ an den Ecken der Teile dienen der besseren Haftung auf dem Druckbett und können nach dem Druck leicht abgebrochen werden. Die Gewinde müssen Sie selbst schneiden. Die Auflösung des Druckers reicht nicht aus das Gewinde zu drucken. Wenn Sie keinen Gewindebohrer M3 haben, drehen Sie einfach eine Schraube M3 in das Loch. Ziehen Sie die Schrauben beim Befestigen der Platinen nicht zu stark an, sonst reißt das Gewinde aus. Denken Sie daran: Das Material ist nur PLA und kein hochfester Stahl.Die Frontwand mit der Aussparung für das LCD- Display wird separat gedruckt und in das Gehäuse gesteckt. Die große Platine hält die Frontwand an ihrem Platz.
With this file you will be able to print AVR evaluation Board Case with your 3D printer. Click on the button and save the file on your computer to work, edit or customize your design. You can also find more 3D designs for printers on AVR evaluation Board Case .
