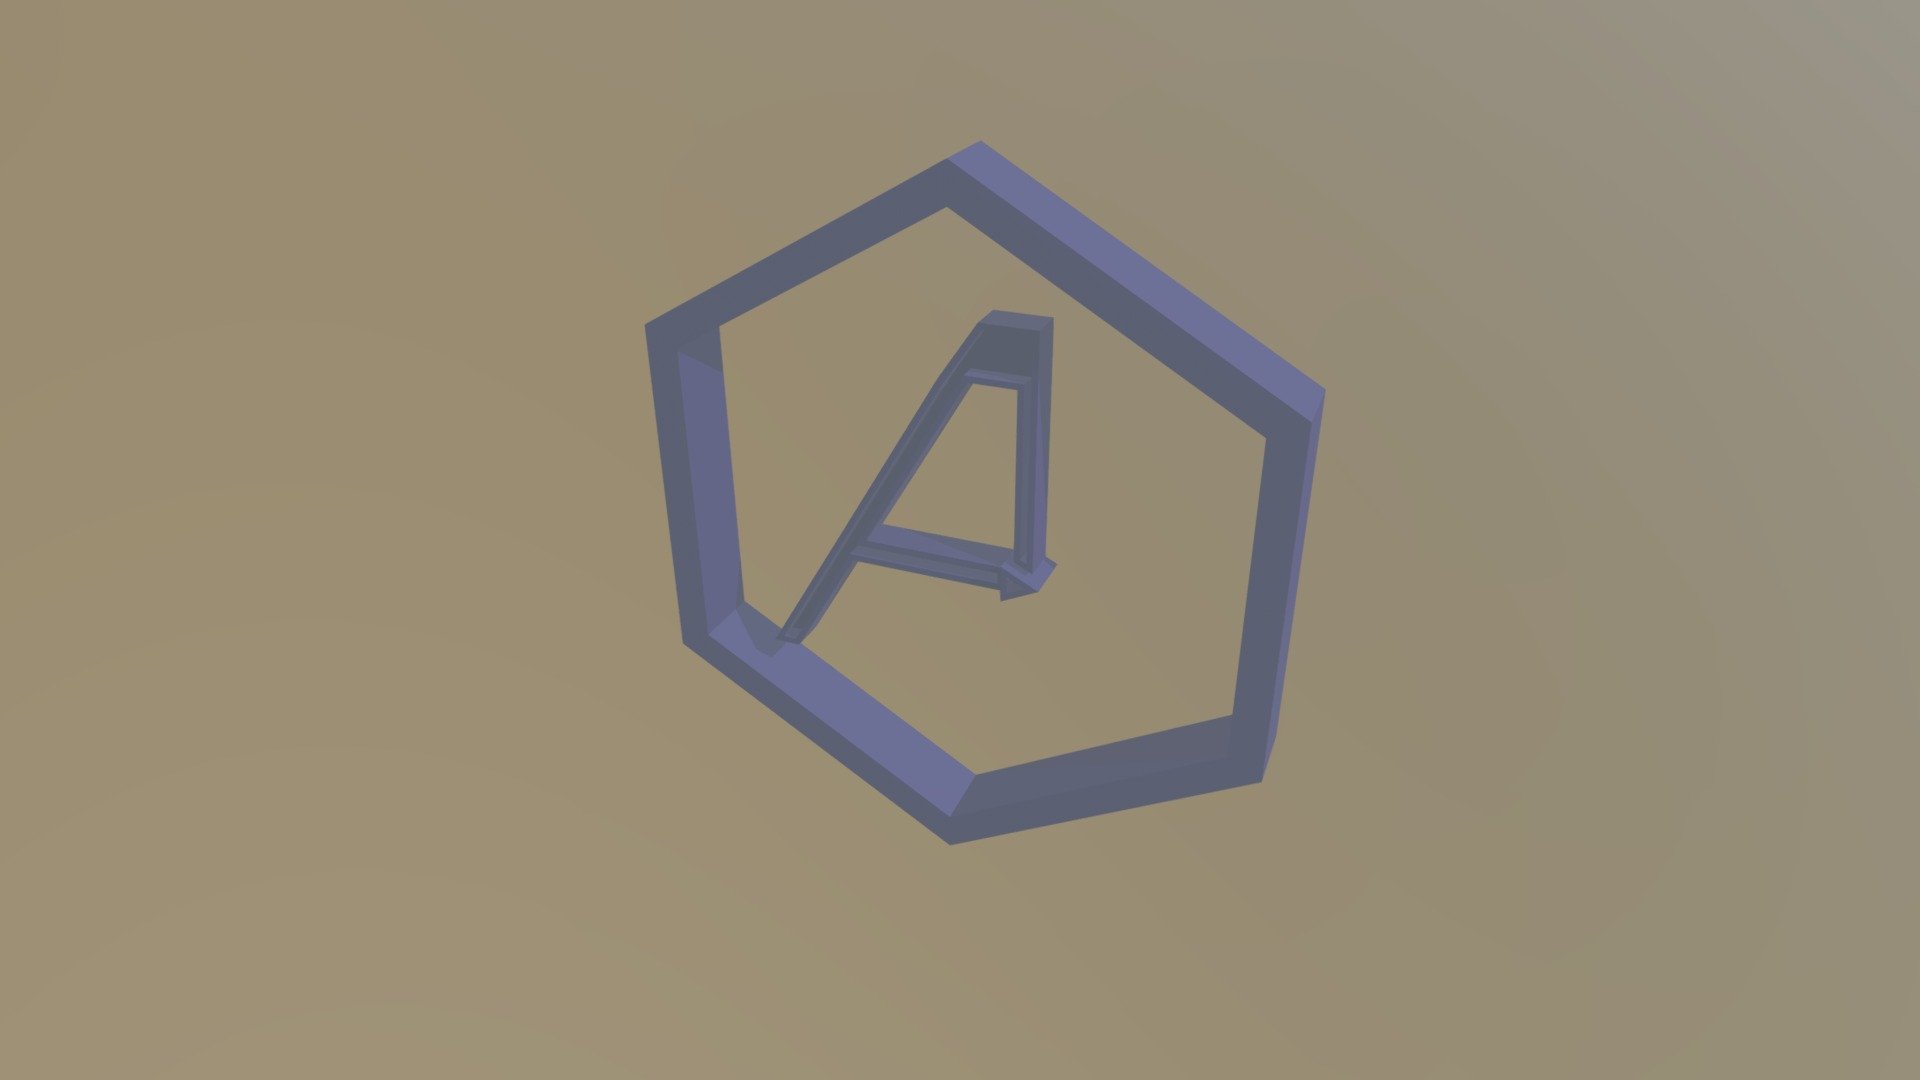
Avengers Logo
sketchfab
Creating a compelling Avenger logo in Blender requires meticulous attention to detail and a keen understanding of 3D modeling techniques. To begin, launch Blender and navigate to the 'New' option under the 'General' menu, selecting 'Cube' as the starting point for our design. Once the cube is loaded into the workspace, select the 'Edit Mode' button located at the top right corner of the screen to access its individual components. Clicking on each vertex will allow us to manipulate its position and create a unique Avenger emblem. With the vertices selected, use the 'Extrude Region' tool to create a raised surface that will serve as the foundation for our logo's intricate details. Next, switch to the 'Loop Cut and Slide Tool' to add texture and depth to the design by creating small cuts on the model. To give the Avenger emblem its characteristic curved shape, employ the 'Loop Cut and Slide Tool' once again, this time using it to create a smooth arc that connects the two ends of the cube. Experiment with different angles and shapes to achieve the desired look for your logo. Once satisfied with the overall design, use the 'Solidify' tool to thicken the model, giving it a more 3D appearance. This will also enable us to add further details such as lines or patterns that are characteristic of the Avenger emblem. To finalize our design, export it in a suitable format for your desired application, whether it's a business card, merchandise, or digital media.
With this file you will be able to print Avengers Logo with your 3D printer. Click on the button and save the file on your computer to work, edit or customize your design. You can also find more 3D designs for printers on Avengers Logo.
