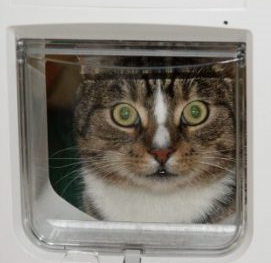
automatic cat flap
thingiverse
Here is a rewritten version of the text: Creating an affordable Arduino cat door using minimal hot glue requires these components: - Arduino Nano - Servo motor from RC car steering - 2-4 x 6mm M3 screws - SR04 ultrasonic sensor - 6 x 15mm wall mounting screws (not too thick, around 2mm is ideal) - A thick paperclip (1mm thick) - Your preferred method for attaching the hook to the flap To assemble this project: - Secure the sensor to the angled piece using hot glue. - Insert the M3 screws into the bottom of the nano holder and slide in the Arduino Nano. - Fit the servo motor into the largest piece and secure it with the M3 screws. - Straighten the paperclip. - Bend the paperclip at a 90-degree angle in the middle. - Slot a small amount of the clip's end through both ridges on the hook piece and bend one end closed. - Secure the other end of the clip to one end of the servo horn, ensuring it doesn't rotate. - Attach the hook to the flap securely. - Position the ultrasonic sensor above the flap. - Place the servo motor beside the flap at the top. - Locate the Arduino Nano wherever is most convenient. Programming instructions: - Connect the servo to pin D3. - Configure the ultrasonic sensor's trigger pin to D8 and its echo pin to D9. - Power the servo using the same power source as the Arduino Nano, avoiding the 5V pin.
With this file you will be able to print automatic cat flap with your 3D printer. Click on the button and save the file on your computer to work, edit or customize your design. You can also find more 3D designs for printers on automatic cat flap.