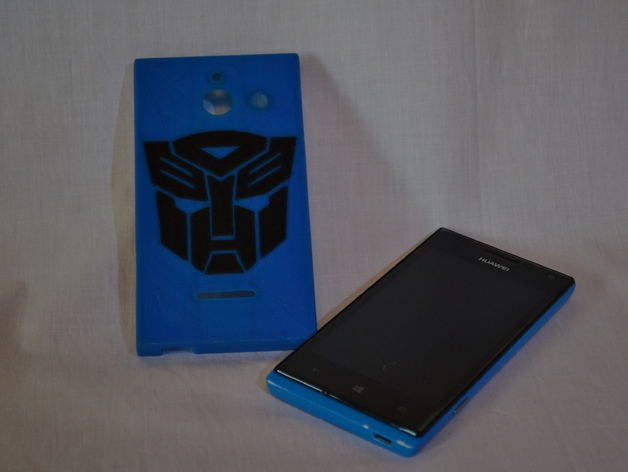
Autobot Huawei W1 case
thingiverse
This multi-colored case is printed on a single-extruder printer or even a dual-extruder one. To print this case with one extruder, you need to slice each part individually. Use the case file to position the logo on the printer bed - center it in your slicing software and use it as a reference for placing the other parts, then remove it before slicing. Next, modify the code: have the printer print two layers of one color, followed by two layers of another color, and so on. With my k8200 printer, two layers worked perfectly, but you may need to use only one layer with your printer. Remove any unnecessary layers from the code, making sure not to touch other important commands. Once you've prepared the codes, you can print: start by printing two layers of the case, then print two layers of the logo and continue alternating like this. This process may be time-consuming, but the result is well worth it. Be warned: these steps can be quite challenging! If there's already an object in the printer, your printer may crash. To avoid this, set the speed level very low - I successfully used a Velleman K8200 printer at low speed, but other printer types might not work as smoothly.
With this file you will be able to print Autobot Huawei W1 case with your 3D printer. Click on the button and save the file on your computer to work, edit or customize your design. You can also find more 3D designs for printers on Autobot Huawei W1 case.