Auto Leveling with Proximity sensor
thingiverse
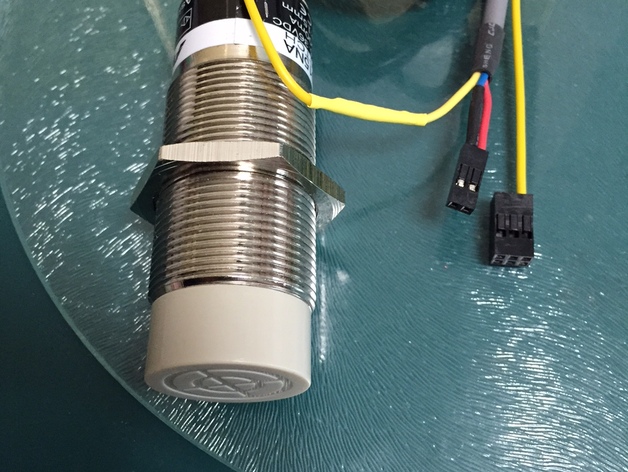
Proximity sensor is used, adapting it to RAMPS 5V with just a 1K ohm resistor. For proper pull-down schematics, please refer to the image below. Pulling the switch up with an extra wire would require careful measurement and a solid connection. If the wire is not fully seated or becomes loose over time, electrical shocks can occur. To create this setup, first locate your microswitch, a small mechanical switch commonly used in proximity sensors, on the PCB or a dedicated board near it. Cut a thin strip of the main circuitry board to expose the underlying tracks underneath, creating space for our wiring. Tighten a single 1K ohm resistor from RAMPS's power pin directly over the sensor signal line with one end firmly pressing into place using the copper baseboard for maximum strength and minimal wire movement. Next take the extra connection of your microswitch, strip it down so that only one copper strand is visible. You will then need to twist a wire or thin cable in half (around where you are twisting you can add more twisting pressure if needed, or just cut) and solder that cable over the spot we connected your 1K ohm resistor directly across, taking care not to accidentally damage anything underneath, as seen in Figure: [Thingiverse- Diagram]. After ensuring that everything is secure with good solder points it should now function normally - even when lifted at an angle while lifting, giving clear, readable data for any proximity sensing requirements without interference due purely to being positioned correctly against existing infrastructure components nearby
With this file you will be able to print Auto Leveling with Proximity sensor with your 3D printer. Click on the button and save the file on your computer to work, edit or customize your design. You can also find more 3D designs for printers on Auto Leveling with Proximity sensor.
