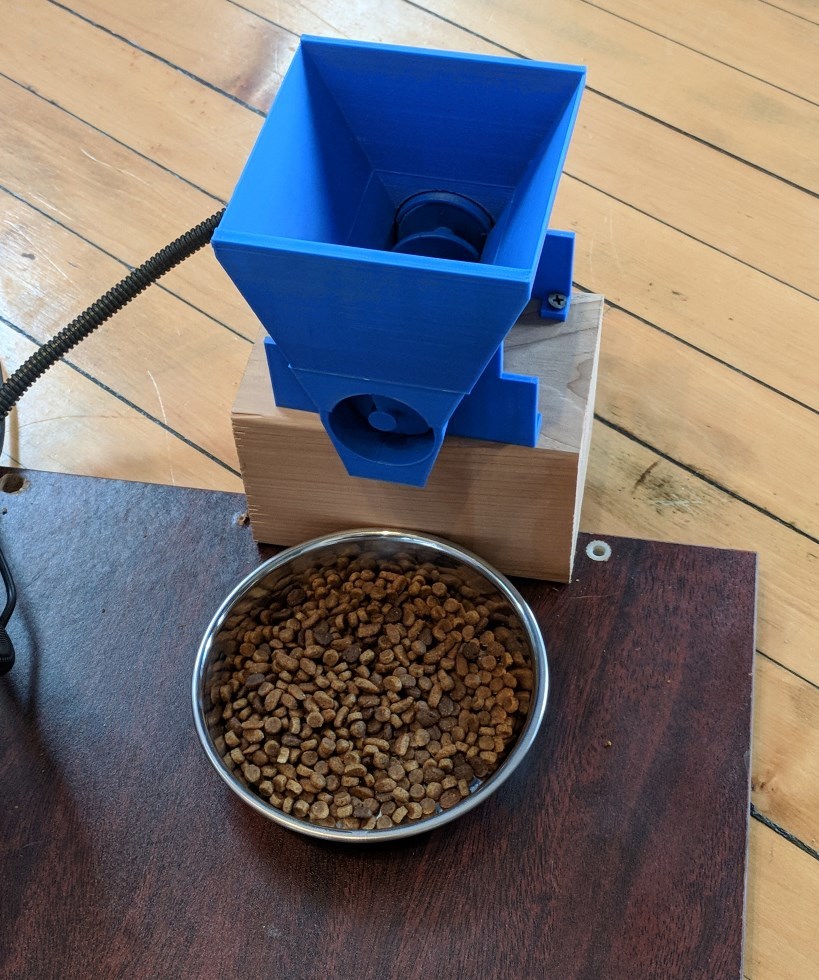
Auger feeder remix
thingiverse
This project began as a redesign to make the auger more printable by splitting it along its axis. The original design was challenging due to the constant overhang, making printing with support a frustrating task. The split model prints each side flat and is then glued together (you'll need to flip the halves upside down on their long sides before printing). This approach also makes the shaft significantly stronger. A small amount of glue, such as superglue or epoxy, is sufficient to join the two parts - the joint at the base is the most critical area. I didn't bother gluing each of the screw "threads." Instead, a ring is glued around the base to strengthen the glue joint against the force of the set screw (centered on the setscrew hole). As I progressed with the redesign, I also simplified the trough design by removing melt-in inserts. The motorplate fasteners are now a 5mm bolt and plain nut. Additionally, I significantly reduced the printing time and filament usage by minimizing solid volumes. The redesigned trough is in two pieces, mainly to allow for fitting checks before investing hours of print time. Dec 18 Revision: As I worked on getting this design functional, I made several changes to the files. These modifications primarily serve to prevent or at least minimize food debris from getting caught and stopping the motor. However, it's quite difficult to completely eliminate this issue, so I implemented a solution where the motor moves forward approximately 45 degrees and then reverses for 10, repeating as needed. When a piece of food gets stuck and stalls the stepper, the reversal helps dislodge it. The slanted plate is glued in place after other assembly and serves to prevent food from spilling out sporadically at the end. Initially, the dispensed amount was very uneven when the auger end was exposed. Now, I can dispense 33 grams (approximately 1/4 cup) within a gram or two using four full auger rotations. The slanted plate could potentially be integrated into the other components, but the hardware evolved as the project came together. For control, I used a Raspberry Pi, Pi Touchscreen, and Adafruit Stepper motor hat. The stepper motor was obtained from Amazon. The combination of the Adafruit hat and the relatively weak stepper turned out to be ideal. When a piece of food is caught, the stepper stalls rather than breaking the auger or trough.
With this file you will be able to print Auger feeder remix with your 3D printer. Click on the button and save the file on your computer to work, edit or customize your design. You can also find more 3D designs for printers on Auger feeder remix.
