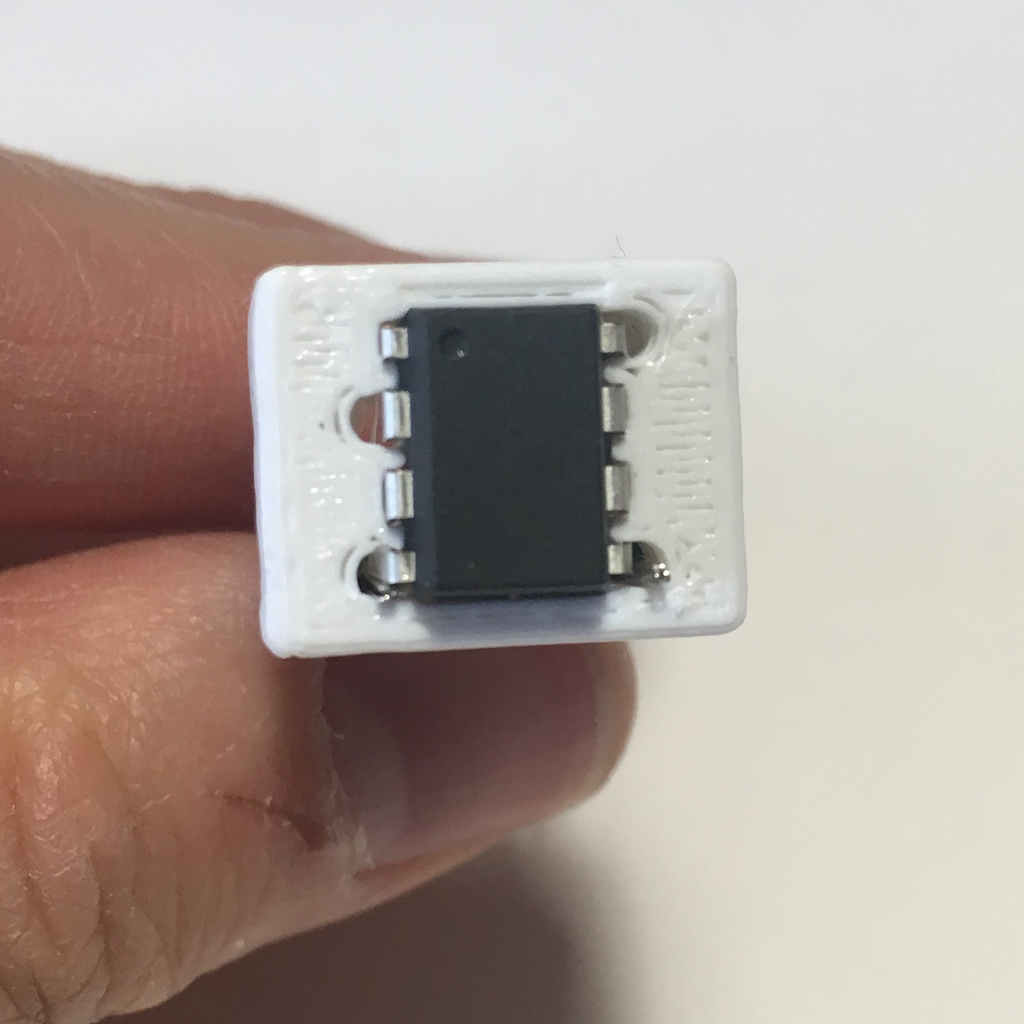
ATtiny85 Socket
thingiverse
This is a socket designed specifically for the ATtiny85, allowing you to connect directly to the microcontroller using jumper cables with a standard 0.1" header. This convenient setup enables you to bypass breadboards and wire components straight to your ATtiny, saving valuable space in your design. The ATtiny press-fits neatly into the top of the socket, while jumper cables can be fed from below. If needed, wires can also be threaded through the top of the socket for added flexibility. This socket exposes two programmable pins of the ATtiny (Pin 3/A3 and Pin 0), with Pin 0 functioning as a PWM pin. Accessible as well are the 5V and GND pins. Refer to the ATtiny pin diagram below for detailed information:  The image above is taken from Sparkfun's ATTINY AVR Programmer Guide, which can be accessed at https://learn.sparkfun.com/tutorials/tiny-avr-programmer-hookup-guide/attiny85-use-hints. ATinys are programmable using an Arduino Uno as a programmer or the Tiny AVR Programmer (highly recommended). For more information, see Sparkfun's guide. This model is also available on Tinkercad at https://www.tinkercad.com/things/cq0Y9GNLmTe.
With this file you will be able to print ATtiny85 Socket with your 3D printer. Click on the button and save the file on your computer to work, edit or customize your design. You can also find more 3D designs for printers on ATtiny85 Socket.
