AtreuSLB50+ rev1
prusaprinters
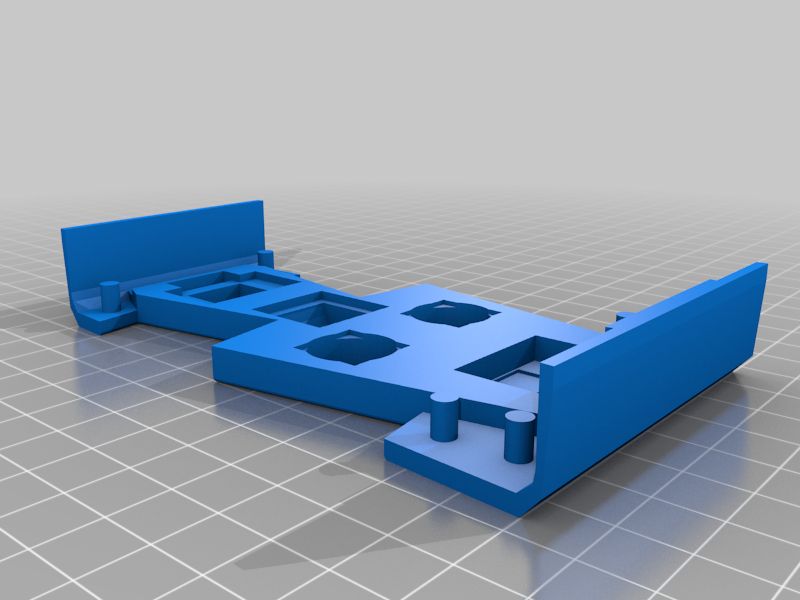
<h3>AtreuSLB50Plus / AtreuSLB50+ rev1</h3><p>Finally I had the time to wrap up my little side project started about three months ago, and I thought to share it here. Although inspired by the Atreus, I couldn't quite find the right compromise among the non-split ergo keyboards, so I decided to make my own.</p><h4>Features:</h4><ul><li>1x RP2040 (KMK on Raspberry Pi Pico), USB-C port</li><li>50x switches</li><li>1x SSD1306 128x64px 0.96in IIC OLED display</li><li>2x EC11 rotary encoders</li><li>1x EVQWGD001 rotary encoder</li><li>1x Pimoroni IIC trackball breakout</li><li>1x Active buzzer</li><li>2x micro switches (bootsel, reset)</li><li>3D printed case (5-10° tilt), plate, pcb</li></ul><p>I am slowly finalising the firmware configuration and I will eventually put it on github as usual. Wiring diagram and keyboard layout will come along later.</p><p>Name is lame, might change it later. That's all for now.</p><p>Reddit reference thread: <a href="https://www.reddit.com/r/ErgoMechKeyboards/comments/w3jflv/my_first_custom_keyboard_atreuslb50_is_completed/">AtreuSLB50+</a></p><h3>Print Settings</h3><p><strong>Printer Brand:</strong></p><p>Creality</p><p><strong>Printer:</strong></p><p>Ender 3</p><p><strong>Rafts:</strong></p><p>Doesn't Matter</p><p><strong>Supports:</strong></p><p>Yes</p><p><strong>Resolution:</strong></p><p>0.2</p><p><strong>Infill:</strong></p><p>15</p><p><strong>Filament:</strong>PLA<br> </p><p><strong>Notes:</strong></p><p> </p><p>If printed in the recommended orientation, supports are only needed for the bottom plate.<br>Feel free to print in the orientation that best suits the quality results of your printer.</p><h3>Post-Printing</h3><p>M3 hex bolts and inserts are needed to put the case together.</p><p>I also melted the two bottom halves together with a soldering iron.</p><h3>How I Designed This</h3><p>The design started from a semi-automated customised process by forking an OpenSCAD hotswap pcb generator repository, subsequently heavily worked on Blender. I had also added cutouts for per-key rgb, but in the end I gave up the idea of hand wiring the LEDs. At least in this version which, for me, has been an insightful experience.</p><h3>Some Photographs</h3><p><img src="https://cdn.thingiverse.com/assets/c7/66/1e/8b/c2/e56d2f8d-51ef-4e49-99d9-09ec70a22736.png"></p><p><img src="https://cdn.thingiverse.com/assets/d8/96/0e/4b/a9/f24ff679-9c07-4fb5-bd56-5dec31ca9f4a.png"></p><p><img src="https://cdn.thingiverse.com/assets/51/a1/7c/e0/57/5c7b7823-352e-4dfd-9c66-9abcebc8d799.png"></p><p><img src="https://cdn.thingiverse.com/assets/c3/50/40/1b/25/b9ba6810-9314-4a36-bd20-b60cd568fc61.png"></p><p><img src="https://cdn.thingiverse.com/assets/65/27/e9/e6/b9/1907563f-22fb-40ef-9e0a-e11c40321e31.png"></p><p><img src="https://cdn.thingiverse.com/assets/a0/86/2a/52/8c/fbe69b24-d7b2-4e21-8024-efbd855db3a4.png"></p><p><img src="https://cdn.thingiverse.com/assets/25/c1/a9/15/54/f19934e3-68e2-46ef-8f4b-986e7aa0b788.png"></p><p><img src="https://cdn.thingiverse.com/assets/0a/1b/bb/a8/78/e3025753-e275-4087-bce7-c0a4788fa423.png"></p><p><img src="https://cdn.thingiverse.com/assets/4a/03/98/be/e1/c3b6d116-aa10-40dd-92a2-2cc1e5171727.png"></p><p><img src="https://cdn.thingiverse.com/assets/d5/7e/21/96/cd/543a61a1-87cd-4cf0-b168-7b0a3938619d.png"></p><p><img src="https://cdn.thingiverse.com/assets/e4/e4/03/3f/bf/4e82a816-8a10-4e55-bf5b-3e80cdc4f66e.png"></p><p><img src="https://cdn.thingiverse.com/assets/bb/04/09/53/89/063048c8-b1cb-4f8f-a924-87d58577037c.png"></p><p><img src="https://cdn.thingiverse.com/assets/0e/52/c9/c8/f9/483f896a-f955-4c7d-9af5-fcbce5886905.png"></p><p> </p><p> </p><p> </p><p> </p><p>Category: Computer</p>
With this file you will be able to print AtreuSLB50+ rev1 with your 3D printer. Click on the button and save the file on your computer to work, edit or customize your design. You can also find more 3D designs for printers on AtreuSLB50+ rev1.