Atomic Pi with dev board case
myminifactory
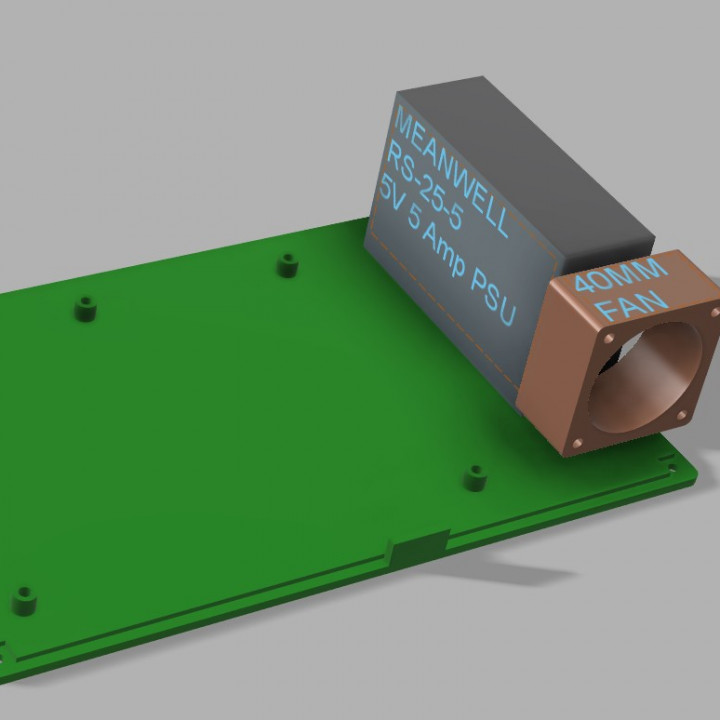
A case for the Atomic Pi with full-sized dev board. FAIR WARNING: Assembly is not simple. I designed this case for me and my wants. I wanted extremely tight tolerances so it IS a bit of a chore to assmeble. You will likely need to ream some of teh screw through holes. Also, you are probably best off putting all the panel mount parts in and then connecting to the board and _then_ screwing on the bottom rather than screwing the board to the bottom before insertion (although this is possible with some creating bending of the case). The fint panel will allow you to get the HDMI plugged in or you can skip the panel-mount HDMI and remove this panel to get to the HDMI port if you're running it headless. The logo is a spearate object and is therefore optional. I left the screw holes off for the HDMI panel-mount as the spacing varies for various brands. Parts to fully build the case: 1 - panel-mount HDMI adapter with 90-degree down angle plug - I used Poyiccot HDMI Panel Mount 90 Degree Down Angle smile.amazon.com/gp/product/B08BJKWNV41 - panel-mount AC socket - I used Monosaudio Pure Copper AC Power Socket smile.amazon.com/dp/B0832GF1YG1 - Meanwell RS-25-5 5V 5 Amp Power Supply 1 - 40mm fan - I used Noctua NF-A4x20 smile.amazon.com/gp/product/B071W933331 - 18-20mm round panel-mount switch2 - wifi antennas with panel-mount U.FL IPEX MHF4 to RP SMA connectors. You can use any. but you need at least 20mm cable leangth. I used smile.amazon.com/gp/product/B07QKF18KM
With this file you will be able to print Atomic Pi with dev board case with your 3D printer. Click on the button and save the file on your computer to work, edit or customize your design. You can also find more 3D designs for printers on Atomic Pi with dev board case.
