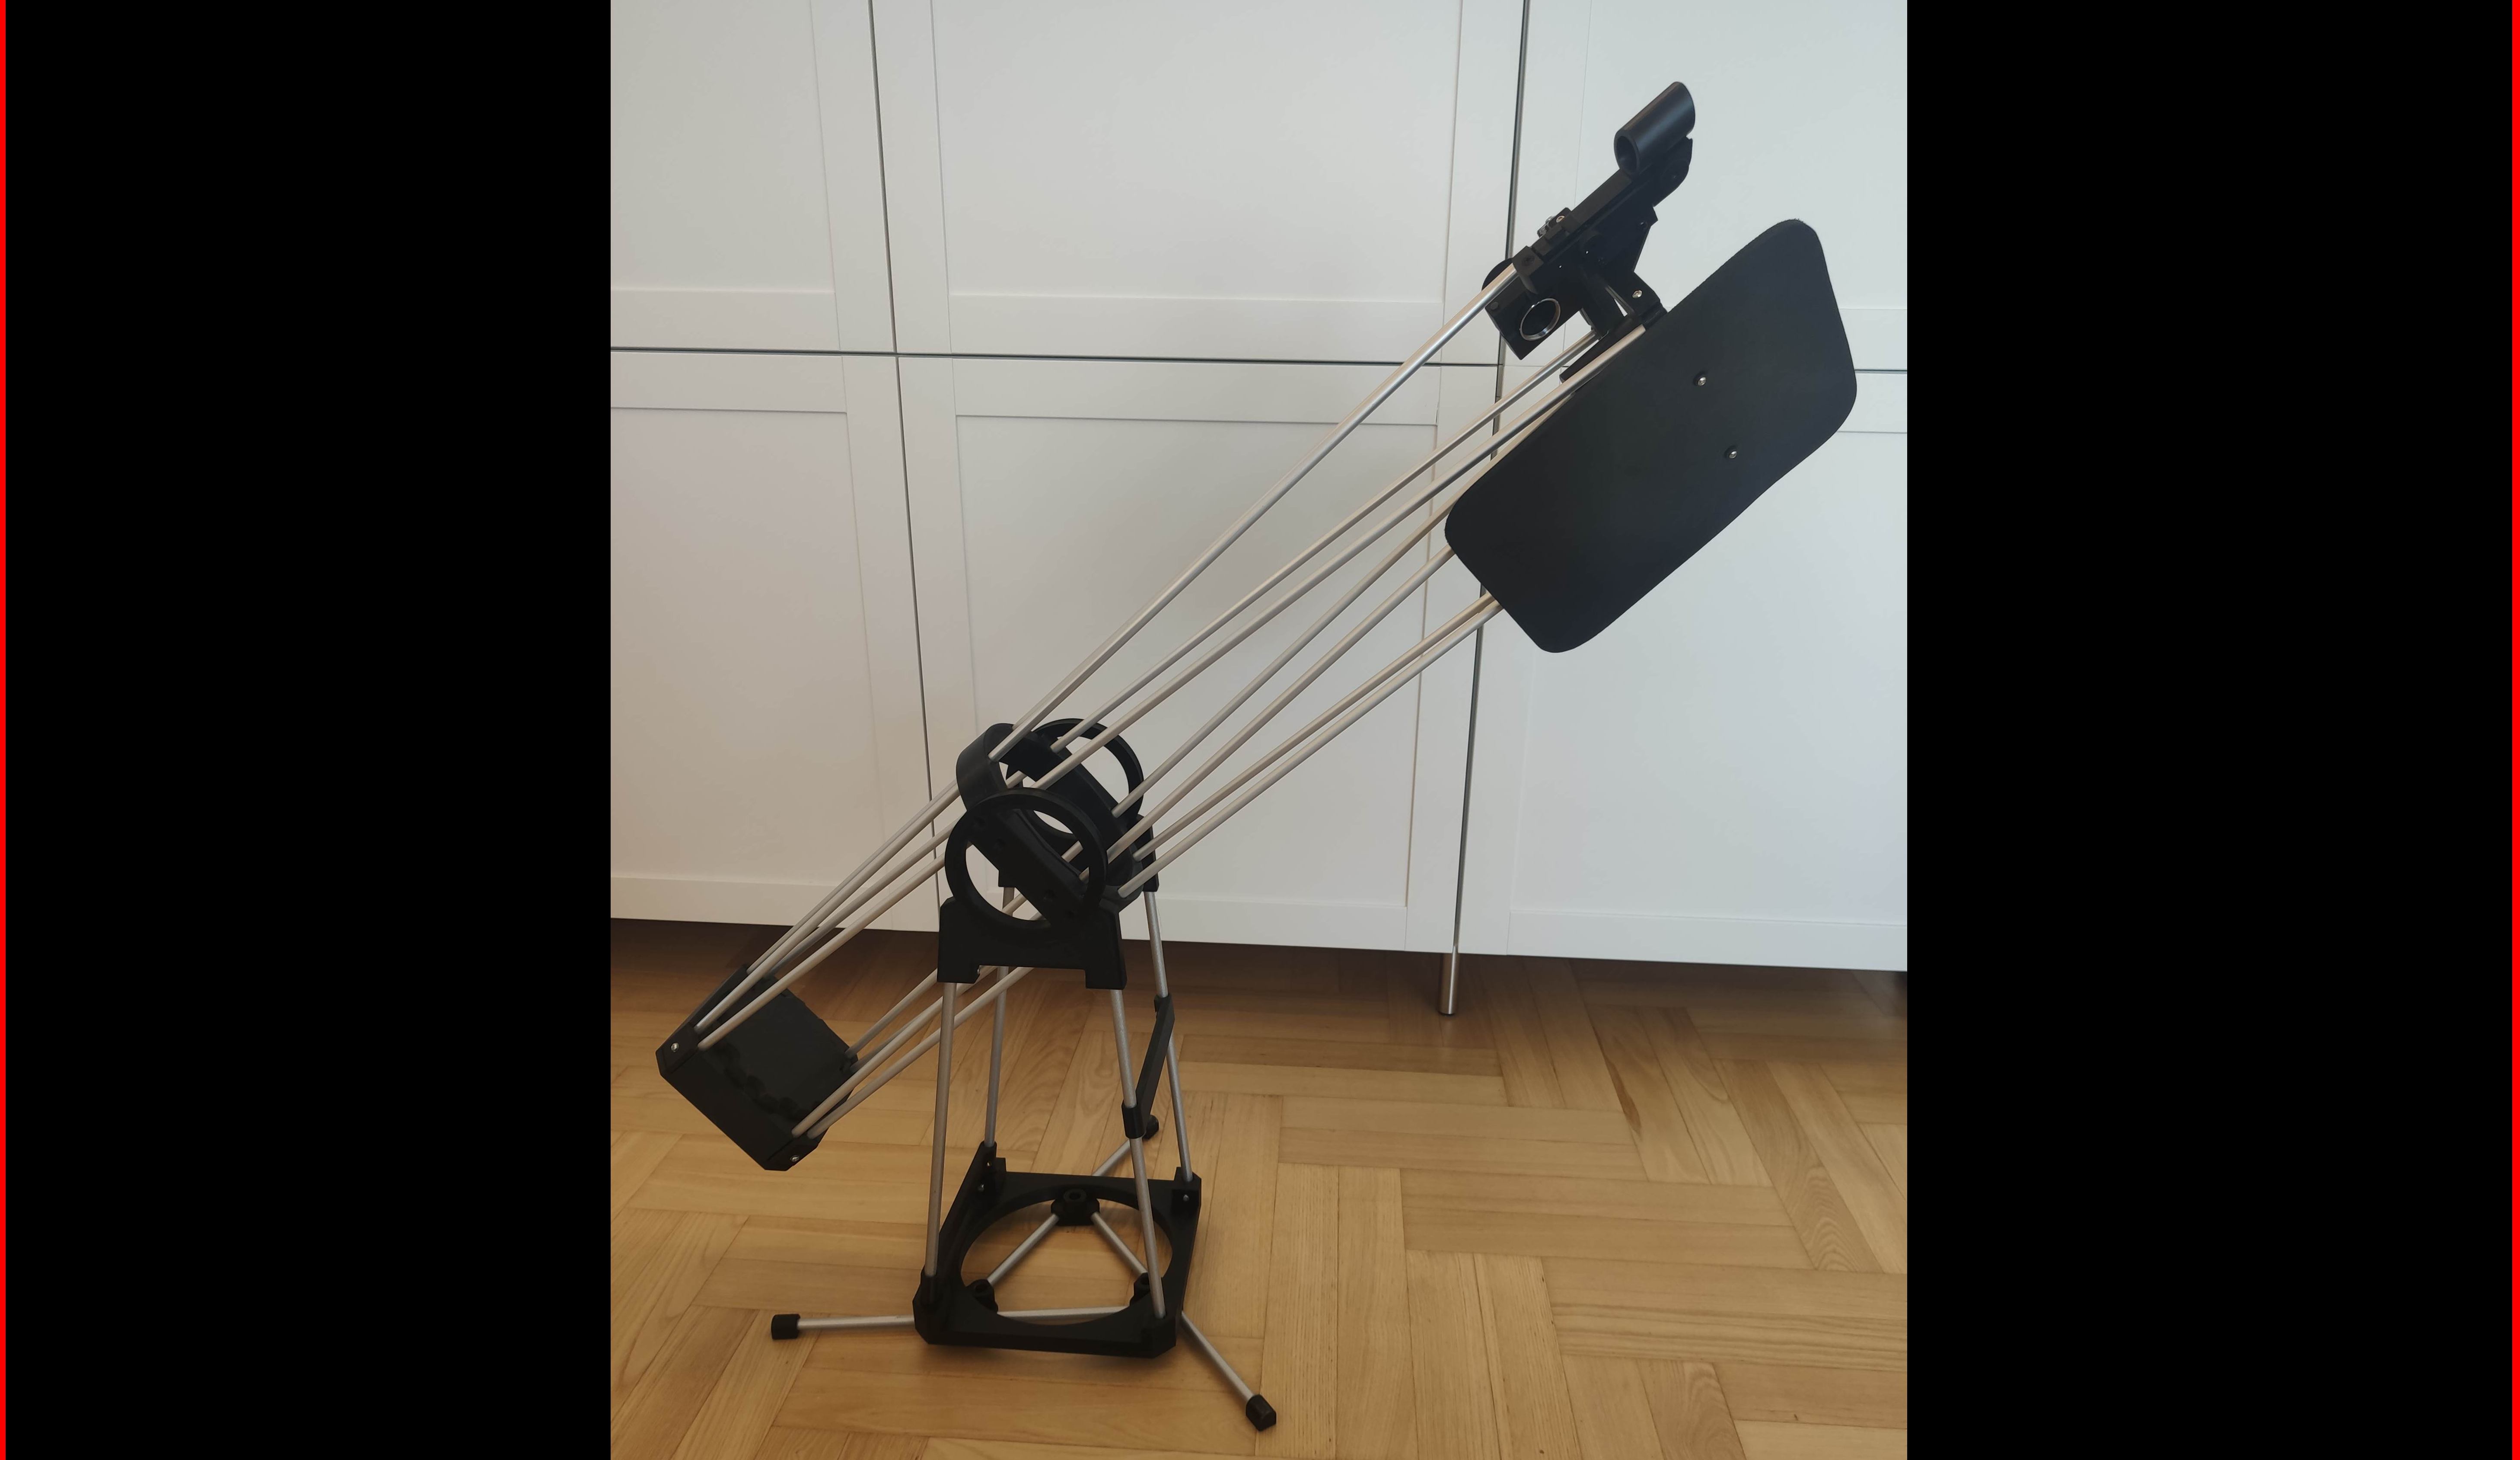
Astronomical telescope "Propdob" Dobsonian - 4.5" mirror 114/900
prusaprinters
<p> DO NOT POINT THIS AT THE SUN, IT WILL PERMANENTLY BLIND YOU!</p><p>Summary</p><p>This is a Newtonian telescope with a 114 mm diameter mirror and therefore a bit more light gathering and resolving power than the typical beginner 70 mm refractor telescopes. Perfect for seeing craters on the moon as well as rings on Saturn and stripes on Jupiter. The design with eight rods makes the telescope very solid (compared to three-rod designs) and therefore it stays aligned/collimated quite well.</p><p>Materials:</p><ul><li>1 - 2 kg of filament</li><li>114mm diameter main mirror and 25 mm diagonal mirror (set on aliexpress 30 - 40 €)</li><li>8x tube: 8mm diameter 900 mm length (aluminum or wood)</li><li>4x tube: diameter 10 mm 400 - 450 mm length </li><li>3 x tube: 10 mm diameter 400 - 600 mm length</li><li>M3 brass inserts</li><li>M3 screws (~16 mm length + a few longer and shorter ones, a set with mixed lengths is good)</li><li>miscellaneous: mouse pad, rubber band ballpoint pen spring, double-sided sticky tape or silicone glue</li></ul><p>The spherical 114 mm diameter, 900 mm focal length mirror can often be found online in a set with the 25 mm diagonal mirror for around 30 - 70 €. Do not worry to use a cheap spherical mirror - with the 114/900 specification it will be a sharp image and just as good as a parabolic mirror. Together with eight 8 mm outer diameter 1000 mm length aluminium or wood rods (they need to be cut to ~ 900 mm length, a cheap tube cutter tool is handy for aluminum), a handful of 3 mm threaded inserts for creating threads in prints and a bunch of ~16 mm long M3 screws this is still cheaper than a usual beginner telescope. For the rocker box 10 mm rods are needed. Note, that you will also need a cheap Kellner or slightly better Plössl eyepiece (~10 €) or an eyepiece set. You may also use springs, e.g. from a ballpoint pen, or a rubber band, which can be used in the friction focuser and the diagonal mirror holder. The focuser works by sliding the eyepiece in and out - a light, simple solution that works quite well.</p><p>The magnification of the telescope is given by the focal length of 900 mm divided by the focal length of the eyepiece. An eyepiece with 10 mm is a good start and would give a 900mm/10mm= 90-fold magnification. Eyepieces must not be shorter focal length than 4 mm with this telescope and be advised that some of the best views are available not at maximum magnification but with a bit more overview, e.g. 10 mm or 20 mm. Note that you should not cut the rods to their final lengths of ~900 mm before checking the focus. Have a look at some terrestrial objects and get them in focus so that you can find the optimum length of the rods. Also leaving the rods a bit longer means that you can slide the top ring with the spider and diagonal mirror a bit further from the main mirror and get objects that are not very far away but at a distance ~30 m in focus. The truss rod design and the sliding top plate also means you can get a webcam in focus directly. A cheap red dot viewfinder can be mounted to the telescope - this is useful to find Jupiter or Saturn in the sky but is not absolutely needed for the moon.</p><p>Main mirror cell assembly:</p><p>The design is inspired by the propdob foldable telescope from roelblog.nl and has the mirror resting on three screws in the back . This mount is glued with silicone glue or double sided tape to the mirror and has one (or three) screws going backwards so that the mirror cannot fall out as the screw and main mirror holder.</p><p>As a light guard in the images an old mouse pad is used, but a cut-out from a thin black yoga / camping mat is also nice.</p><p>Collimation alignment tips and tricks for alignment are available online, it is a bit complicated to learn but not bad once you understand it - even without additional tools star collimation is possible. Otherwise, there are also Chesire eyepieces that you can print. A bit of double-sided sticky tape is needed to glue the diagonal mirror in place and to secure the back mirror against falling out. An advantage of the truss rod design is the ability to disassemble the telescope for storage or travel. Apart from that, the ultralight design also minimises the print volume.</p><p>Have fun with building your own telescope and please post a make. Happy making!</p><p>PS: be realistic about the expectations of astronomical views, this telescope cannot compete with large telescopes - look for sample images of Saturn through a 114 mm telescope before building. It is good fun nevertheless and one learns a lot about optics and astronomy. Also be patient, “seeing” that is cloud cover, haze, atmospheric turbulence all make the views bad one day and great on the next day.</p><p>PPS: A lot of parts from my earlier design are still applicable, have a look at my other objects.</p><p> </p><h3>Print Settings</h3><p><strong>Supports:</strong></p><p>No</p><p><br> </p><p><strong>Notes:</strong></p><p> </p><p>Supports are not needed on any part if orientated with a bit of thinking.</p><p>Category: Physics & Astronomy</p>
With this file you will be able to print Astronomical telescope "Propdob" Dobsonian - 4.5" mirror 114/900 with your 3D printer. Click on the button and save the file on your computer to work, edit or customize your design. You can also find more 3D designs for printers on Astronomical telescope "Propdob" Dobsonian - 4.5" mirror 114/900.
