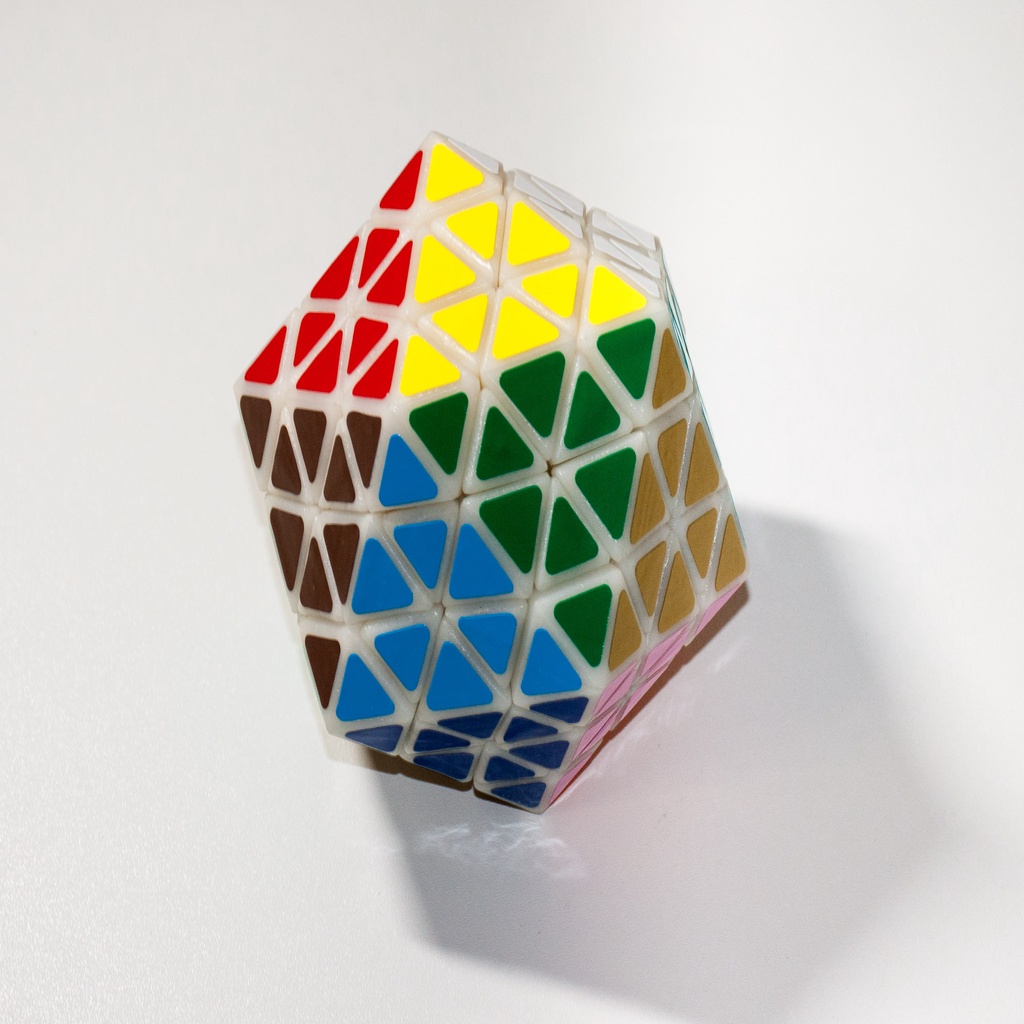
Astrominx
thingiverse
Astrominx is essentially a shapemodification for the Starminx II puzzle. It features an icosahedral form where icosahedron corners align with dodecahedron centers, and icosahedron centers match dodecahedron corners. Some algorithms designed for the Starminx II also work well for Astrominx. However, note that corner orientation now matters in Astrominx (unlike starminx centers where orientation doesn't matter). Here's a breakdown of the components needed to print an Astrominx: - 1 x Core - 12 x Inner (Megaminx) Center pieces - 30 x Inner (Megaminx) Edge pieces - 20 x Inner (Megaminx) Corner pieces - 30 x Outer (Pyraminx Crystal) Edge pieces - 60 x Triangle pieces - 12 x Outer Corners To complete the print, you'll also need: - 12 x 0.5 x 4 x 10 springs (available on Aliexpress) - 12 x M3 x 20 screws with small heads As for printing settings, I recommend using a technique where each piece is split into two halves and printed separately before gluing them together. This allows printing without supports. The file names containing 'Split' indicate these split pieces. If you prefer the normal printing method, I've also added 'As Is' parts to the files. Other recommended print settings include: - Nozzle size: 0.3mm or 0.4mm - Layer thickness: 0.1mm (0.2mm is also acceptable, but may require more sanding) - Perimeters: 2-3 with 20% infill - Cooling as needed - Supports are not required for the 'split' version For material choice, I recommend ABS plastic due to its ease of sanding. PLA and PETG can also be used, but they're much harder to sand. ABS glue can be achieved with acetone, while PLA/PETG work well with dichloromethane. During printing, I experienced corner wrapping issues until I found the right balance of cooling. To prevent this issue, I've added Mickey Mouse ears to the design. Simply cut them off with a knife before gluing. The core piece features throughholes for precise positioning and improved inter-layer adhesion. These holes should be filled with glue before assembly. After printing and gluing, the pieces may require some sanding to remove surface unevenness and seal any seams. Once this is complete, you can paint the outer pieces with a spray paint. Finally, cut out stickers according to your design. To see the Astrominx in action, check out my turning quality demonstration video at https://youtu.be/C7Dq38hnfEg. In the video, the puzzle catches well but becomes less catchy after tightening the screws. I've solved it a few times without any issues. You can find the Onshape source files for Astrominx under the 'Astrominx' tab. The design is based on the Pentultimate puzzle mechanism, which was shared by Sam in Onshape. I'd like to thank kskmaru for suggesting this Starminx shape modification idea.
With this file you will be able to print Astrominx with your 3D printer. Click on the button and save the file on your computer to work, edit or customize your design. You can also find more 3D designs for printers on Astrominx.
