Artillery SW-X1 fan shroud
prusaprinters
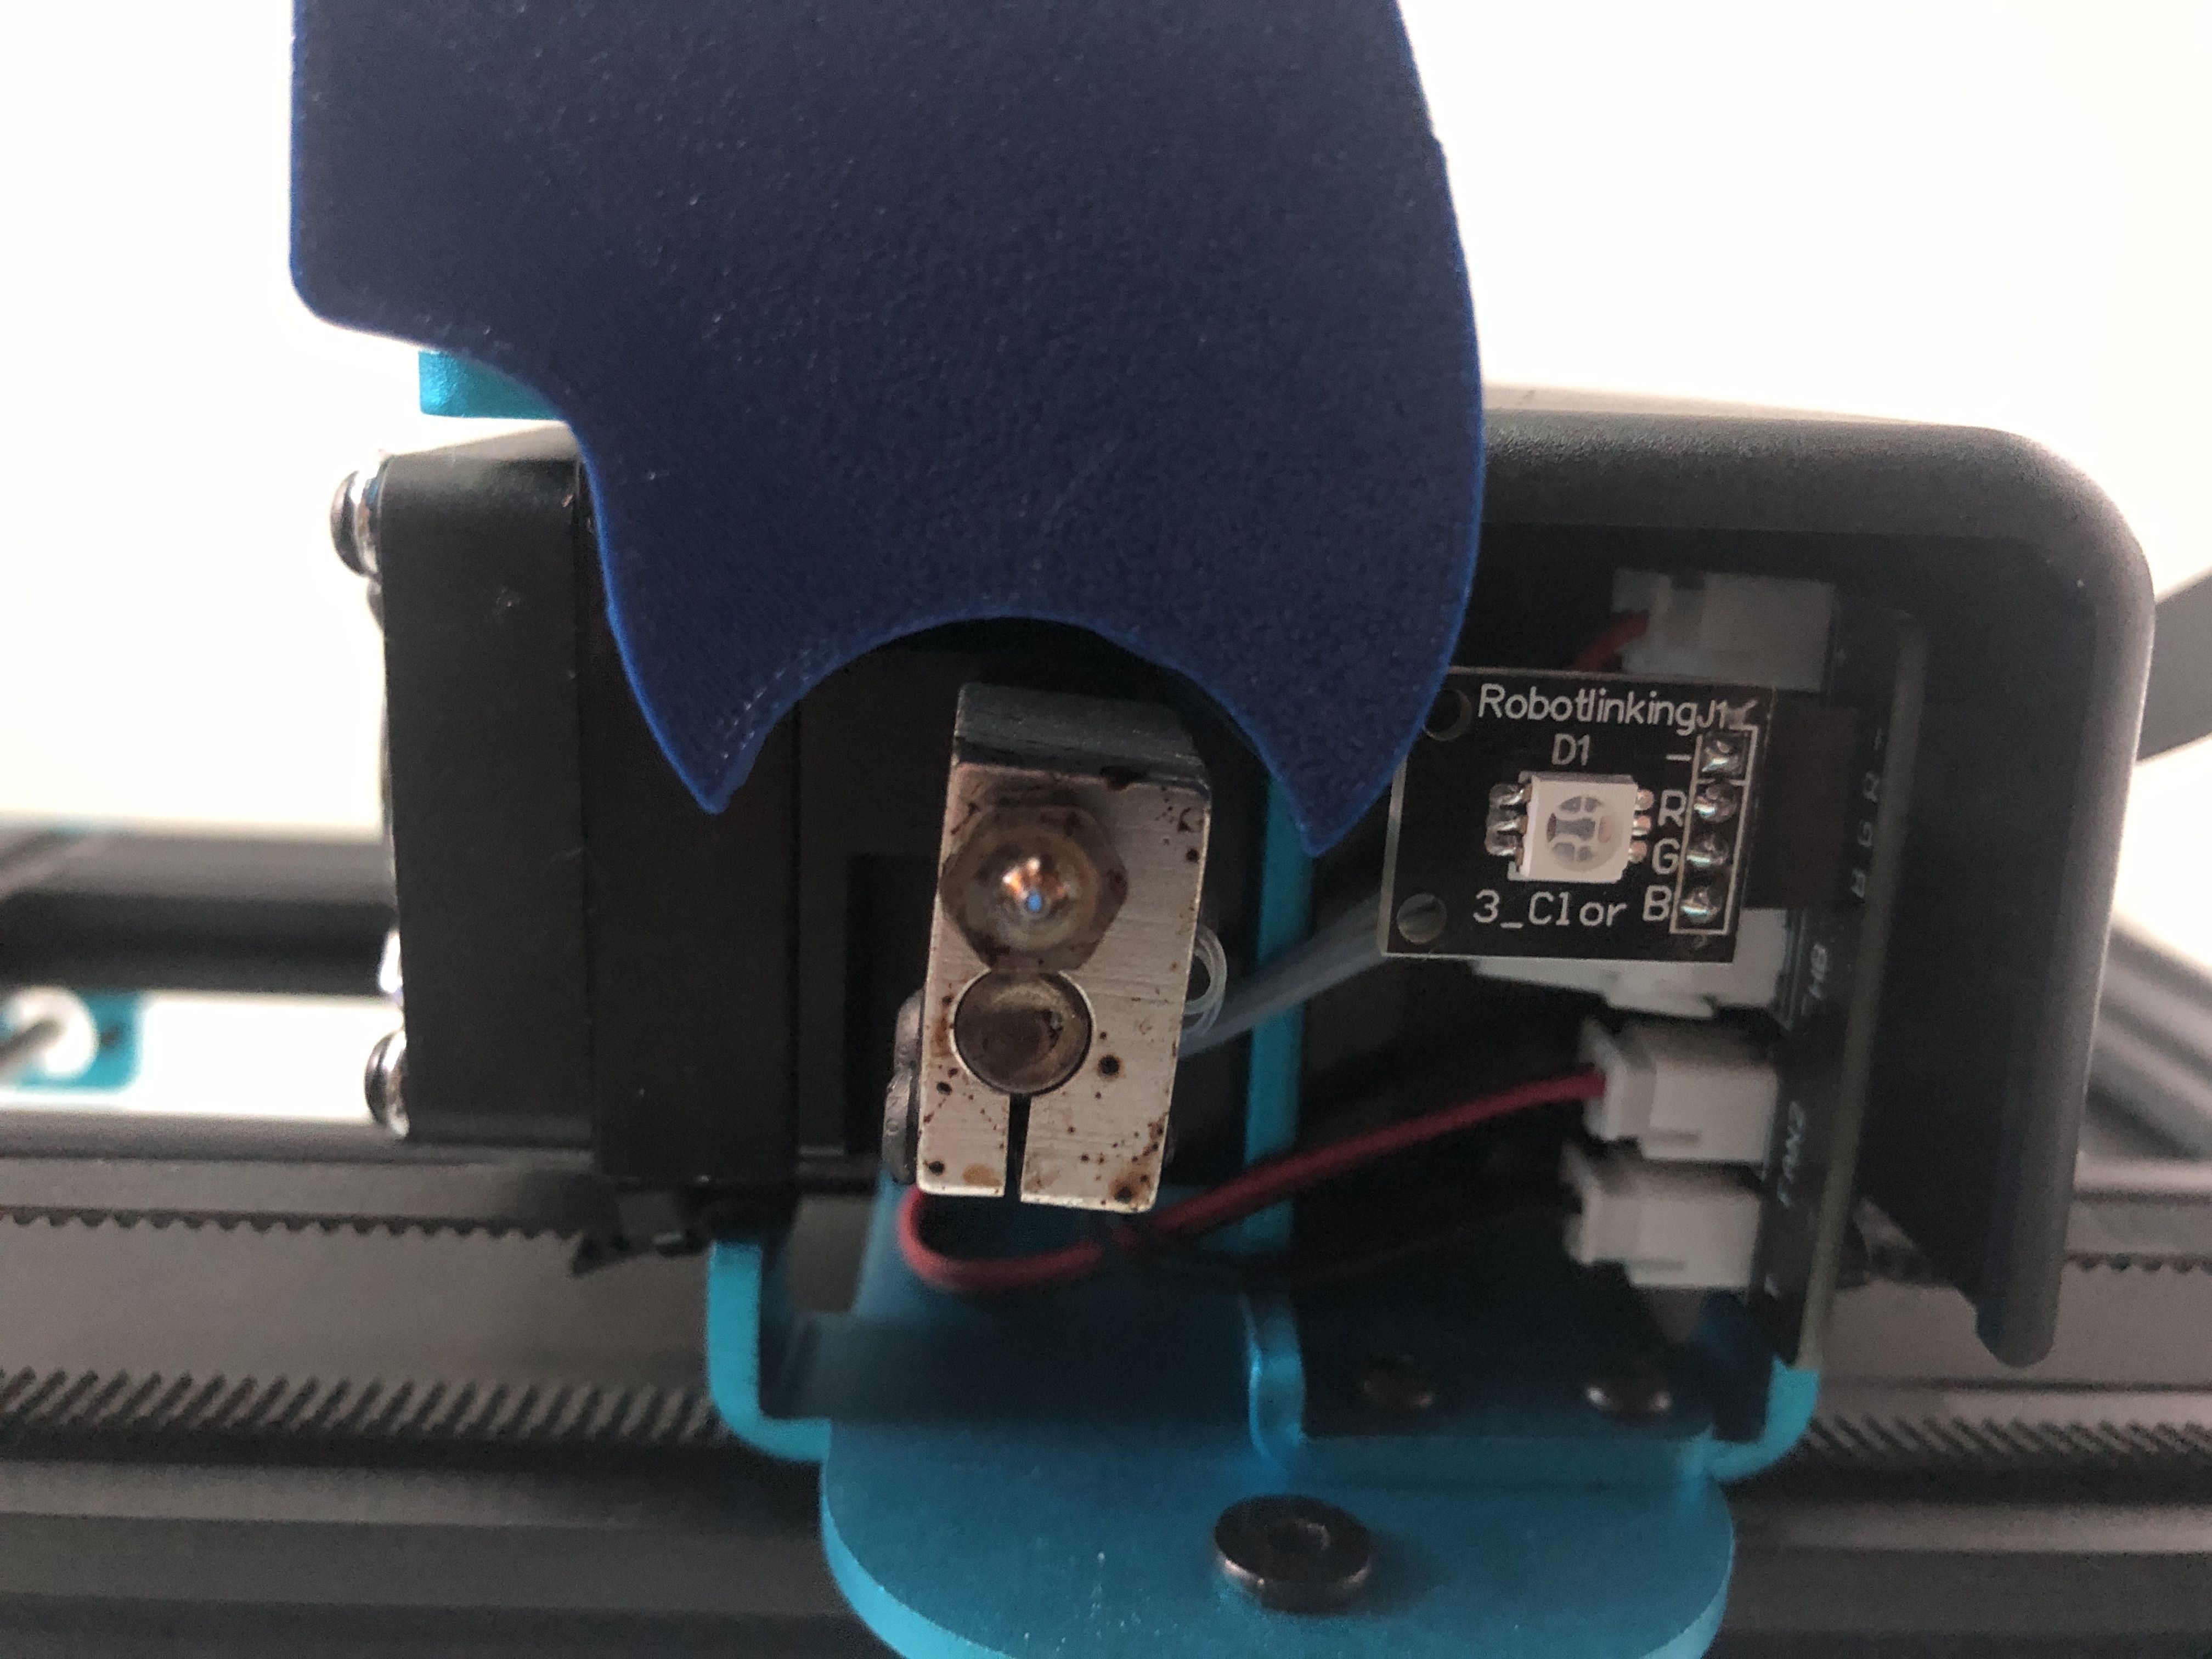
<p>This is a repost of my fan shroud.</p> <p>I used PETG to print this shroud and haven't had an issue so far with sagging, but I also have a heat block sock on my machine. With how close this is to the heat block it may be best to print this in ABS.</p> <p>I would suggest to use no less than 3 perimeters when printing to strengthen the screw hole.</p> <p>I did use a small drop of glue to hold up the non screw side of the shroud to the fan.</p> <p>NOTE; if using Steve Wagg's BL Touch mount, his back plate interferes with the mounting of this shroud. I was able to trim his back plate with a knife to get them to work together.</p> <h3>Print instructions</h3><h3>Category: 3D Printer Parts Print Settings</h3> <p><strong>Printer:</strong> Artillery Sidewinder</p> <p><strong>Rafts:</strong> Doesn't Matter</p> <p><strong>Supports:</strong> Doesn't Matter</p> <p><strong>Resolution:</strong> .2</p> <p><strong>Infill:</strong> 20</p> <p><strong>Filament:</strong> Any PETG Any</p>
With this file you will be able to print Artillery SW-X1 fan shroud with your 3D printer. Click on the button and save the file on your computer to work, edit or customize your design. You can also find more 3D designs for printers on Artillery SW-X1 fan shroud.