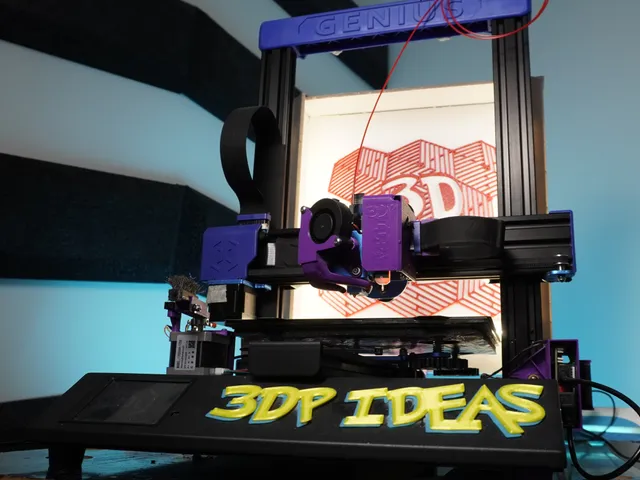
Artillery Genius Pro upgrades & accessories
prusaprinters
If you have any question leave a comment and I will do my best to answer Nozzle cleanerThe hole for the poly is a bit under sized, use some force to convince it to go in.klipper config in the files.Hardware:Nema 17 Stepper driver AT2100Poly 16 teeth bore 51 m3*30mm for the end stop1 m3*20mm screw, lock nut and washer.0.2 to 0.44 layer height with 0.6 nozzle 2 perimeters10% infill5015 Fan ductOn my fan I had to remove with a knife one of the clips on side of the fan to make it fit in the duct. Hardware:5015 fan 24V - Dual Ball2 m4 threaded inserts2 m4*20mm screws 2 m3*8 screws and washers 0.2 layer height2 perimeters10% infillExtruder coverHardware:You will need a small piece of foam or rubber behind the ribbon cable0.2 to 0.44 layer height with 0.6 nozzle 2 perimeters10% infill4020 Back bracketWill need to tap M5 threads in the 2040 extrusion, the bracket will hold 5mm thick foamboard. Hardware:2 m5*10mm screws0.2 to 0.44 layer height with 0.6 nozzle 2 perimeters10% infillGenius pro LegNothing to add, just print it and stick it in, no hardware needed.0.2 to 0.44 layer height with 0.6 nozzle 2 perimeters10% infill
With this file you will be able to print Artillery Genius Pro upgrades & accessories with your 3D printer. Click on the button and save the file on your computer to work, edit or customize your design. You can also find more 3D designs for printers on Artillery Genius Pro upgrades & accessories.
