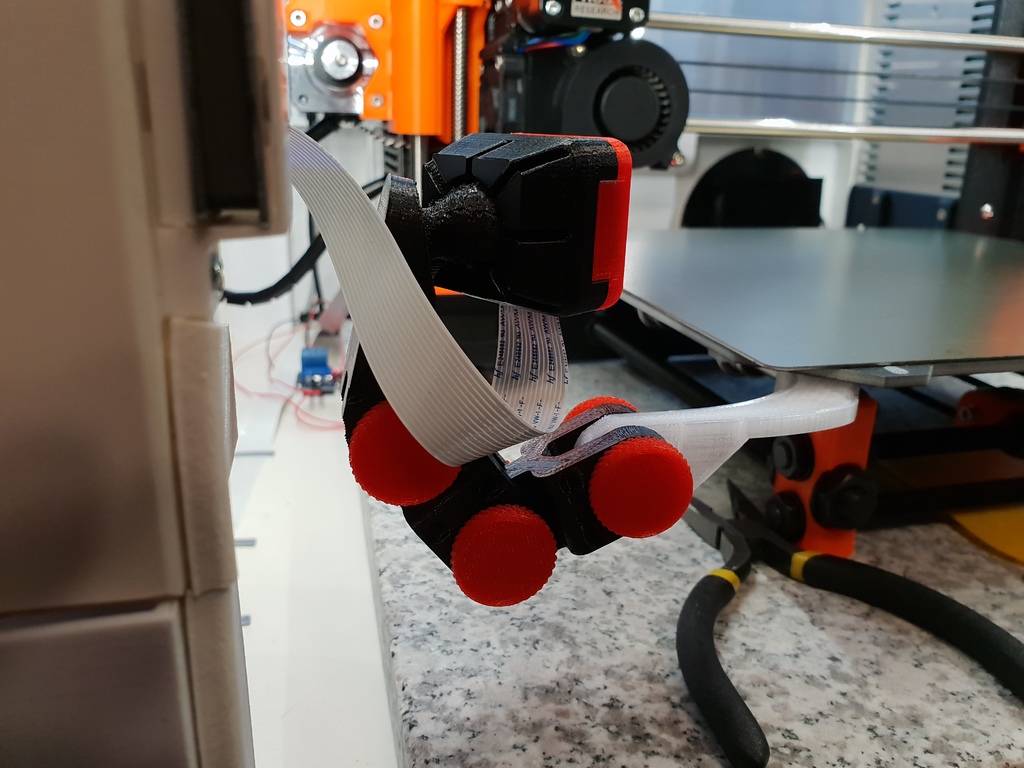
Articulating Raspberry Pi Camera Mount for Prusa MK3 and MK2
thingiverse
Initially, I designed the x_axis_bracket (xAxisBracket_PNu) to fit MK2.5, but during printing, I decided to attach the camera to the heatbed using a snap-on connector instead. I also connected the ballnut with a slightly modified fflink since I don't need them as separate parts. All the original parts from Thingiverse (https://www.thingiverse.com/thing:3114849) were printed with 3 outer perimeters and 15% infill, which seems to create rigid enough parts. Ballpoint_solid and Prusa_plate_camera_mount_v3 were printed with 3 outer perimeters and 75% infill. Prusa_plate_camera_mount_v3 was printed in PETG at a 0.2 mm layer height (with supports), while other parts were printed in PLA at a 1.15 mm layer height. The plate mount design has about a 3 mm gap between the heated plate and the PETG part, which I'll probably check later to see if it's enough. Attaching the plate mount requires bending it slightly, with the 'end' hook side going into place first. In May 2019, I added prusa_plate_camera_mount_v4.stl as the original design might collide with the Z-axis motor on the left side during bed calibration phase. The camera end of the mount now has a bit more distance. One day, I might even clean up the model.
With this file you will be able to print Articulating Raspberry Pi Camera Mount for Prusa MK3 and MK2 with your 3D printer. Click on the button and save the file on your computer to work, edit or customize your design. You can also find more 3D designs for printers on Articulating Raspberry Pi Camera Mount for Prusa MK3 and MK2.
