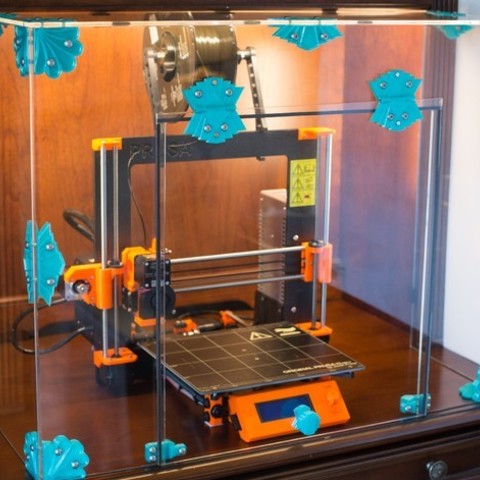
Art Deco Printer Enclosure
cults3d
The provided text appears to be a guide or instructions for creating a customized door system using 3D printing. The author has designed and built this system, and they are sharing their experiences, modifications, and improvements. The main content of the text can be summarized into several key points: 1. **Design and Fabrication**: The author describes how they created the door system, including the use of drilling jigs to accurately drill holes for bolts, and the use of a small plumber’s tube cutter to cut brass tubes to length. 2. **Adapting for Various Acrylic Panel Thicknesses**: The author provides instructions on how to adapt the design for different acrylic panel thicknesses by using Thin Panel spacers or Thick Panel spacers, depending on the thickness of the acrylic and gasket. 3. **Modifications**: The author suggests two potential modifications: making the door opening four-sided instead of three, and adding additional latches at the midway point on both vertical sides of the door/door opening. The text also includes a bill of materials with links to purchase the required components, such as acrylic sheets, screws, nuts, magnets, PVC foam tape, brass tubing, and a drill bit.
With this file you will be able to print Art Deco Printer Enclosure with your 3D printer. Click on the button and save the file on your computer to work, edit or customize your design. You can also find more 3D designs for printers on Art Deco Printer Enclosure.
