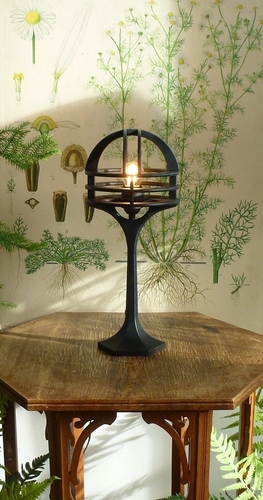
art deco noveau jugend table lamp
pinshape
Seven (7) separate 3D-printed pieces is assembled to this fully functional and stable piece of art deco jugend table lamp. When 3D-printing: Position the pieces in your printer as in the pictures. NO support. Use a brim to avoid warping. The brim needs to be carefully removed afterwards and the edges need to be trimmed for a smooth surface, preferably with a sharp knife. Layerheight: 0,1 -0,2 mm. When assembling: Use superglue as described in picture 14. Any excessive superglue should be removed when hardened for a smooth surface before spray painting. When assembled: If preferably, spray paint it. Glossy or matt (as in my pictures). When assembled and/if surface treated: 1. Mount the socket cord through the lower base (part 1) and though the upper base (part 2). 2. Mount the E26/E27 socket to the cord. 3. Mount a LED-bulb. When 3D-printing: Position the pieces in your printer as in the pictures. NO support. Use a brim to avoid warping. The brim needs to be carefully removed afterwards and the edges need to be trimmed for a smooth surface, preferably with a sharp knife. Layerheight: 0,1 -0,2 mm.
With this file you will be able to print art deco noveau jugend table lamp with your 3D printer. Click on the button and save the file on your computer to work, edit or customize your design. You can also find more 3D designs for printers on art deco noveau jugend table lamp.
