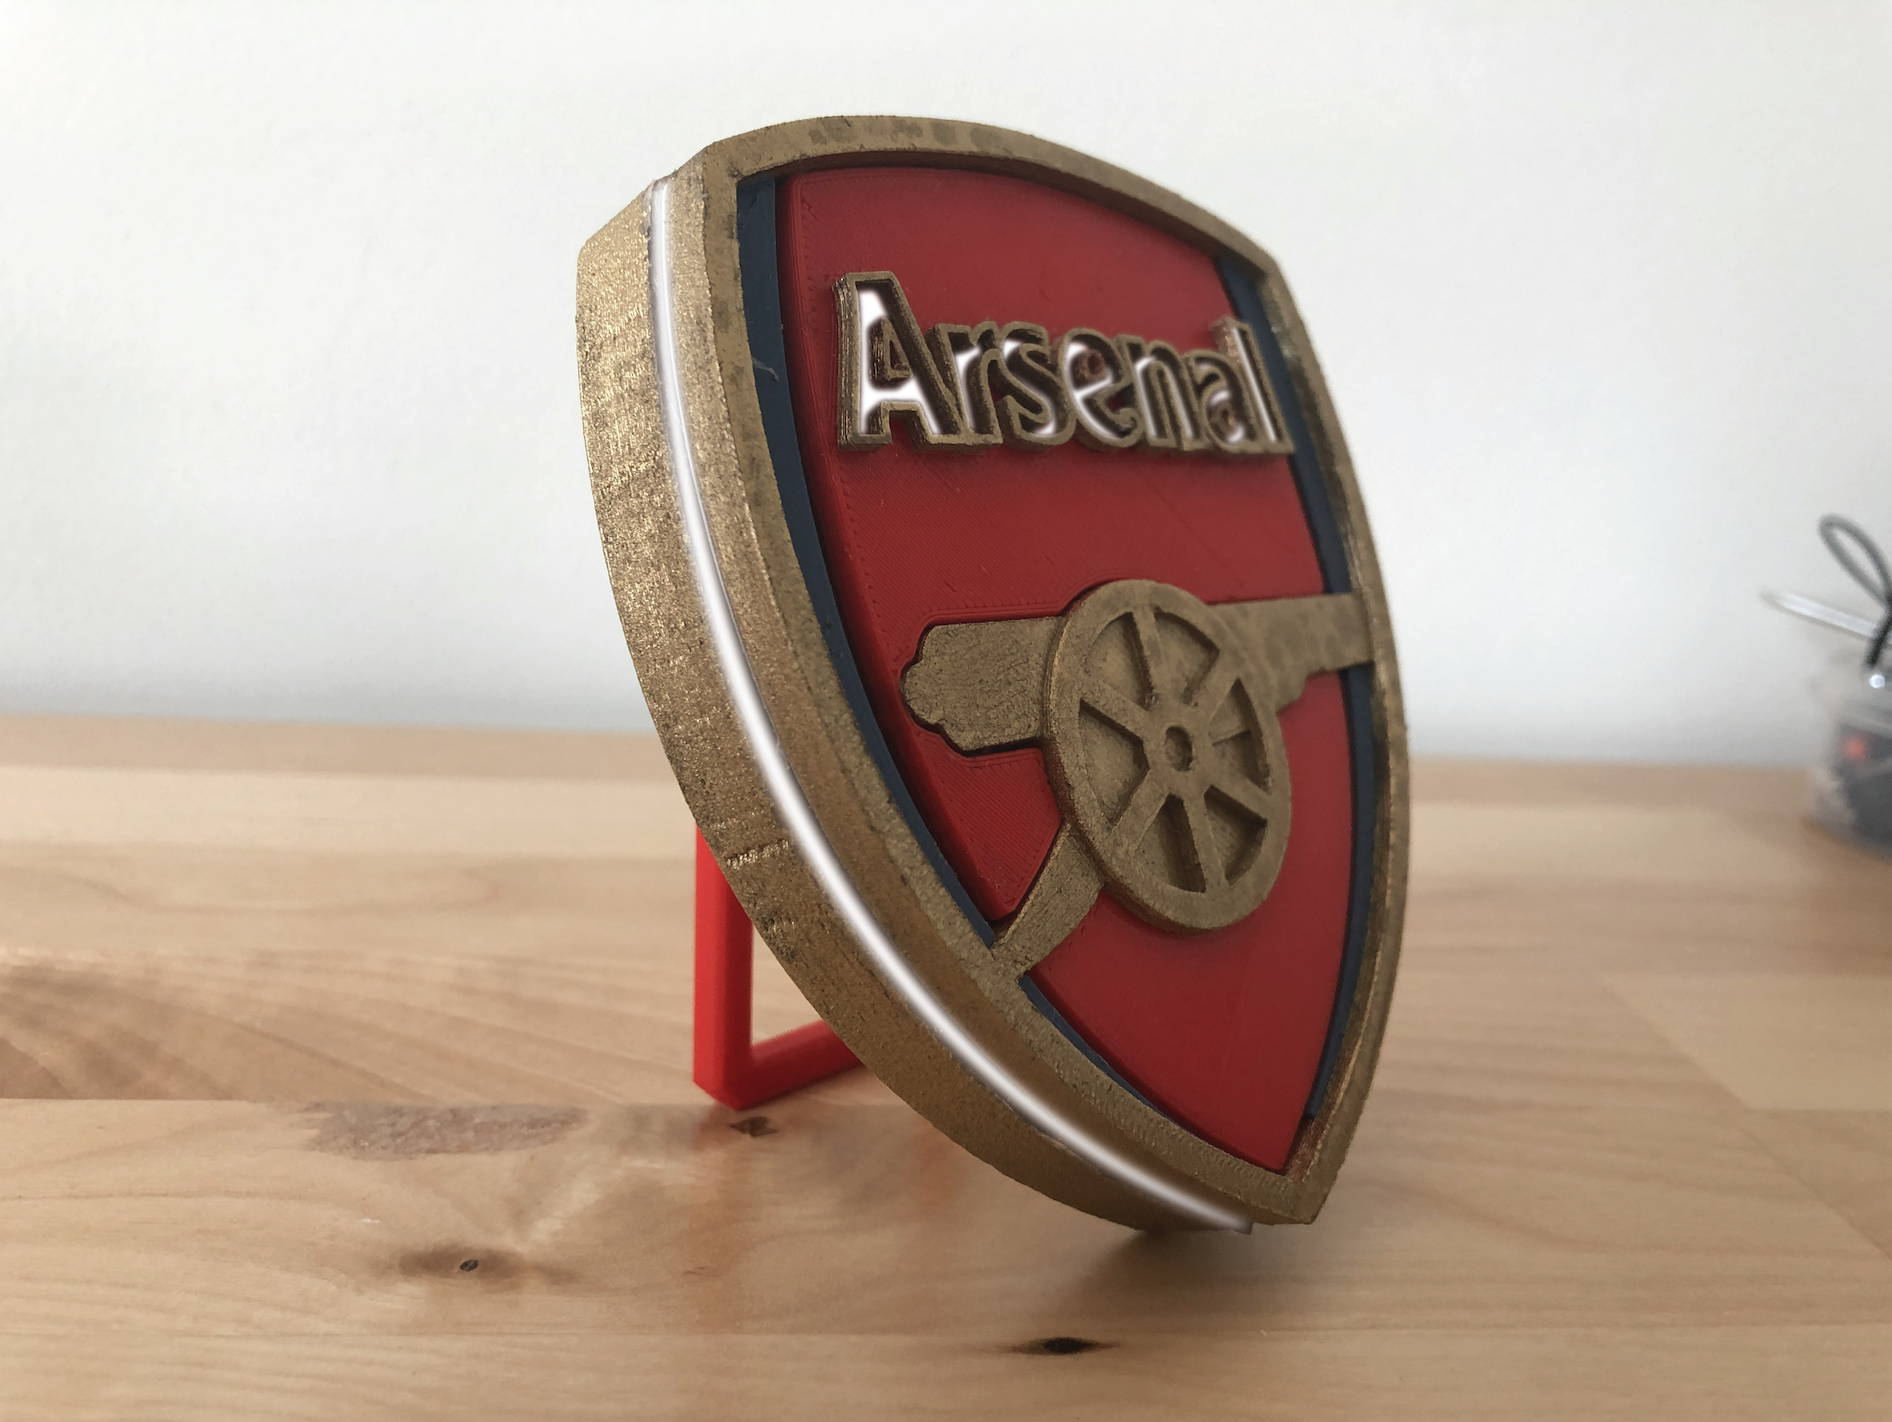
Arsenal Badge Lamp
prusaprinters
<p>See it lighting up:<br><a href="https://www.youtube.com/watch?v=oOsjZG98mmU">https://www.youtube.com/watch?v=oOsjZG98mmU</a> (link is fixed now)</p><p>This is a 3d Arsenal badge complete with a kickstand and light-up letters. You can turn it on and off by simply pressing the back of the badge. It has 3 modes-bright, medium, and strobe. This is easily printed with no supports and in a small amount of time. The electronics only cost 99 cents, by easily taking apart a 99 cent flashlight from harbor freight. The light ring is caused by using clear mounting tape. The gold was achieved through spray paint.</p><p>This was built as a gift, but I modified it a bit to fit the contest more. If you thought it was cool or you wanna build it, it would be greatly appreciated if you liked this post so I could achieve more projects, and put money towards filament and an MMU. Thanks for looking at this post!!</p><p>If you want to build, I have attached the f3d file below and assembly instructions. The model is assembled, so you know where everything goes. You will need some small wires, soldering materials, and clear mounting tape. Follow the instructions below:</p><p>1: Print out all the pieces</p><p>2: Glue all the top parts<br>to the diffusing sheet</p><p>3: Take apart flashlight<br><a href="https://www.harborfreight.com/key-chain-led-flashlight-64886.html">https://www.harborfreight.com/key-chain-led-flashlight-64886.html</a></p><p>4: Solder 2 Cr2032<br>batteries together</p><p>5: Connect batteries<br>to circuit. Use the model below to hold the batteries. Gently take the button off the circuit board, then resolder it back to the board, but with a length of wire. Glue the light and board to the flat rectangle on the back of the main red piece. Use the mounting tape to hold the batteries down.</p><p>6: Glue all text on top of main red piece</p><p>7: Glue button to top of diffusing sheet (the little tower)</p><p>8: 3d print the kickstand pieces,<br>glue them to the back</p><p>9: Put the mounting tape on the back shell, then attach the back shell to the front shell.</p><h3>Print instructions</h3><p>Everything can be printed in .3 layers, but I recommend for the smaller pieces, like the letters and kickstand joint, to print in .15 or smaller.</p>
With this file you will be able to print Arsenal Badge Lamp with your 3D printer. Click on the button and save the file on your computer to work, edit or customize your design. You can also find more 3D designs for printers on Arsenal Badge Lamp.
