Arranging a Build Plate
thingiverse
Setting Up a Building Platform (Hands-On Project) Building a foundation is key to creating anything from scratch, and it's no different when working on a project that requires precision and attention to detail. One of the most critical steps in bringing an idea to life is arranging a build plate, which serves as the base for your creation. To start off, gather all the necessary materials and tools required for your project. This may include items such as paper, cardboard, glue, scissors, and a ruler. Once you have everything within reach, it's time to begin constructing your build platform. Begin by measuring out the dimensions of your workspace or the area where you plan on working. Make sure to mark these measurements clearly with a pencil or marker so that you can reference them later. Next, start arranging your materials in a way that makes sense for the project at hand. This may involve sorting items into categories or grouping similar objects together. As you continue to build out your platform, remember to leave space between each item for easy access and visibility. You want to be able to move around your workspace comfortably without feeling cramped or overwhelmed. Don't forget to also consider any necessary safety precautions when working with certain materials or tools. With your build plate set up and ready to go, you're now one step closer to bringing your project to life. Take a moment to admire your handiwork and make any necessary adjustments before moving on to the next stage of the process.
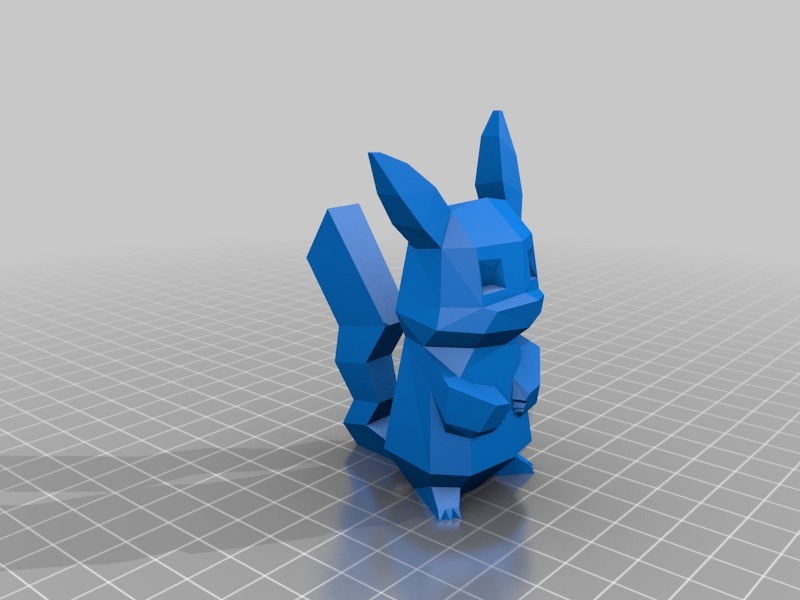
With this file you will be able to print Arranging a Build Plate with your 3D printer. Click on the button and save the file on your computer to work, edit or customize your design. You can also find more 3D designs for printers on Arranging a Build Plate.