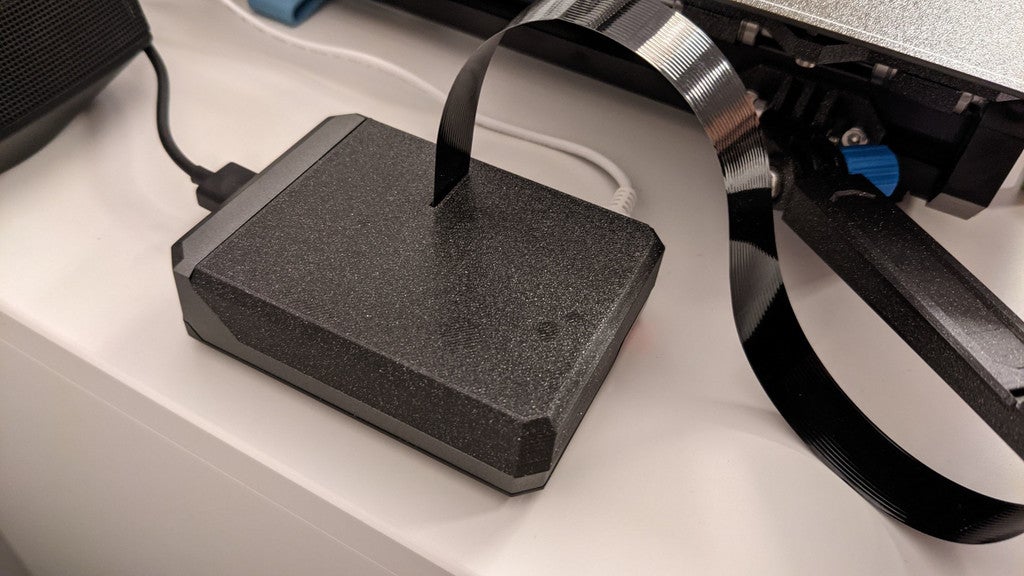
Argon NEO Top with Raspberry Pi Camera Ribbon Cable Slot
prusaprinters
<p>I was using an <a href="https://www.argon40.com/argon-neo-raspberry-pi-4-case.html">Argon NEO</a> case for my Raspberry Pi 4 running Octoprint with my Prusa Mini+ and wanted to use a Raspberry Pi Camera.</p><p>Unfortunately, the original case does not provide a nice way to get the ribbon cable out of the case so I decided to design a replacement top for it.</p><p><strong>Parts needed:</strong></p><ul><li>2x Neodymium magnets 10x1mm (optional)</li></ul><p>Glue for the magnets (optional) The magnets are required for the top to snap on and hold in place nicely. But you can get by without them if you don't have any.</p><h3>Print Settings</h3><p><strong>Rafts:</strong></p><p>No</p><p> </p><p><strong>Supports: </strong></p><p>No</p><p><strong>Resolution:</strong></p><p> </p><p>200</p><p> </p><p><strong>Infill: </strong></p><p>15%</p><p><br/><strong>Filament:</strong><br/><br/>Prusament PLA Galaxy Black <br/> </p><p><strong>Notes: </strong></p><p>Printed on a Prusa Mini+</p><p>Print with the top flat on the bed and no supports should be needed.</p><p> </p><h3>Post-Printing</h3><p><strong>Assembling magnets</strong></p><p>You can put the magnets on to the spots as indicated in the picture to find out the polarity before you glue them to the case top.</p><figure class="image image_resized" style="width:63.67%;"><img src="https://media.prusaprinters.org/media/prints/60956/rich_content/13e69139-a110-43f3-9d06-c93b05e604de/2021-03-22_21-06.png#%7B%22uuid%22%3A%22dabe5072-4c81-4b88-8af9-1875bc93c3bb%22%2C%22w%22%3A825%2C%22h%22%3A629%7D"/></figure><p> </p><p>Category: Computer</p>
With this file you will be able to print Argon NEO Top with Raspberry Pi Camera Ribbon Cable Slot with your 3D printer. Click on the button and save the file on your computer to work, edit or customize your design. You can also find more 3D designs for printers on Argon NEO Top with Raspberry Pi Camera Ribbon Cable Slot.
