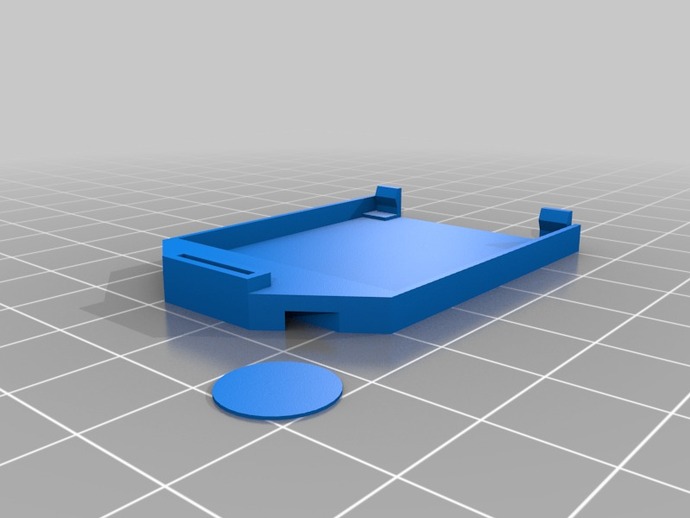
Arduino XBee breakout board holder
thingiverse
A convenient way to mount an XBee on a standard Arduino prototyping shield is through this holder designed for use with a Ciseco XBBO breakout board. To create a connection, snip a long-legged header into five pins and bend the legs at 90 degrees. Solder link wires to the holes near the main Arduino headers on the prototyping shield before routing them carefully to the designated holes for the XBee. Insert the header legs through the holder's slot, apply adhesive, and attach it flush against the shield. After the glue dries, connect the header and link wires to the prototyping board before fitting the XBee breakout board into the holder. Ensure all connections are correct and enjoy your new setup!
With this file you will be able to print Arduino XBee breakout board holder with your 3D printer. Click on the button and save the file on your computer to work, edit or customize your design. You can also find more 3D designs for printers on Arduino XBee breakout board holder.
