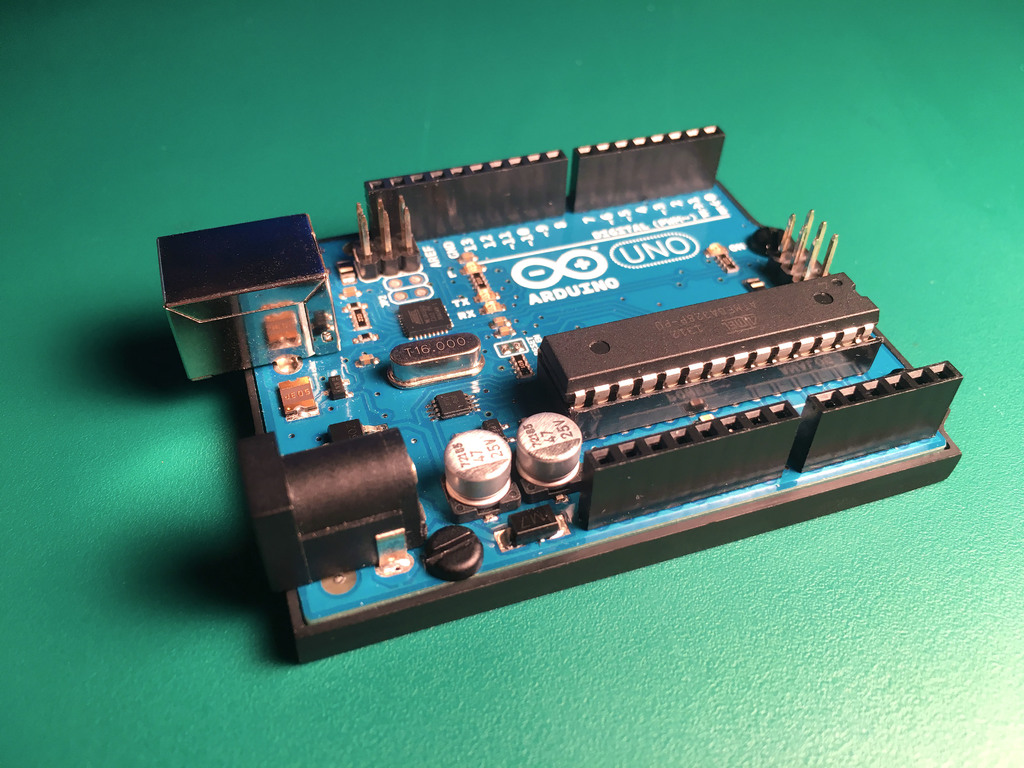
Arduino Uno R3 Bumper
thingiverse
Arduino Uno R3 Bumper * Built from scratch, drawing inspiration from Eric Chu's pioneering bumper design. * Enhanced with increased robustness, featuring a wider raft and tighter dimensions for optimal performance. * Strategically recessed areas accommodate soldered pins with ease. * Engineered specifically for STEM classrooms or laboratory settings. * Mounting holes compatible with 4-40 or M2.5 taps, complemented by a thin bottom skin for precise punch-through installation. * Designed for effortless snap-fit assembly without the need for screws. To secure the Arduino Uno R3 Bumper in place, utilize a hand drill equipped with a #40 bit and a pin-vise, followed by tapping (alternatively, you can employ a 4-40 metal screw). For a polished finish, insert 3/8" or longer black 4-40 nylon screws and trim the excess using an x-acto blade. If the Arduino Uno R3 Bumper does not snap into position smoothly, apply a scale factor to the print; I have successfully used up to a 1.004 scale factor for certain boards.
With this file you will be able to print Arduino Uno R3 Bumper with your 3D printer. Click on the button and save the file on your computer to work, edit or customize your design. You can also find more 3D designs for printers on Arduino Uno R3 Bumper.
