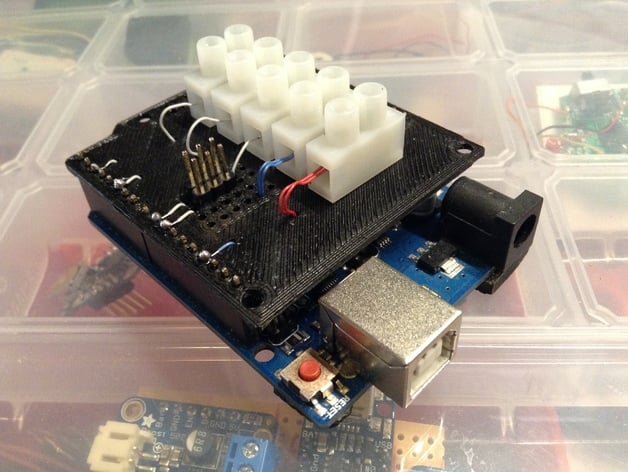
Arduino Uno Blank Shield
thingiverse
Design Your Own Arduino Uno Shield with a Personal Touch As an innovative project enthusiast, I recently had the pleasure of creating my very own Arduino Uno shield from scratch, and I'm excited to share the details with you. By using a 3D model of the original Arduino board, I was able to craft a custom-made shield that perfectly suited my needs. With ease, I added all the necessary holes to the model, and found it incredibly straightforward to insert any additional ones as required using a small drill bit. To create the foundation of the shield, I employed a reliable adhesive – super glue – to secure the header pins firmly in place. Next, I utilized high-quality 30 GA wire wrap wire to connect the pins, which provided an efficient and robust way to ensure reliable communication between the Arduino Uno board and the custom-made shield. Each pin was carefully wrapped once around using a precision tip of a flat head screwdriver, before being securely soldered into place.
With this file you will be able to print Arduino Uno Blank Shield with your 3D printer. Click on the button and save the file on your computer to work, edit or customize your design. You can also find more 3D designs for printers on Arduino Uno Blank Shield.
