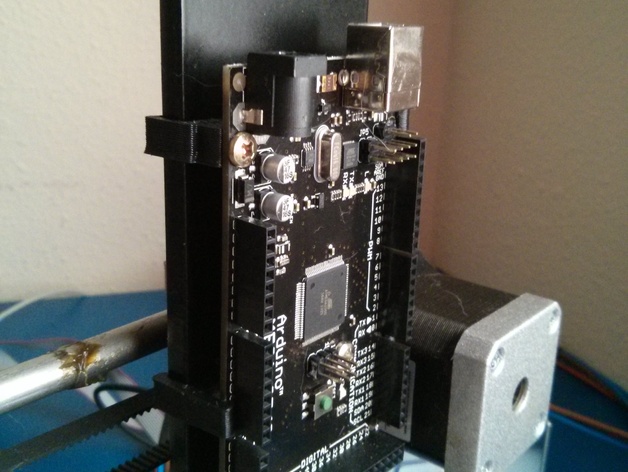
Arduino to Frame Brackets
thingiverse
UPDATE: For enhanced stability, add an M3 10mm screw to securely fasten your components. The brackets also boast a larger anchorage surface for added support. Description: Effortlessly mount your electronics onto the Prusa I3 frame without needing to drill any holes. Simply use three small screws (like those from PC cases) for easy installation. Instructions: 1. Print two distinct brackets, aligning them with the corresponding hole pattern in the provided image. 2. Secure the brackets to your Arduino board using three small screws. 3. Attach the assembled unit to the frame, ensuring that the USB connector is positioned at the top to prevent interference with the X-axis motor. 4. Finally, insert an M3 bolt and a 10mm screw on the side for added stability.
With this file you will be able to print Arduino to Frame Brackets with your 3D printer. Click on the button and save the file on your computer to work, edit or customize your design. You can also find more 3D designs for printers on Arduino to Frame Brackets.
