Arduino Pro Micro
thingiverse
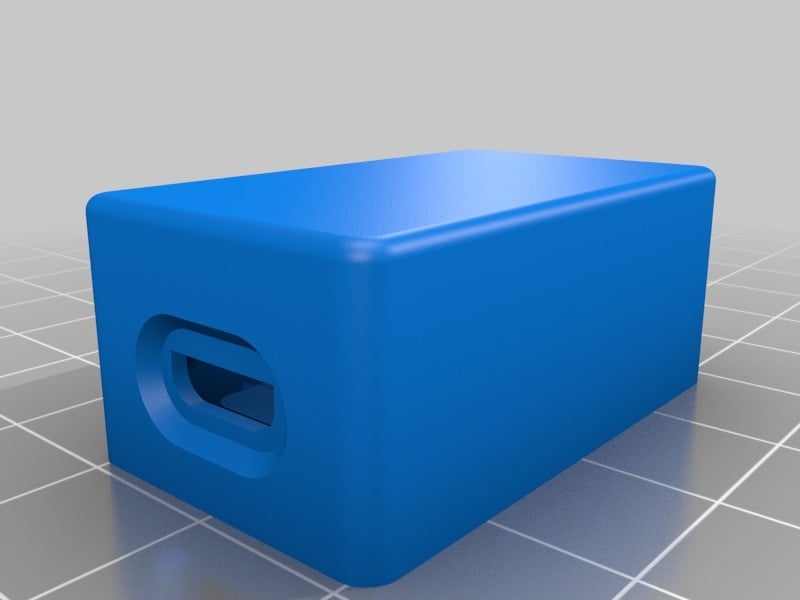
Here is a basic enclosure design for the Arduino Pro Micro microcontroller board. The design consists of two main components: a base plate and a top cover. The base plate provides a stable surface for the Arduino Pro Micro to rest on, while the top cover protects the board from dust and other debris. To create this design, start by downloading the Arduino Pro Micro library from GrabCAD. Once you have the library installed, open it up in your preferred 3D modeling software. Begin by creating the base plate. This can be done by extruding a rectangular shape to a height of approximately 1 inch. Make sure to include a lip around the edges to prevent the Arduino Pro Micro from slipping out. Next, create the top cover. This can be done by extruding another rectangular shape, this time to a height of approximately 0.5 inches. Again, make sure to include a lip around the edges. Once you have both components created, assemble them together by snapping the base plate into the top cover. Make sure everything is securely attached before moving on to the next step. Finally, add any additional features you desire, such as screw holes or a USB port. Once you're happy with your design, export it as an STL file and print it out using your preferred 3D printing method.
With this file you will be able to print Arduino Pro Micro with your 3D printer. Click on the button and save the file on your computer to work, edit or customize your design. You can also find more 3D designs for printers on Arduino Pro Micro.
