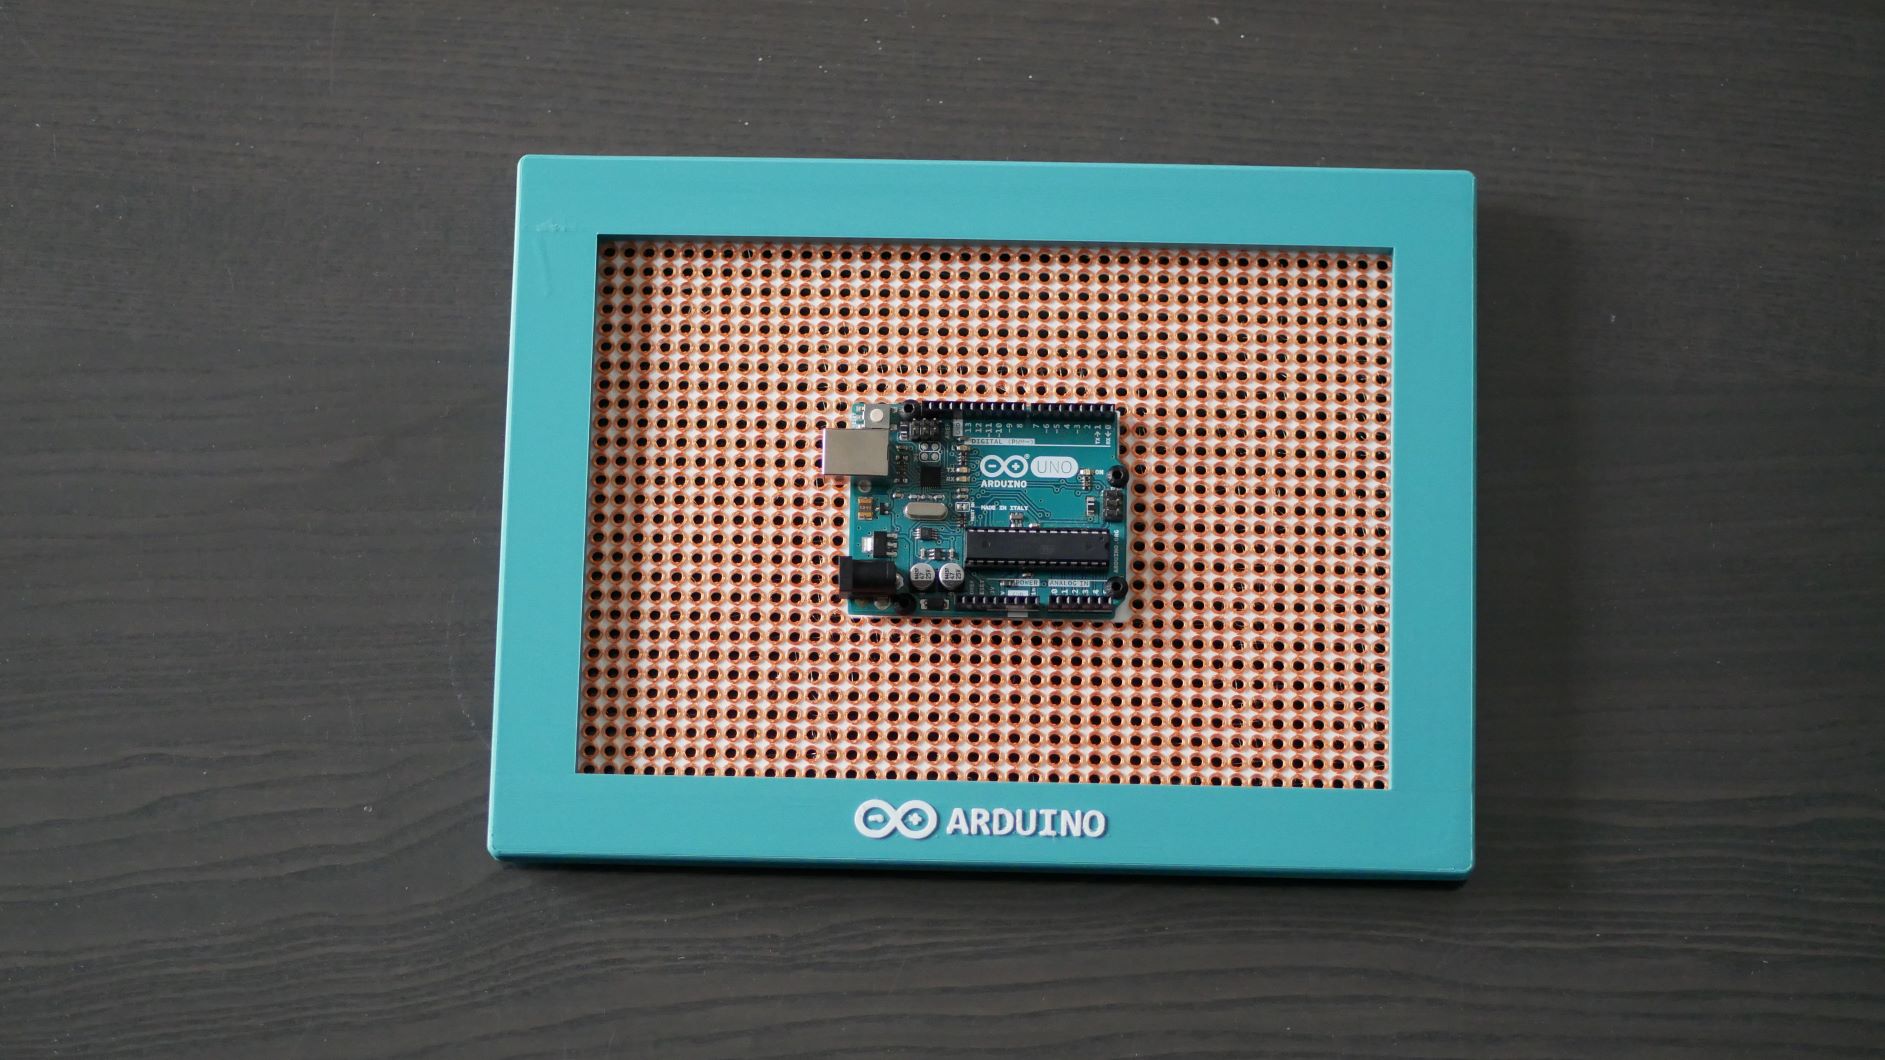
Arduino Picture Frame
prusaprinters
<p>I had a broken Arduino board and had no idea what to do with it. At the same time I wanted to learn more about Fusion360, so decided I'll design a picture frame for my arduino so I can show it off on my home office cabinet.</p> <p><strong>Printing Instructions</strong></p> <p>There are 2 parts to print:</p> <ul> <li>Board</li> <li>Frame<br/> <strong>board.stl</strong><br/> Board should be printed with the raised circles on top. Ideally, make sure to add M600 (for Prusa) to change filament to have circles in a different color for the best results.</li> </ul> <p><strong>frame.stl</strong><br/> Print frame with the Arduino label on top, and add supports only for the bottom hanger clip and the inner frame holders. For best results, make sure to change color for the Arduino label - otherwise, painting it with acrylic should do as well.</p> <p><strong>Installation</strong></p> <p>To attach the board to the frame I've used M3x8 screws, but M3x6 should do as well. To ount the Arduino I've used M3x10 with M3 nuts.</p> <h3>Print instructions</h3><h3>Category: Electronics Summary</h3> <p>I had a broken Arduino board and had no idea what to do with it. At the same time I wanted to learn more about Fusion360, so decided I'll design a picture frame for my arduino so I can show it off on my home office cabinet.</p> <p><strong>Printing Instructions</strong></p> <p>There are 2 parts to print:</p> <ul> <li>Board</li> <li>Frame<br/> <strong>board.stl</strong><br/> Board should be printed with the raised circles on top. Ideally, make sure to add M600 (for Prusa) to change filament to have circles in a different color for the best results.</li> </ul> <p><strong>frame.stl</strong><br/> Print frame with the Arduino label on top, and add supports only for the bottom hanger clip and the inner frame holders. For best results, make sure to change color for the Arduino label - otherwise, painting it with acrylic should do as well.</p> <p><strong>Installation</strong></p> <p>To attach the board to the frame I've used M3x8 screws, but M3x6 should do as well. To ount the Arduino I've used M3x10 with M3 nuts.</p> <h3> Print Settings</h3> <p><strong>Printer Brand:</strong></p> <p>Prusa</p> <p><p class="detail-setting printer"><strong>Printer: </strong> <div><p>I3 MK3S</p></div><strong>Rafts:</strong></div></p> <p>No</p> <p><p class="detail-setting supports"><strong>Supports: </strong> <div><p>Yes</p></div><strong>Resolution:</strong></div></p> <p>0.2</p></p></p>
With this file you will be able to print Arduino Picture Frame with your 3D printer. Click on the button and save the file on your computer to work, edit or customize your design. You can also find more 3D designs for printers on Arduino Picture Frame.
