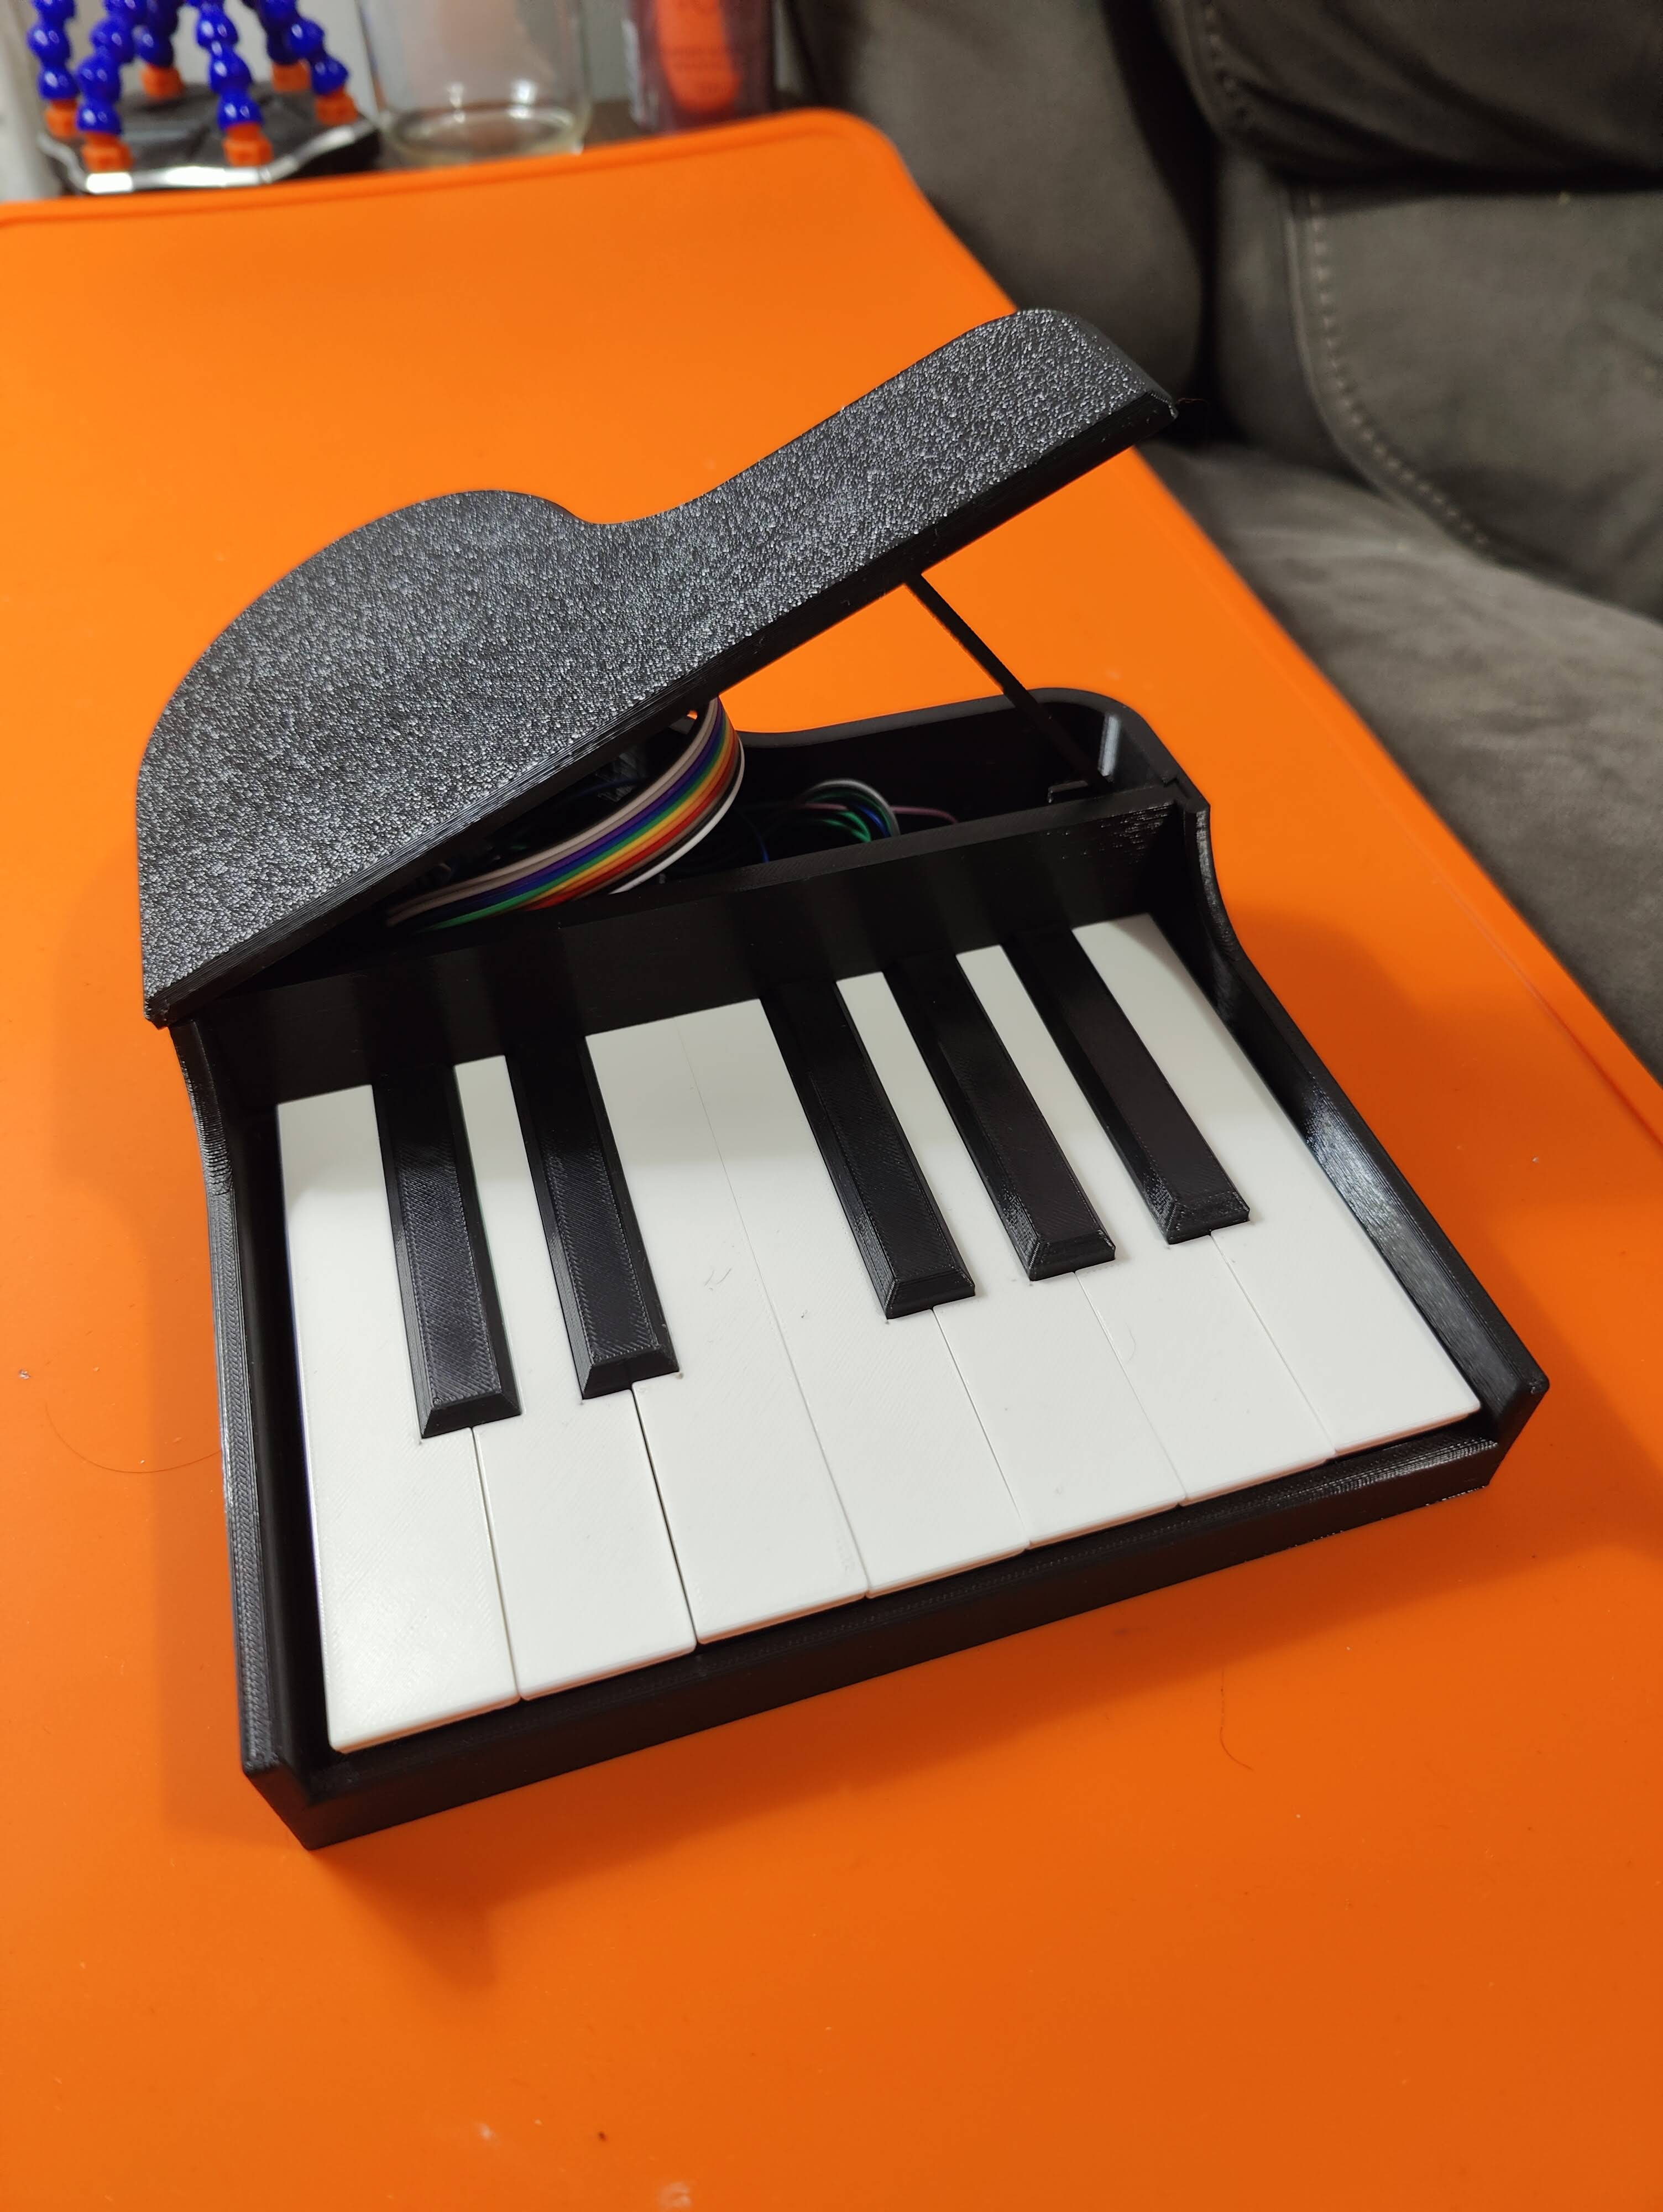
Arduino Piano/ Sound Board
prusaprinters
<p>This is a piano that runs on an Arduino with a MP3-TF-16P mp3 player module. When the note keys are pressed the Arduino reads that and send the proper command to the mp3 module to play that note. It can be used as a piano by using the mp3's I have provided or can be a soundboard by placing your own mp3 files on the SD card.</p><figure class="media"><oembed url="https://www.youtube.com/watch?v=1eWUzQFKwZY"></oembed></figure><p> </p><h5>UPDATE:</h5><p>For anyone who downloaded the Arduino code before the Nov 5th please download the one available now (pianov3) as the old code would not work with the boards sent out in the ufo project box.</p><p>Wiring Diagram updated as mp3 moldule was upside down.</p><p> </p><h3>Printing:</h3><p>All parts saved as STL are in the correct orientation, and no supports are needed if printed in that orientation.</p><h3> </h3><h3><strong>Components:</strong></h3><ul><li>1x ESP-WROOM-32</li><li>1x MP3-TF-16p w/ SD card</li><li>1x 8ohm 2W speaker</li><li>12x 6mm push buttons</li><li>8x M3x6 screws (not included in UFO box) [3d printable peg included in model as alternative]</li><li>Wires (not included in UFO box)</li></ul><p> </p><h3>Wiring Diagram:</h3><figure class="image"><img src="https://media.printables.com/media/prints/305419/rich_content/b306ee07-0dba-4abc-8147-949c979db975/piano_bb.png#%7B%22uuid%22%3A%222453a4fd-c28d-4ee3-9f26-e95d01c63a72%22%2C%22w%22%3A1482%2C%22h%22%3A1173%7D"></figure><p>Note: The piano pdf included below is the same wiring diagram as here but you can zoom in for better detail.</p><p> </p><h3>Assembly:</h3><p>Place the push buttons into the button holders. Then solder wires onto the buttons. I highly suggest you follow the wiring diagram picture and solder the buttons diagonally as the pins are in pairs and is you do it diagonally you avoid soldering a pair together and shorting the button. Place the buttons in the holder into the bottom using a screw/peg to hold them in place then thread the wires under the opening leading to the back so it can be connected to the Arduino. Solder wires into the speaker and place it into the grill location on the bottom and then you can place the Arduino in place and the mp3 module and finish wiring things up. </p><p>The piano keys pop into place, followed by the key guard sliding in from the top. The Lid hinge pops into the key guard and the lid pops into the base.</p><p> </p><h3>Preparing the MicroSD Card:</h3><p>First you will want to download the mp3.zip that I included below and extract the contents of the zip file to the root of the sd card. You should end up with an mp3 folder in the sd card and inside that folder are 12 mp3 files.<br>If you wanted to make a soundboard instead this is where you would replace the mp3 files in that folder with your own mp3 files but the must be named in the same format of 00XXname.mp3 where XX is a number from 01-12 and name can be whatever you like (you can actually skip the name part and just save them as 0001.mp3 for example)</p><p> </p><h3>Programming:</h3><p>There are 2 ways you can program the board.</p><h5><strong>Arduino Web Editor:</strong></h5><p>One way is to use the Arduino web editor. I have uploaded the code to the Arduino website and shared it below this should make it simple to use and program. Just follow the websites directions on getting the needed plug in installed. The board you would select is the esp32 dev module</p><p><a href="https://create.arduino.cc/editor/dsk001785/f33cd6a5-d6aa-43c8-b625-73dd2cf9dc73/preview">https://create.arduino.cc/editor/dsk001785/f33cd6a5-d6aa-43c8-b625-73dd2cf9dc73/preview</a></p><h5>Locally on PC:</h5><p>To flash the board locally on your pc you will need a few things.</p><p>First you will need the Arduino IDE installed on your computer. Which you can install from <br>https://www.arduino.cc/en/software . If you are using windows 11 I would suggest to download and install the legacy IDE version as new one gets some access denied errors.</p><p>Once the IDE is up and running you will need to install a few libraries and the esp32 board.</p><p>First thing you will need is to install the Espressif esp32 board library. You can do so by following the tutorial on the website below: [Note for our board select the esp32 dev board]</p><p><a href="https://randomnerdtutorials.com/installing-the-esp32-board-in-arduino-ide-windows-instructions/">https://randomnerdtutorials.com/installing-the-esp32-board-in-arduino-ide-windows-instructions/</a></p><p>Next you will need some libraries which you can install by following:<br><a href="https://create.arduino.cc/projecthub/akshayjoseph666/adding-library-in-arduino-ide-7deb01">https://create.arduino.cc/projecthub/akshayjoseph666/adding-library-in-arduino-ide-7deb01</a></p><p>The libraries you will need are:</p><ul><li>DFRobotDFPlayerMini</li></ul><p>After the board and libraries are installed you can open up the piano.ino file included. It will give you a pop up that the piano.ino needs to be inside a sketch folder named piano, you should be able to click ok and it will do it for you.</p><p>You can the select the board Esp32 Dev Module and the correct port and click upload.</p><p>This should compile the code and send it to the board for you!</p><p> </p><h5><strong>Special Thanks:</strong></h5><p>I would like to thank SingleInfinity on Reddit who created and shared the mp3 sounds that I used for the piano<br><a href="https://www.reddit.com/r/piano/comments/3u6ke7/heres_some_midi_and_mp3_files_for_individual/">https://www.reddit.com/r/piano/comments/3u6ke7/heres_some_midi_and_mp3_files_for_individual/</a></p><p> </p><p>Post and Share<br>I love seeing the community makes please feel free to tag me @dsk001_3D and @alienslacker on Instagram and twitter </p><p><br> </p>
With this file you will be able to print Arduino Piano/ Sound Board with your 3D printer. Click on the button and save the file on your computer to work, edit or customize your design. You can also find more 3D designs for printers on Arduino Piano/ Sound Board.
