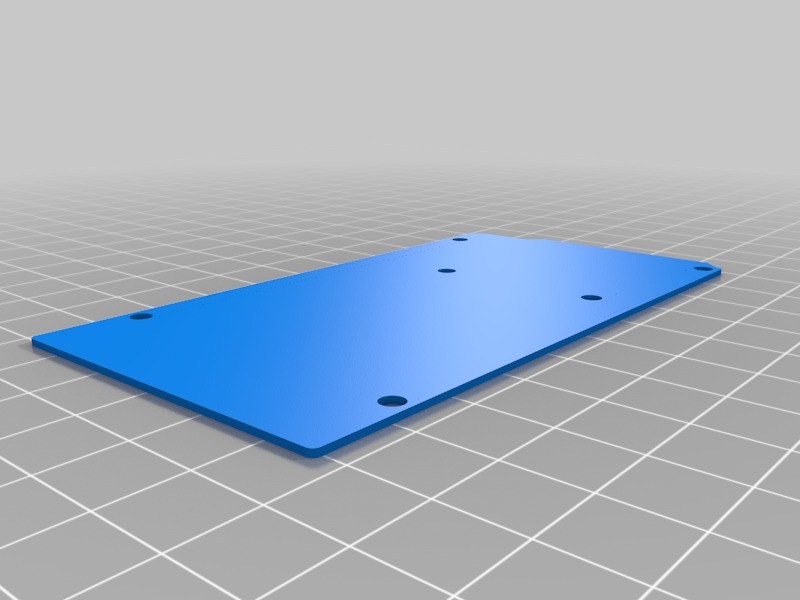
Arduino mega 2560
thingiverse
Here's a simple step-by-step guide to drilling precise holes that fit your Arduino Mega 2560 perfectly. You'll need just a few basic tools and some careful planning to get the job done. 1) First, ensure you have all the necessary materials within arm's reach, including your Arduino board, drill press or hand drill, and a set of precision drill bits. 2) Measure carefully, then mark the exact spot where you want to drill on the Arduino Mega 2560 using a sharp pencil or marker. Make sure it's centered accurately for optimal results. 3) Next, place the marked Arduino in your drill press or hand drill, ensuring it is securely held down to prevent movement during drilling. 4) Choose the correct drill bit size, taking into account any existing components on the board that may be affected by the hole you're creating. 5) Start drilling slowly and carefully, applying gentle but firm pressure. If necessary, adjust your drill speed for optimal results. With patience and attention to detail, you'll have perfectly drilled holes in no time, ready for connecting cables or other components as needed.
With this file you will be able to print Arduino mega 2560 with your 3D printer. Click on the button and save the file on your computer to work, edit or customize your design. You can also find more 3D designs for printers on Arduino mega 2560.
