Arduino Leonardo with joystick shield case
thingiverse
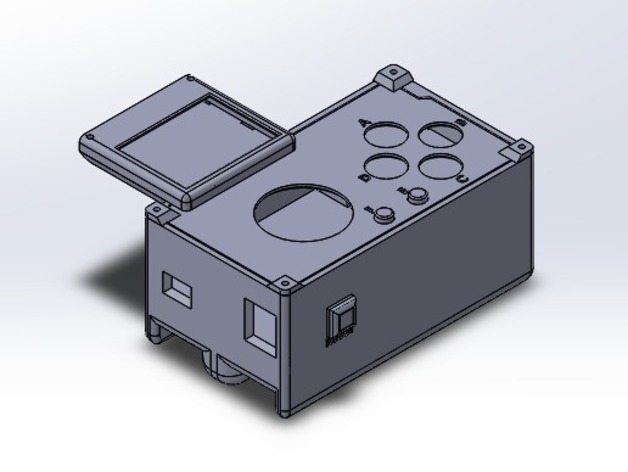
I'd like to share a simple Arduino Leonardo project that's a breeze to build. This case accommodates an Elecfreaks joystick shield v2.4 and a Nokia LCD 5110 display. To assemble this DIY gadget, you'll need a few components: the Arduino Leonardo itself, a joystick shield from Elecfreaks, buttons for Forward/Enhance small keys, and a large button for the Reset mini switch. If you encounter any issues with this assembly process, don't hesitate to reach out. Getting started is straightforward: 1. Secure the joystick shield to your Arduino Leonardo board. 2. Mount the Nokia LCD 5110 on top of the joystick shield using standard mounting screws or adhesive. 3. Place the reset button into its designated housing for a neat finish. 4. Insert components into the bottom portion of the case. 5. Align the F and E buttons, positioning them carefully in their assigned spaces. 6. Place the top case segment over the assembled unit for a complete fit. 7. Fit the LCD display cover snugly onto the front section. 8. Screw it all together using plastic screws inserted through the six available screw holes on the casing. Be certain to use metric screws, as these will securely fasten in place without slipping. Pilot holes with diameters of 2mm facilitate an effortless installation process for your components and provide a neat appearance once assembled.
With this file you will be able to print Arduino Leonardo with joystick shield case with your 3D printer. Click on the button and save the file on your computer to work, edit or customize your design. You can also find more 3D designs for printers on Arduino Leonardo with joystick shield case.