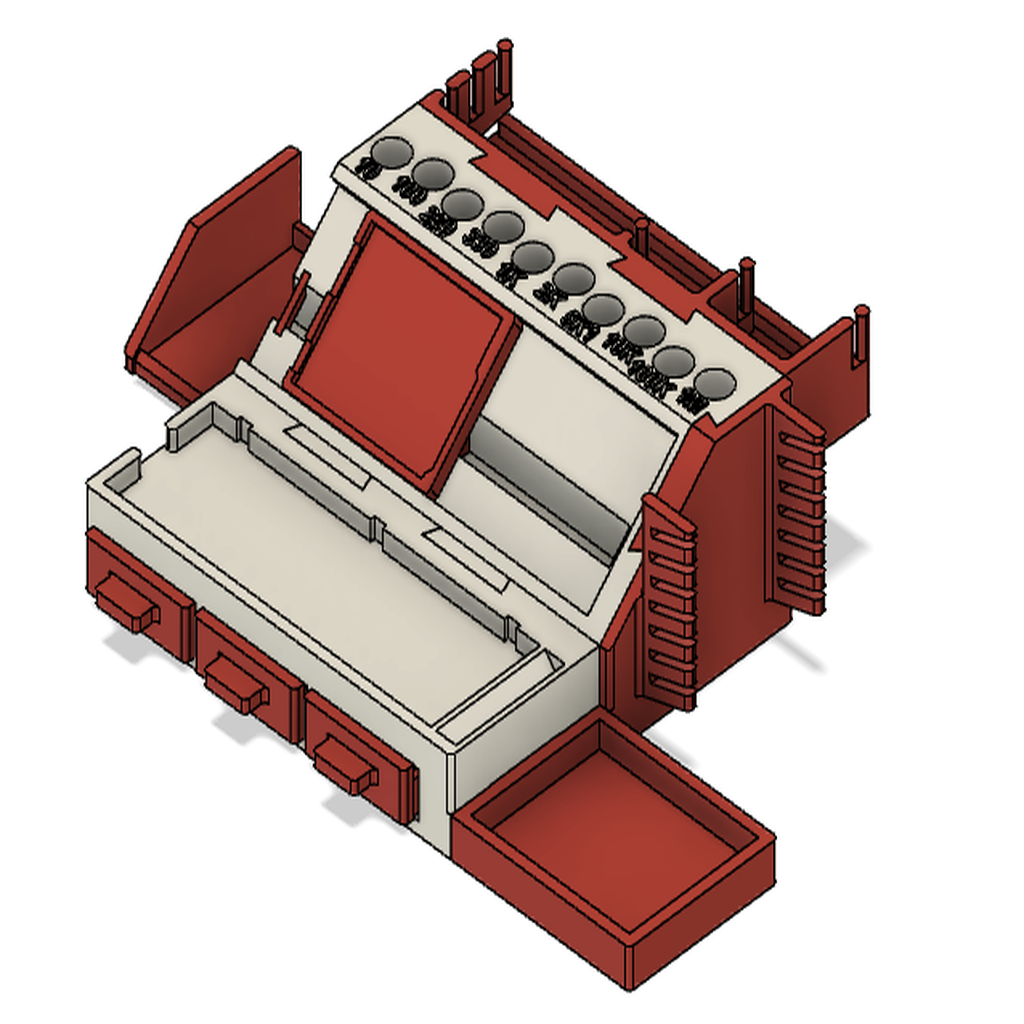
arduino lab
thingiverse
Complete an Arduino Lab with Ease and Confidence To embark on a comprehensive Arduino lab experience, first assemble all necessary components, including the Arduino board itself, a variety of sensors, motors, and other peripherals that will be used throughout the project. Begin by installing the Arduino IDE software on your computer. This software is crucial for coding and programming the Arduino board. Ensure you have a reliable internet connection to download any required updates or libraries. Next, connect the Arduino board to your computer using a USB cable. Power up the board by connecting it to a power source, such as a battery pack or wall adapter. Now, familiarize yourself with the basic components of an Arduino circuit. Understand how to properly connect sensors and motors to the board, ensuring correct voltage levels and polarity. With the foundation laid, start experimenting with simple coding projects that introduce you to the world of programming and electronics. Begin with basic sketches that control LED lights or small motors, gradually moving on to more complex projects such as home automation systems or robotic designs. Remember, practice is key when it comes to mastering Arduino skills. Continuously experiment and try new things to solidify your understanding of this powerful tool.
With this file you will be able to print arduino lab with your 3D printer. Click on the button and save the file on your computer to work, edit or customize your design. You can also find more 3D designs for printers on arduino lab.
