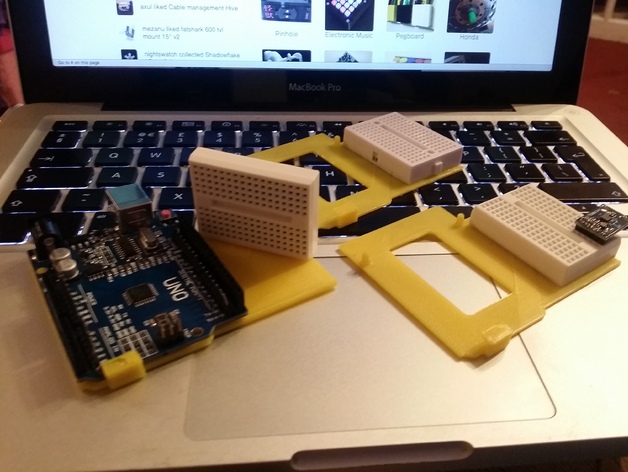
Arduino friction mounting plate with small breadboard addon
thingiverse
I strongly advise starting a print when the design reaches approximately two-thirds completion at a speed as low as possible while maintaining maximum cooling, given that the pins are exceptionally delicate and can easily distort under high temperatures or excessive heat transfer. Managing overhanging sections effectively requires either slow speeds accompanied by substantial cooling capabilities, but in most cases, a judicious use of support structures could serve to enhance print stability. To streamline the process, utilize the integrated support code embedded within the provided .gcode file. For physical mounting purposes, it's beneficial that an Arduino can snugly fit and adhere using mere friction alone; however, it's not advisable to heavily rely on friction as a sole means of secure attachment, particularly in highly oscillatory environments – consider incorporating additional reinforcement if required for added durability. Included as part of this package is a temporary holding feature represented by a minimalist hook capable of being easily attached for use during instances necessitating support – in my specific setup, I've chosen to mount it securely on the adjacent radiator for added steadiness throughout the print process. Printer Settings Manufacturer: RepRap Printer Type: Prusa i2 Layer Setup: Yes - None Used Yes
With this file you will be able to print Arduino friction mounting plate with small breadboard addon with your 3D printer. Click on the button and save the file on your computer to work, edit or customize your design. You can also find more 3D designs for printers on Arduino friction mounting plate with small breadboard addon.
