Arduino Ethernet, LCD and Servo
thingiverse
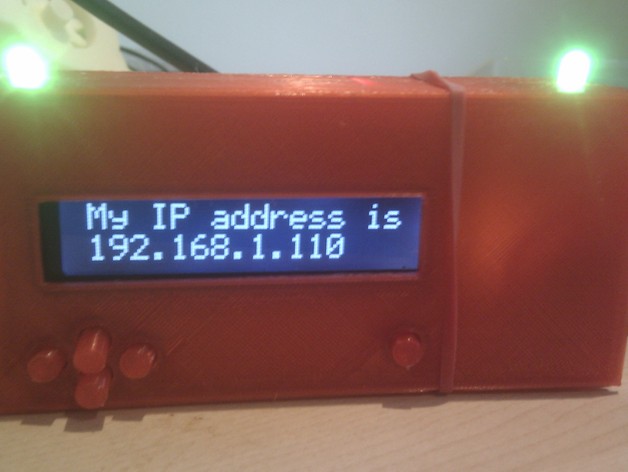
An Enclosure for Displaying Live Feeds: A Cutting-Edge DIY Project When live feeds change, this innovative enclosure springs into action, showcasing the updates on its built-in LCD screen, flashing its bright lights, and raising its iconic flag. With countless potential applications, imagination is the only limit. Explore endless possibilities by pushing the boundaries of what's possible! Get Ready to Create Your Own Version: Visit our tutorial for more information! Important Details This project was designed specifically for the Freetronics EtherMega Arduino Board and a 9g servo. Make sure you have these essential components: * EtherMega: Purchase yours today at www.freetronics.com * LCD: Enhance your interface with this feature-packed shield from Freetronics * 9g Servo: Order yours from eBay, along with a reliable power supply (at least 1-2 Amps) * Power Supply: Choose a reliable option for optimal performance * LEDs and Resistors: Customize your design with these versatile components Get Started! Building Your Own Version is Easy as Pie! To bring this amazing project to life, follow these simple steps: 1. Design Your Enclosure: Create a structure that suits your needs, printing it out using PLA or ABS plastic. 2. Assemble the Base Unit: * Attach clear holes on top for RGB LEDs (optional). * Print with support and clean edges for an error-free build process. * Test fitment and clearance for smooth performance. 3. Install Electronic Components: * Carefully place the Arduino Mega, LED wires, resistor, and other necessary parts. * Ensure secure connection and tight spaces allow efficient workflow. 4. Secure Your Electronics: * Insert servo horn after carefully assembling the top section with clean wire routing. Tips and Reminders Before Final Assembly: 1. Check for loose pins in your top shield (the lid). Wipe the wires gently before soldering for precise placement. 2. Carefully arrange all electronics and attachments to fit comfortably without restrictions. 3. Place Arduino Mega securely using buttons from LCD KeyPad. For any issue that arises during setup or while following our tutorial feel free to reach out for more support. This DIY masterpiece is perfect for various creative outlets – use your imagination and watch it come alive with limitless possibilities! Let's Bring It To Life Now
With this file you will be able to print Arduino Ethernet, LCD and Servo with your 3D printer. Click on the button and save the file on your computer to work, edit or customize your design. You can also find more 3D designs for printers on Arduino Ethernet, LCD and Servo.
