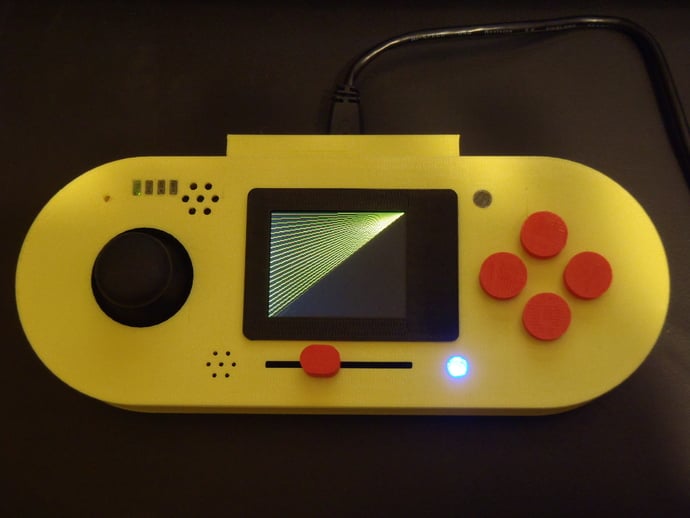
Arduino Esplora Case
thingiverse
This case is designed for the Arduino Esplora board and includes a bezel compatible with Adafruit's 1.8" display. The top features clear windows with light guides for the RGB LED and light sensor, as well as tubes to guide sound to/from the built-in beeper and microphone. All buttons, including reset, are accessible from the case top. To assemble, print the Bottom, Top, Buttons, Bezel, and LightGuides STL files at .3mm layer height with 50% fill and no extra shells; PLA is recommended for the Top and Bottom to minimize shrinkage issues. Support may be needed for the Top.stl file due to its tabs on the switch pushrods. The Windows.stl file should also be printed using clear PLA at .3mm layer height with 100% fill and no extra shells. Attach the connector cover to the case bottom, followed by placing the windows over the light sensor and LEDs. Next, insert switch pushrods into the top holes over switches, gluing button tops in place. Install the Esplora board with #2 x 3/16 screws, then connect the display using two extra connector pins for support. Finally, assemble the case by lining up the display bezel, attaching the reset pushrod, and securing the top to the bottom. The required components include an Arduino Esplora board (available at Radio Shack), Adafruit 1.8" display, and two 3/16 sheet metal screws from J&R Hobby Hardware.
With this file you will be able to print Arduino Esplora Case with your 3D printer. Click on the button and save the file on your computer to work, edit or customize your design. You can also find more 3D designs for printers on Arduino Esplora Case.
