Arduino Energy Meter V2.0
cults3d
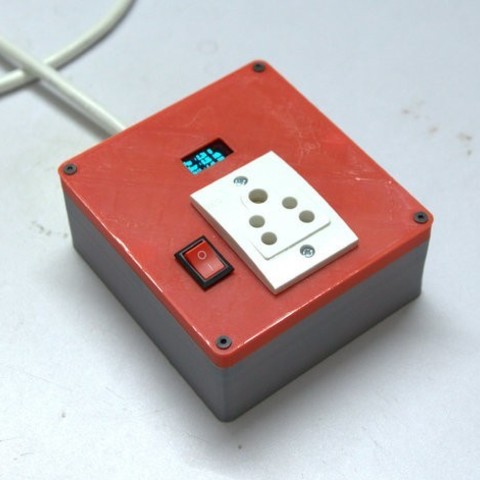
Craft Your Own Wemos/ESP8266 Energy Meter from Scratch. To assemble this innovative energy meter, start by gathering a D1 mini Wi-Fi board, an ESP8266 microcontroller, a DS3231 real-time clock module, and an ACS712 current sensor. Next, attach the components to a breadboard or PCB according to your preferred layout. Ensure that all connections are secure and accurate. Once assembled, upload the necessary Arduino code to the ESP8266 using the Serial Monitor tool in the Arduino IDE. This will enable the energy meter's functionality and allow it to communicate with your home network. Next, configure the energy meter to read voltage and current data from the ACS712 sensor. You can do this by modifying the code to match your specific setup. Additionally, consider implementing features like automatic power-off or email notifications for added convenience. As you finalize your DIY project, test the energy meter thoroughly to ensure accurate readings and reliable performance. With a Wemos/ESP8266 energy meter built from scratch, you'll be able to monitor your home's energy usage in real-time, helping you make informed decisions about your energy consumption.
With this file you will be able to print Arduino Energy Meter V2.0 with your 3D printer. Click on the button and save the file on your computer to work, edit or customize your design. You can also find more 3D designs for printers on Arduino Energy Meter V2.0.