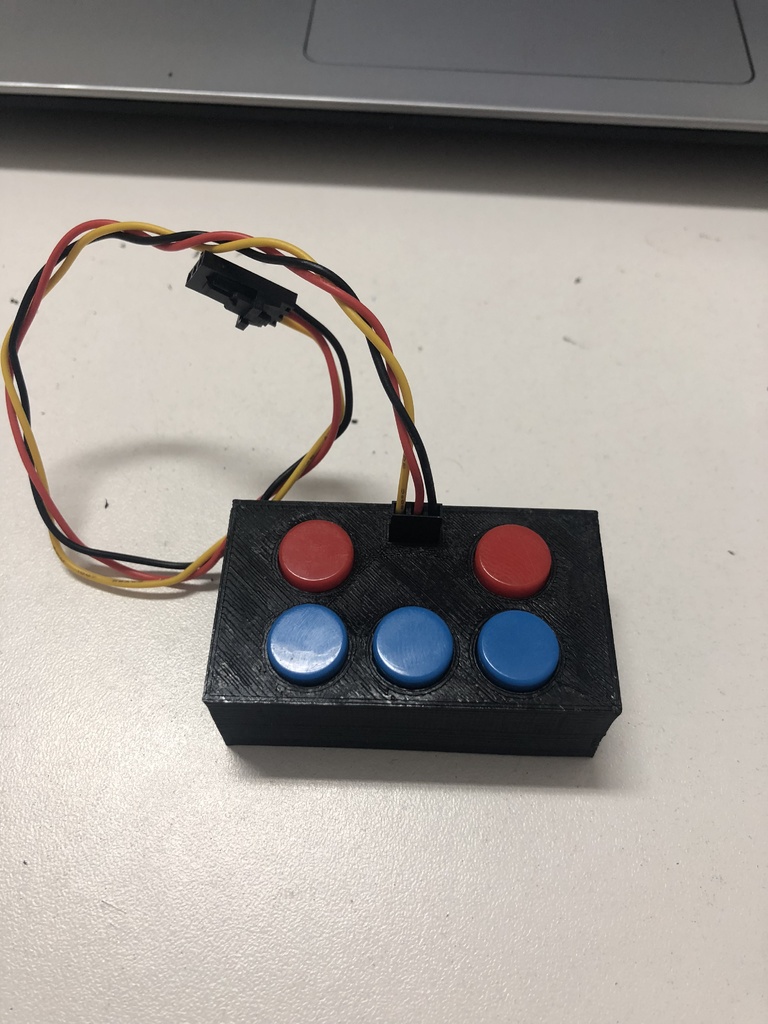
Arduino button case
thingiverse
The design of an Arduino button case involves creating a custom housing to enclose and protect an Arduino board's buttons. This project requires a combination of electronic and mechanical skills, as well as knowledge of 3D printing or laser cutting techniques. To start, you'll need to gather materials such as acrylic plastic sheets or wood for the enclosure, hot glue gun, drill press or Dremel tool, sandpaper, and a computer with design software. The first step is to create a digital model of your Arduino button case using a program like Fusion 360 or Tinkercad. Once you have your design file, send it to a 3D printer or laser cutter for manufacturing. If you're using a 3D printer, make sure to adjust the settings according to the material and layer height. For laser cutting, choose the correct setting based on the type of wood or acrylic you are using. After receiving your custom enclosure, assemble the Arduino board's buttons by attaching them to the case using hot glue. Make sure they are securely attached to prevent any accidental detaching during usage. Next, drill holes for cables and connect them to the Arduino board. To ensure a secure fit, apply a thin layer of hot glue around the edges of the enclosure and press it firmly onto the Arduino board's buttons. Use sandpaper to smooth out any rough edges or burrs. Finally, attach the Arduino case to your project by soldering wires from the buttons to the microcontroller.
With this file you will be able to print Arduino button case with your 3D printer. Click on the button and save the file on your computer to work, edit or customize your design. You can also find more 3D designs for printers on Arduino button case.
