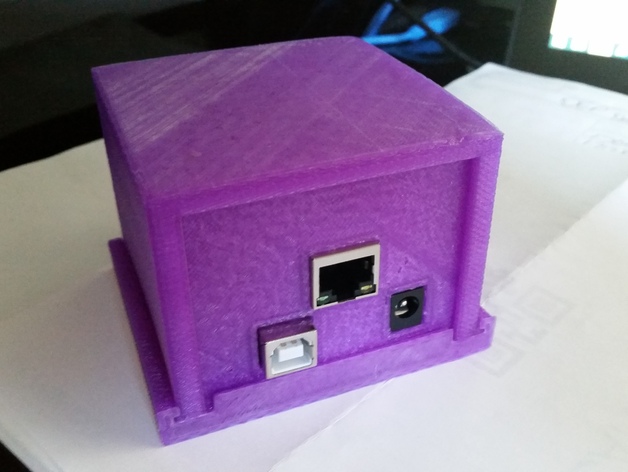
Arduino and Ethernet Shield Enclosure
thingiverse
The components fit perfectly, held in place by a gentle pressure without requiring any additional screws :) Fits seamlessly around an Arduino Uno combined with a Seed Studio Ethernet shield. It has room for something extra on top, which is why it's slightly taller than the standard combo of Uno and shield. Instructions Printing: Make sure the main section, with its four sides, is oriented correctly on the print bed, ensuring a smooth surface to work with. The other two components are easily identifiable. Assembly: Hold your Arduino Uno and Ethernet shield together securely, then place the front panel over the ports before gently sliding it upwards into the larger component, complete with four sides. Positioning the back of the device against the rear enclosure ensures proper fitment. After those pieces settle in, carefully slide on the base from the front. You may need to check for any extra plastic residue that could hinder movement, despite this precautionary step you might still need to give a gentle tap to finalize its placement.
With this file you will be able to print Arduino and Ethernet Shield Enclosure with your 3D printer. Click on the button and save the file on your computer to work, edit or customize your design. You can also find more 3D designs for printers on Arduino and Ethernet Shield Enclosure.
