Arcade1Up - RetroPie PCB mounts
thingiverse
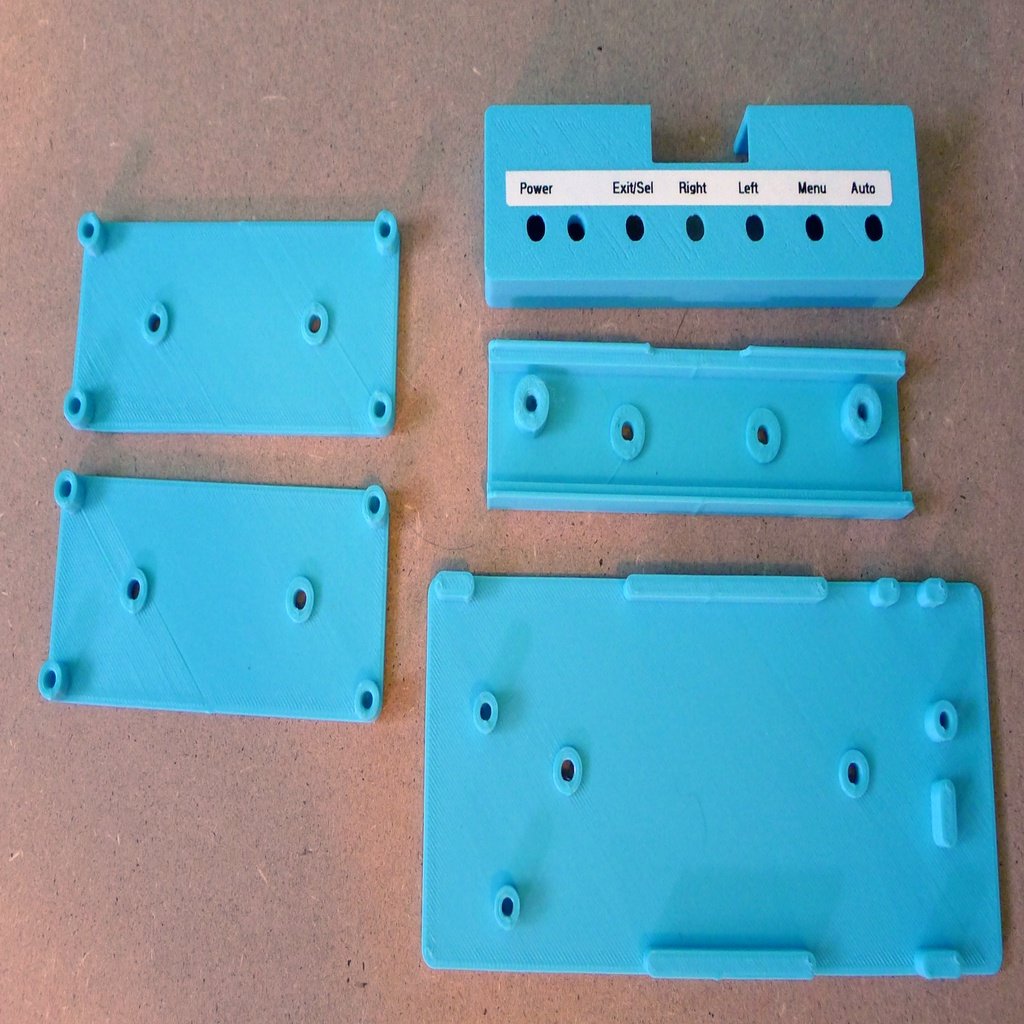
The Arcade1Up home-arcade games have become extremely popular items, perfect for home use due to their compact size at three-quarters that of commercial cabinets. They also offer an ideal framework for building a RetroPie cab - utilizing a Raspberry Pi SBC to run games. I decided to convert my least-favorite and most control-board rich Arcade1Up cab, the Street Fighter model, into a RetroPie setup. There are numerous YouTube videos providing instructions on this conversion process, which have greatly aided me. If you're seeking information or have questions regarding the conversion, I recommend referring to these resources. To use the Raspberry Pi, several interfaces previously provided by the Arcade1Up PCB need to be replaced: video and controls. Using the existing A1UP LED screen requires an interface between it and the Raspberry Pi's HDMI output. An affordable and widely available controller can handle this task. For all buttons and other controls, they're connected via USB using a couple of interface boards. The builders attached the new PCBs to the Arcade1Up cabinet using double-sided sticky tape. However, I opted for a different method, as I found it a bit messy and difficult to remove if needed in the future. I designed some custom PCB mounts as well as a cover for the video button-board. These can be mounted with sticky-tape or short screws. The mounts attach securely to the cabinet surfaces using M3-6 screws with a button-head. The video interface board requires a grounding strap from the original A1UP PCB to be attached. I left off a post in the upper-left mounting position to accommodate this requirement. It's essential to note that all the videos on converting Arcade1Up to RetroPie advise against mounting the video board on the metal back of the LED panel, especially when using sticky-tape, as component leads can poke through and create a short-circuit risk. However, with printed PCB mounts, attaching it to the metal back (with sticky tape) is safe. Unfortunately, my A1Up unit's CFL power cord was too short, preventing me from mounting the video board elsewhere without modifying the cable. The printed PCB mount provides an opportunity to place the video control button-board outside of the cabinet. I created two versions of the button-board cover, with the only difference being the connector slot on one is easier to attach without removing the cable. Additionally, the cover features two slots on its short end for easy prying open. You may notice I'm using museum putty to trial-mount everything. This highly recommended material has been instrumental in my setup.
With this file you will be able to print Arcade1Up - RetroPie PCB mounts with your 3D printer. Click on the button and save the file on your computer to work, edit or customize your design. You can also find more 3D designs for printers on Arcade1Up - RetroPie PCB mounts.
