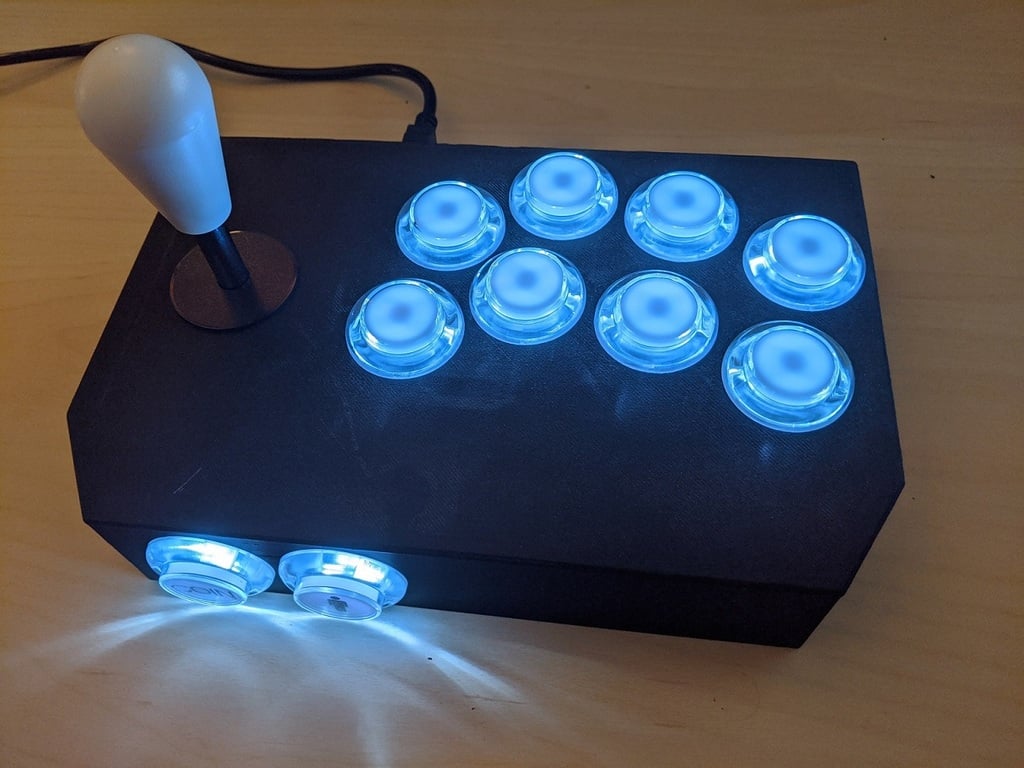
Arcade Game Controller
thingiverse
It's an arcade pad. Click click smash smash. --- BOM: This cheap button / joystick / controller set https://www.amazon.com/dp/B07MQYZX5X/ M3 heat set inserts x10 https://www.amazon.com/dp/B01IYWTCWW/ M3 x 5mm-ish screws, x12 A USB-B extender with mounting holes https://www.digikey.com/product-detail/en/tripp-lite/U025-001-PM/TL779-ND/4439395 Optional: Polycarbonate sheet > 9x6": https://www.mcmaster.com/8574K24/ --- Steps: 1. Print the Enclosure. 2. If you're doing heat-set inserts, stick those in the 6 holes around the base, and the 4 holes for the controller. 3. Figure out what you want to do for the baseplate. You can EITHER print one or make one some other way. I made one out of clear polycarb, like I linked above. If you're doing polycarb, you can CNC it if you're rich I guess? I just printed that pdf and used it with scissors and a drill to make the part. Easy. Or just print the Baseplate.stl file. 4. To attach the controller, you first have to cut the shit out of that USB extender. It's kind of a crappy design tbh. But cut the shit out of that so it fits. Then use 4x M3 screws to attach the controller board and 2x for the USB extender keystone. 5. For the joystick, it has a pattern of 4 screws on top. Take those out. Put them back in through the hole pattern in the enclosure. 6. Buttons. Attach them. 7. Wire it. 8. Use 6x M3 screws to attach the baseplate. Boom. Done.
With this file you will be able to print Arcade Game Controller with your 3D printer. Click on the button and save the file on your computer to work, edit or customize your design. You can also find more 3D designs for printers on Arcade Game Controller.
