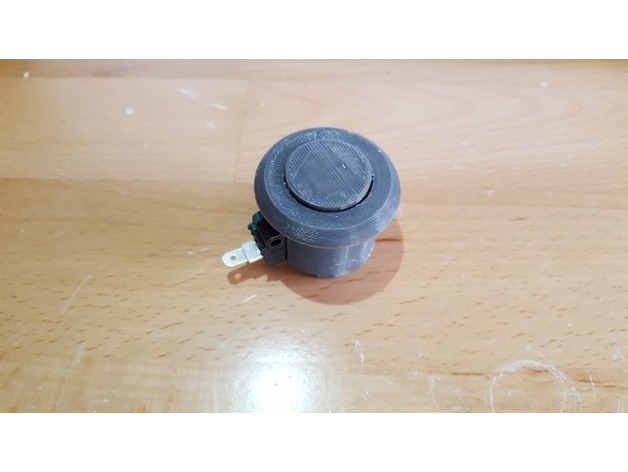
Arcade Button
thingiverse
I use this microswitch from Adafruit - https://www.adafruit.com/products/818#tutorials - which fits neatly into a 32mm hole. To get started, I set my printer settings as follows: Printer Brand: Printrbot Printer: Printrbot Plus Rafts: None Supports: None Resolution: 0.2mm Infill: 20% Once the printing is complete, it's time to assemble my project. Here are the instructions for assembly: First, I clean all parts with sandpaper and a file to remove any excess material or debris. Next, I insert part 2 into part 1, making sure everything is securely in place. Then, I glue part 3 into part 1, carefully aligning the slot in part 1 with the flat side of part 3. It's essential to let the glue dry completely before moving on to the next step. Finally, I insert the microswitch and my project is complete.
With this file you will be able to print Arcade Button with your 3D printer. Click on the button and save the file on your computer to work, edit or customize your design. You can also find more 3D designs for printers on Arcade Button.
