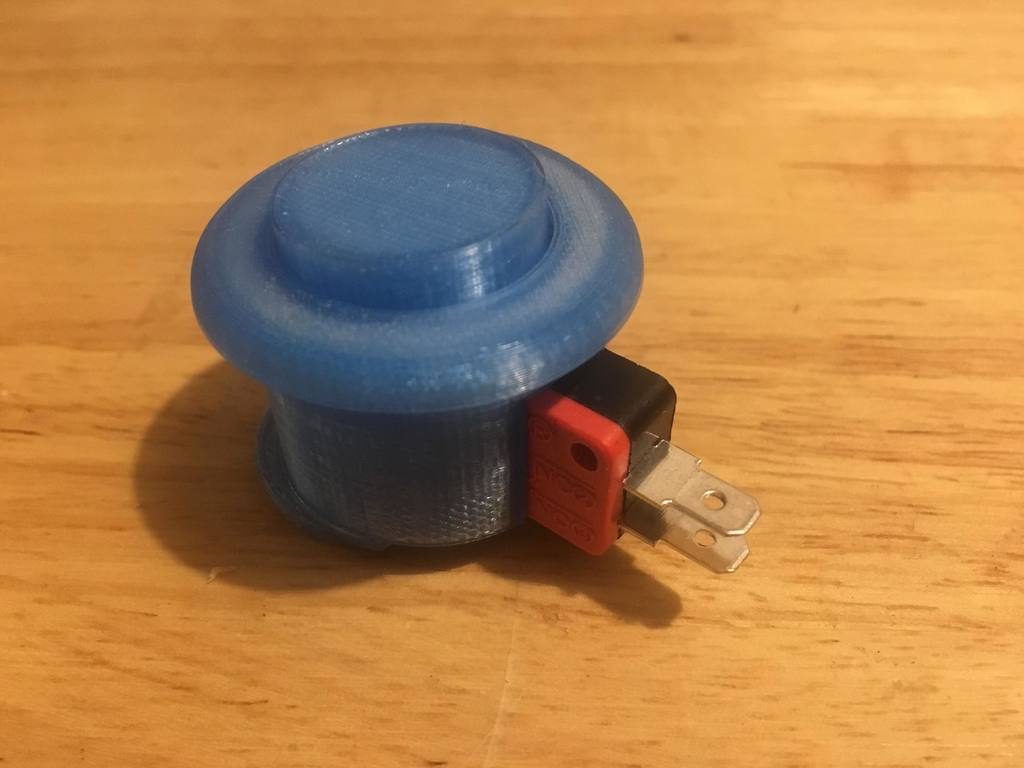
Arcade Button
thingiverse
This is a remix of an arcade button made by LNJ-Designs. I altered his design so that I could use the microswitches that I already had on hand. My version is specifically designed for these microswitches sold at Jaycar (https://www.jaycar.com.au/spdt-250vac-5a-micro-switch/p/SM1050). Check out the screenshots to see how to put them together. For the best printing layout, refer to the Prusa Slic3r screenshot. Assembly: Step 1: Insert the button part into the Body Top part. Make sure that the widest part of the button is sitting on the inside surface of the Body Top. Step 2: Slide the Body Base inside the Body Top, securing it in place with glue if necessary to prevent looseness. Step 3: Slide the microswitch into the button and push it back until the Ground connection presses against the Body Base.
With this file you will be able to print Arcade Button with your 3D printer. Click on the button and save the file on your computer to work, edit or customize your design. You can also find more 3D designs for printers on Arcade Button.
