Arcade Button
thingiverse
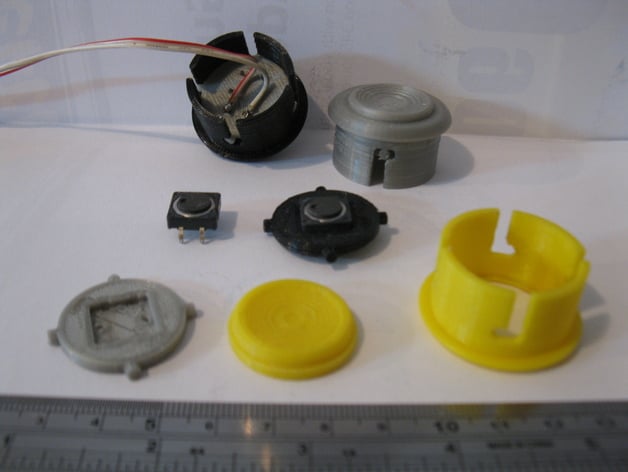
To create your MAME cabinet, first ensure your software is functioning properly. Next, gather buttons—print one of each type, clean edges if necessary, and confirm that the button moves freely inside its case. Place the switch in the holder, making sure it's firmly seated to prevent issues. Invert the case, drop the button in place, and slide the switchholder assembly to lock. Although glue isn't typically needed, you can use a small amount if desired. Once assembled, carefully solder wires onto the switch terminals and your setup should be complete. I've included a Scad file for reference (still learning, so improvements may be needed), but feel free to adjust the design based on your preferred switches.
With this file you will be able to print Arcade Button with your 3D printer. Click on the button and save the file on your computer to work, edit or customize your design. You can also find more 3D designs for printers on Arcade Button.
