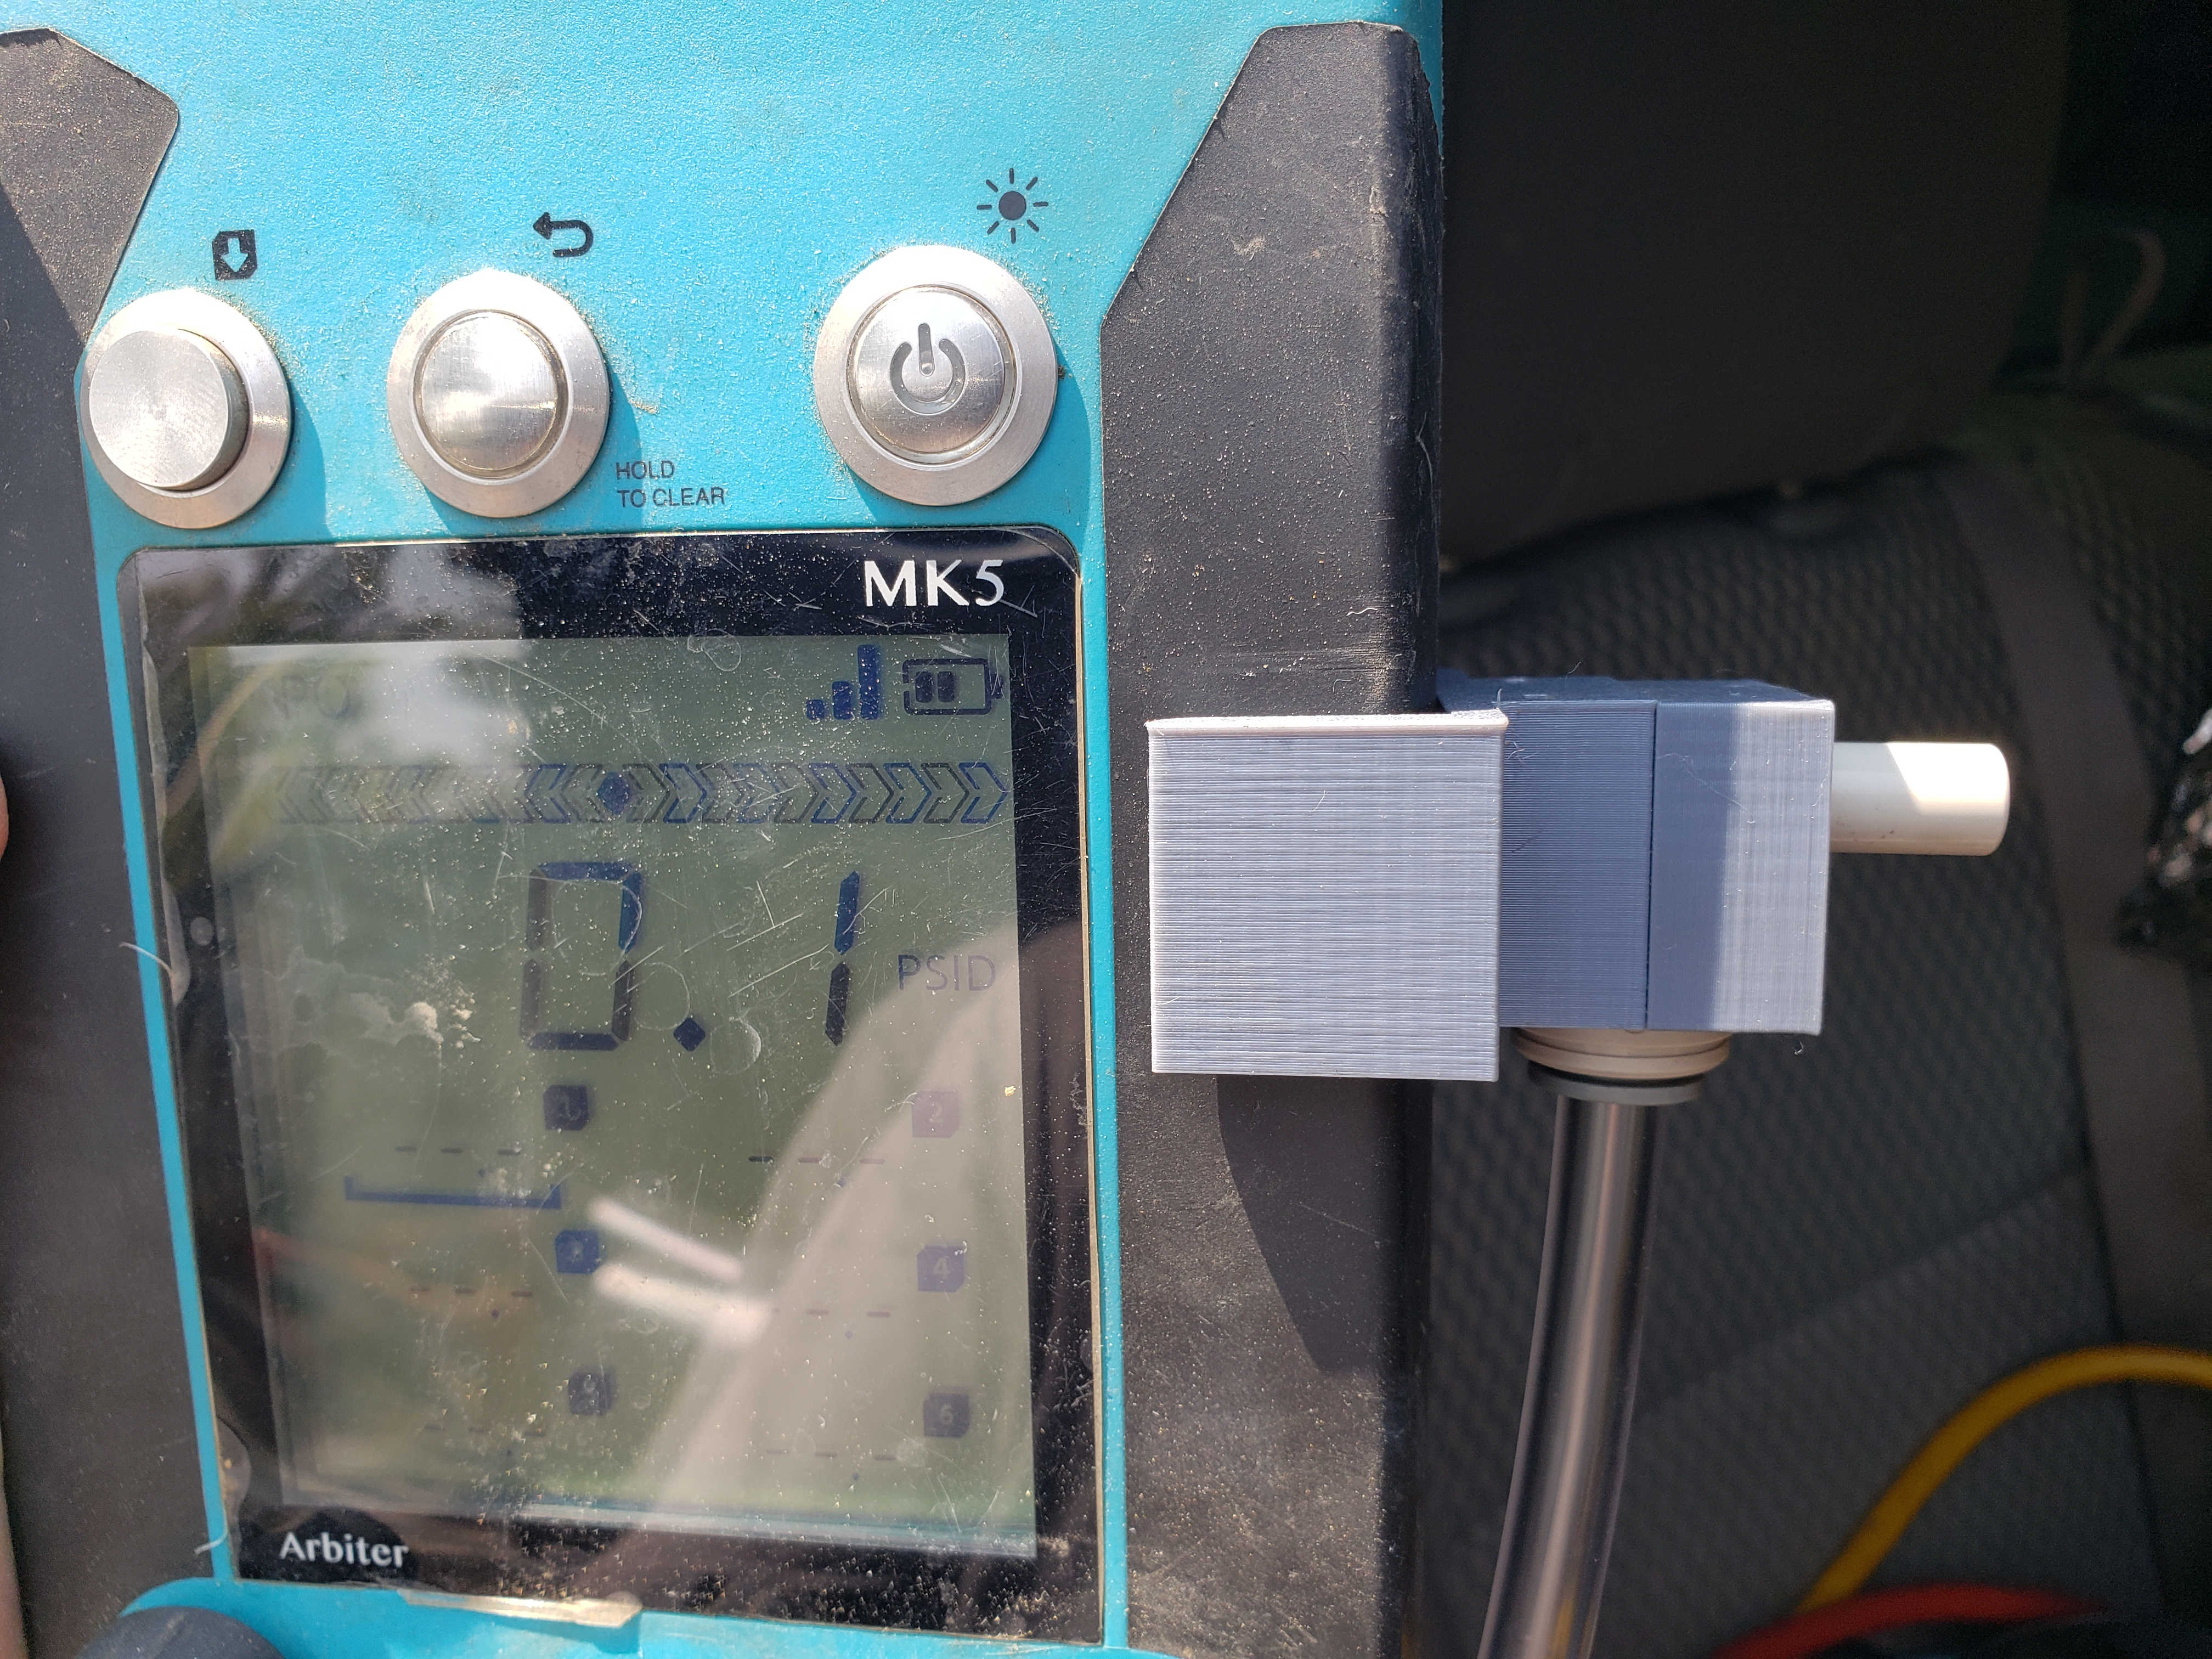
Arbiter Mako Sight Tube Clip
prusaprinters
<p>This is a very specialized tool. I don't see it helping very many others, or if any, but if it can help just one person then it's completely worth it. </p><p>I do backflow testing and I use the newest digital test kit from Arbiter, the Mako MK5. Part of the testing procedures for the Double Check Valve backflows (DC & DCDA I or II) require a sight tube to be elevated to the proper height with the test gauge. I saw this new view from Arbiter showing off their new sight tube with a clip that will keep the sight tube at the correct elevation at all times during the test and thought it was brilliant but could be better. Here's the video</p><p><a href="https://www.youtube.com/watch?v=2u83jSu49mM&ab_channel=ArbiterTech">https://www.youtube.com/watch?v=2u83jSu49mM&ab_channel=ArbiterTech</a></p><p>So, I went to work designing a better sight tube and clip. </p><p>When testing a DC/DCDA it's so much better to have the tube facing horizontally so that you can see when it's at a "slight drip" as required by USC's 10th edition testing requirement procedures. Plus with the sight tube in this orientation the water shoots off to the side instead of straight up and all over you. The only part I wasn't able to completely make better was the ¼" flared swivel barbed fitting. I can't find them anywhere. So I had to use one of my old hoses and a hose clamp. If anyone knows where to find those fittings with the ¼" barbed and crimp connector please let me know. I'd greatly appreciate it. It's the same hoses use for AC/refrigerant hook-up.</p><p>Another improvement I wanted was a better storage when not in use. Which is why I went for the quick connect elbow. It makes it quick and simple to remove the clip from the hose and store it in a pocket on my test kit bag, and less likely for it to get broken as well. That said, I print 2 of these clips and assemble them. One I use, the other is a backup in case the other does get broken. I just store it in my truck somewhere safe. </p><p>To make your own sight tube for the Mako you'll need: </p><ul><li>M3 x 18mm or 20mm socket head screws, as well as 2 flat square m3 nuts</li><li>3/8" O.D. clear tubing (found in most hardware stores in the plumbing section)</li><li>1 quick connect 90 3/8" tube to 3/8" stem (see link to Amazon below)</li><li>1 swivel connector with ¼" barbed fitting (see link below) or you can sacrifice one of your old hoses and use a hose clamp like I did.</li></ul><p>Swivel adapter: <a href="https://smile.amazon.com/Swivel-Flare-Nut-Barb/dp/B07F92W7VN/ref=sr_1_3?dchild=1&keywords=1%2F4%27%27+swivel+flare+nut+x+1%2F4%27%27+barb&qid=1629833752&sr=8-3">https://smile.amazon.com/Swivel-Flare-Nut-Barb/dp/B07F92W7VN/ref=sr_1_3?dchild=1&keywords=1%2F4%27%27+swivel+flare+nut+x+1%2F4%27%27+barb&qid=1629833752&sr=8-3</a></p><p>Quick connect 90 3/8" tube to 3/8" stem: <a href="https://smile.amazon.com/gp/product/B002WDPUFS/ref=ppx_yo_dt_b_search_asin_image?ie=UTF8&psc=1">https://smile.amazon.com/gp/product/B002WDPUFS/ref=ppx_yo_dt_b_search_asin_image?ie=UTF8&psc=1</a></p><p>Printing: I wanted to the cap and clip to have the same look when assembled (i.e. textured bed pattern and layers lines matching both parts) so I opt for standing the cap up and using a little supports in the center hole. It doesn't really need the supports but I find it's a more accurate print with less post processing than without supports. The print labeled with “arrow” is the same as the other but with an arrow for easily lining the clip to the Rate-of-Change bar on the test kit. I print in mostly PETG but I know many people use PLA I added both gcodes. I think since PETG is more forgiving with flexing than PLA it'll be the better material to use. ABS or ASA are also pretty good choices.</p>
With this file you will be able to print Arbiter Mako Sight Tube Clip with your 3D printer. Click on the button and save the file on your computer to work, edit or customize your design. You can also find more 3D designs for printers on Arbiter Mako Sight Tube Clip.
