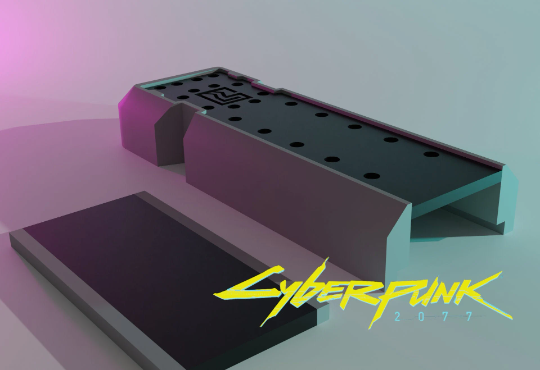
Arasaka Thumbdrive
thingiverse
The dual extrusion folder contains 4 files. There are 2 versions of the USB print. The ones with the Arasaka Logo and one with the Relic logo. There are 2 parts the Black and Silver parts. Merge these 2 files in your slicing software. This is only possible if your printer supports dual extrusion (printing with 2 filaments). You could try to print them seperately but that isn't tested. For non dual extrusion printer there is a folder: single part. This contains both Arasaka and relic logo prints. This prints both parts automatically together without having to merge them. As a bonus we added a keychain version. This is one without a cap but a hole for a keychain/ring. There are two versions so check what would fit the used keychain. for printing: Supports are needed to achieve a hole in the main part, this is where the USB hardware goes. The USB hardware we use is a kingston datatraveller. Link to this item: https://www.amazon.com/Kingston-Digital-DataTraveler-DTSE9H-16GBZET/dp/B00DYQYITG But feel free to use any USB hardware that fits. It is 12.5mm by 5mm by 30mm. This can be enlarged with the blend files (read next part for that) but is quite tricky as the gap will interfere with the USB hole. The USB hole is the bare space a standard USB a port takes. After printing: We usually sand and polish the print for best finish. Furthermore remove the supports and glue in the USB stick. Then you can glue the bottom into the fitting space. The fitting space could need some sanding as it can print rough on some printers. For Tweaking: The Blender files are also included if you want to tweak the design. There is a file without the booleans applied, this way it is easier to change the size of the hole or thickness of the cap. There is also a file where the booleans are applied and everything is a mesh Booleans are used to add or subtract spaces from an object. If not applied it will also export the subtraction mesh to the .stl file. (which is why it is needed to apply them). File thoroughly tested on a Ultimaker 3, with a 0.06mm and 0.1mm height. Print core used was a 0.4 nozzle size. Standard printing is with PLA, if you print with ABS note that it could warp and it will be a little harder to fit the USB in. Happy printing and good luck samurai!
With this file you will be able to print Arasaka Thumbdrive with your 3D printer. Click on the button and save the file on your computer to work, edit or customize your design. You can also find more 3D designs for printers on Arasaka Thumbdrive.
