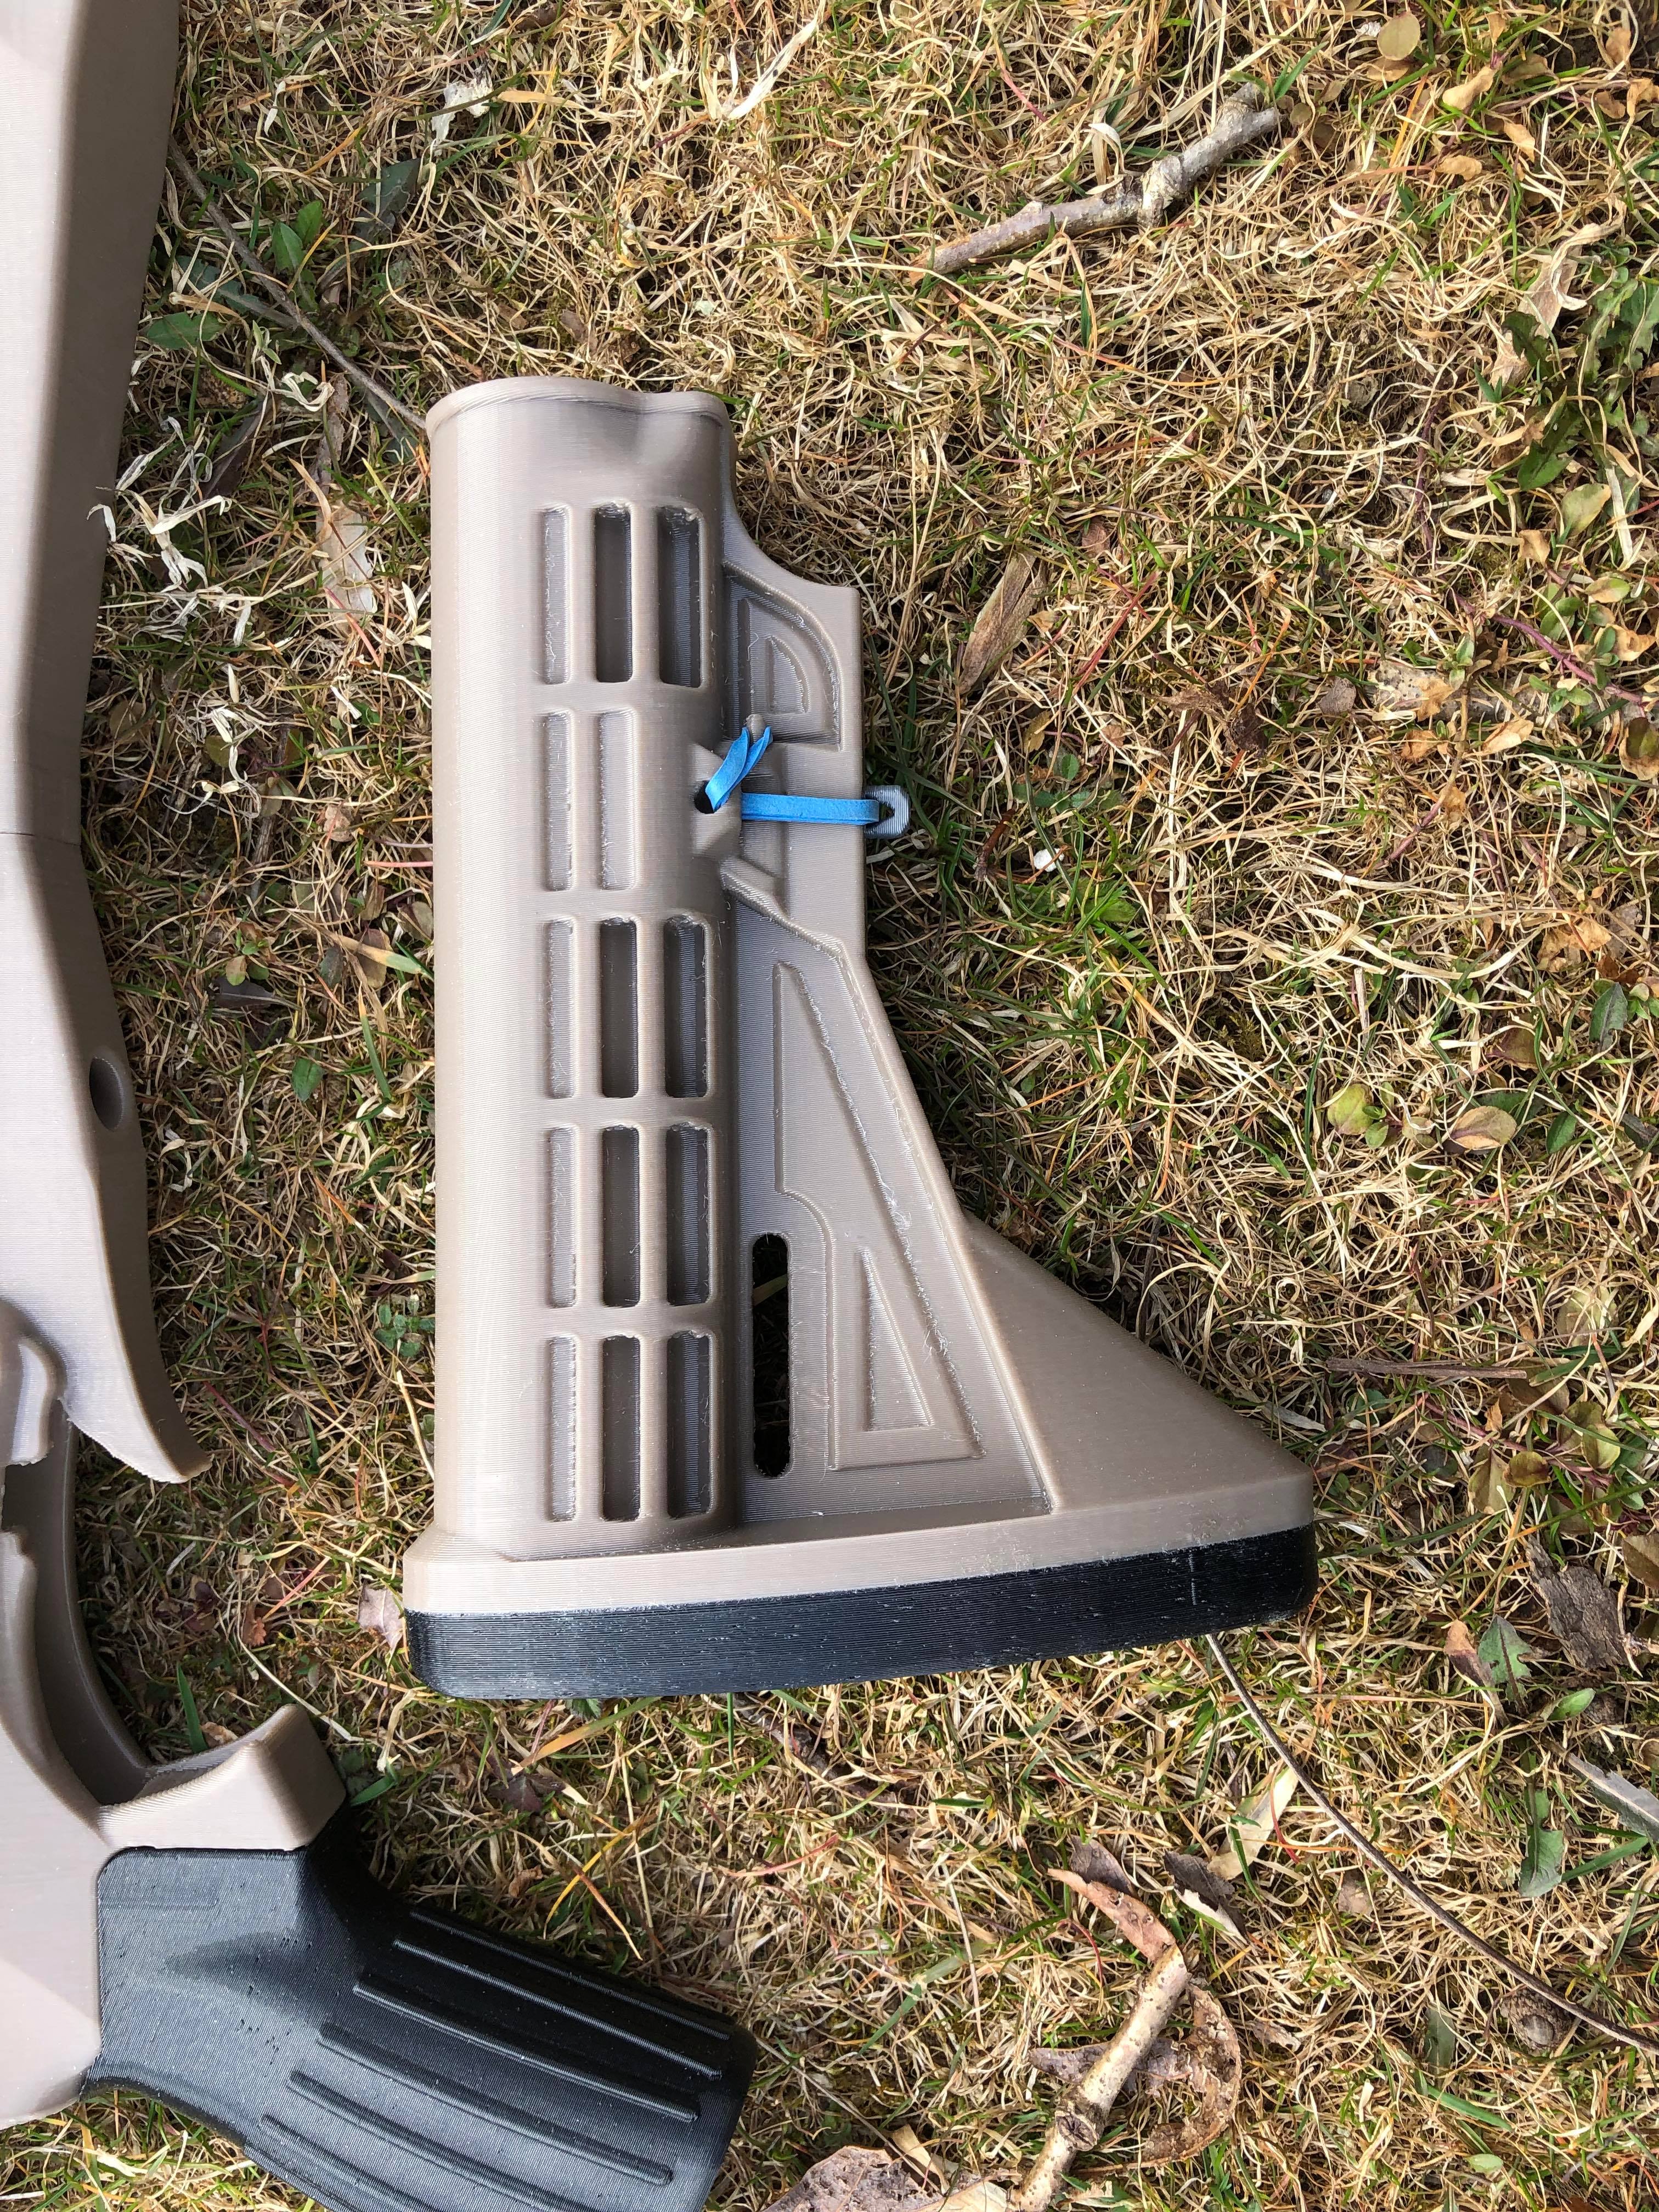
AR Style Adjustable Butt Stock
prusaprinters
<p>I was looking for a fully 3D printed AR style butt stock, but couldn't find a decent option that I liked. So, I designed this one. I hope you like it. </p><p>It fits on a standard mil-spec buffer tube, and it also fits on my own designed buffer tube (yet to be released). </p><p>The “TPU Butt Pad”, as the name suggests, I like to print from TPU. You don't have to, of course. It's just softer than PLA or PETG. I use two perimeters and only 5% gyroid infill to make it as soft as possible. I have tried using variable layer heights to smooth out the edges, but that does make it a little stiffer. </p><p><i><strong>Details</strong></i><br><strong>Supports</strong>: Not needed<br><strong>Nozzle</strong>: I print these with a .6 nozzle, but I'm sure a .4 nozzle would work just fine. Time should be the main difference, and the buffer tube may fit a little looser with a smaller nozzle.<br><strong>Material</strong>: I have printed this from PLA and PETG so far with great results. Pictured is the <a href="https://www.amazon.com/Paramount-3D-Military-Filament-GBRL10197530G/dp/B01LXXBVL7/ref=sr_1_3?crid=14T4K4V9NFP14&keywords=fde+petg&qid=1648292164&sprefix=fde+petg%2Caps%2C158&sr=8-3">FDE PETG</a> filament, with <a href="https://www.amazon.com/Overture-Filament-Flexible-Consumables-Dimensional/dp/B07VDP2S3P/ref=sr_1_3?crid=14SYK0QKDHORR&keywords=tpu+plus&qid=1648292221&sprefix=tpu+plu%2Caps%2C155&sr=8-3">TPU </a>for the butt pad. <br><strong>Layer Height</strong>: I typically print this with a .3mm layer height. <br><strong>Perimeters</strong>/<strong>Infill</strong>: Doesn't really matter, but I typically print with 2-3 perimeters and 15-20% gyroid infill. <br><strong>Printing Temps</strong>: I use the recommended temps from the manufacture. <br><strong>Printing Orientation</strong>: You'll need to adjust the angle of the parts to ensure you have the correct plane on bottom. The butt pad and locking pin should be correct, but the main stock is at an angle that needs to be fixed in the slicer.</p><p><strong>Assembly</strong><br>I run a drill bit through the locking pin hole on the main stock. The drill bit diameter is 8.3mm or .327" or 21/64". A 5/16" drill bit should work as well. Instead of using a drill bit, you could chuck the locking pin into a drill and spin it with some sandpaper on it until it fits well. </p><p>Once you have the parts printed, you'll need to put them together. There are indexing holes to line up the two main parts, the main stock and butt pad. The holes are designed to be 2.45mm in diameter, and should fit a short length of an old metal clothes hanger. It may take some persuasion, but it should fit. Heat up the clothes hanger and push in with pliers if you need to. Have the metal indexes in the butt pad portion before you start the glue up. I glue the two halves together with JB Weld's <a href="https://www.amazon.com/J-B-Weld-50240-ClearWeld-Professional/dp/B07D1PP22T/ref=sr_1_6?crid=2HZYF8716G66W&keywords=jb+weld+clearweld+epoxy&qid=1648290189&sprefix=jb+weld+clearweld+epoxy%2Caps%2C394&sr=8-6">ClearWeld </a>two part epoxy, and use a lot of rubber bands to hold the two halves together while they dry. I keep several small portions of paper towel on hand with a bottle of isopropyl alcohol and I clean up the excess glue as I'm going. It's import to clean up the glue that is squished out so you don't glue the rubber bands to the stock, not fun to clean up and doesn't look good when you're done. </p><p>As for the rubber band, just look the pictures and you'll see how it attaches. Use a small pick to push it through the holes. </p><p> </p><p>I hope you enjoy the design and God bless!</p>
With this file you will be able to print AR Style Adjustable Butt Stock with your 3D printer. Click on the button and save the file on your computer to work, edit or customize your design. You can also find more 3D designs for printers on AR Style Adjustable Butt Stock.
