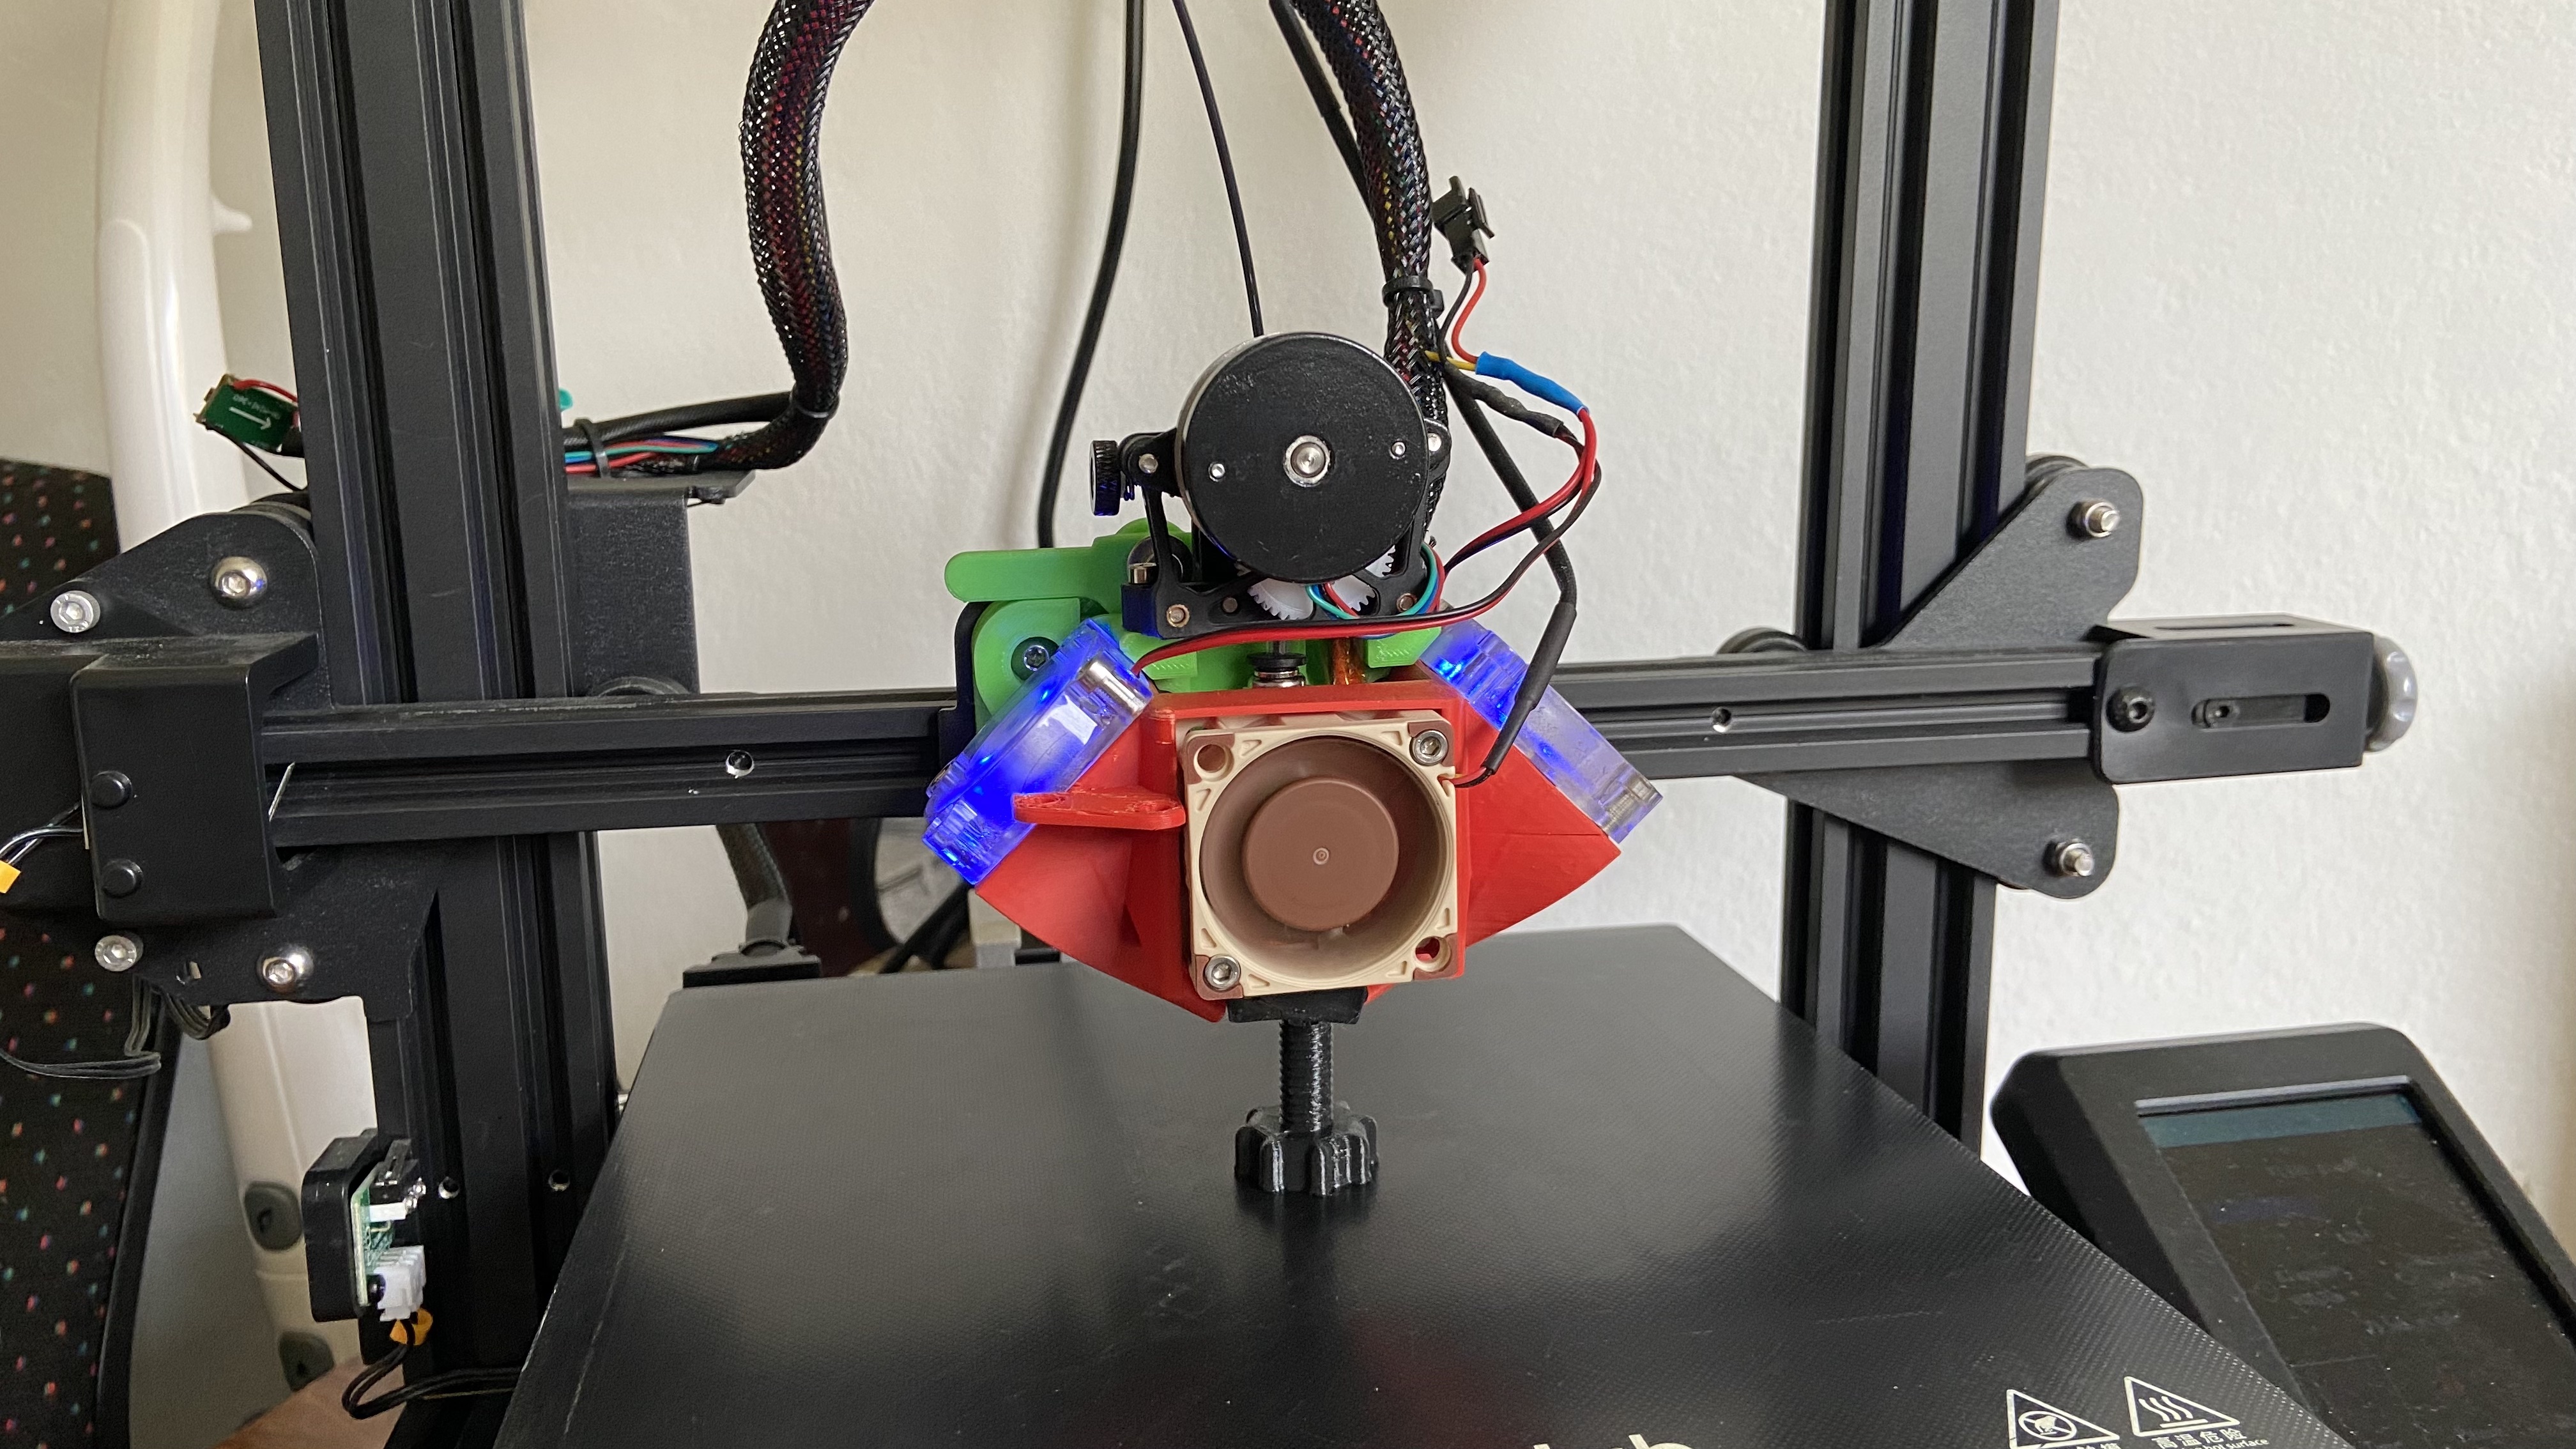
Aquila quick tool change with magnetic cooling shroud
prusaprinters
<p><strong>Update 9.8.2022</strong> </p><p>Printed a Y axis limit switch holder (STL aded) in order to adjust the bed position to new hotend position. The original stepper motor cover/end switch mount must be cut on bottom side in order to clear the new end switch position.</p><p> </p><p> </p><p>I found on Propper Printing Youtube channel and Desktop Inventions some great ideas for upgrades on my Aquila. So i decided to modify and fit them.</p><p>I adopted the Multitool made for the ender 3 by Proper pinting to fit on Aquilla. </p><figure class="media"><oembed url="https://www.youtube.com/watch?v=oK3877cbBeM"></oembed></figure><p>I made the tolerances for the locking lever and the chanel for the back plate of hot end and extruder tighter - the locking lever moves hard which means the tool is held much more firmly- I sugest using a bit of lubricant durring assembly of the lever. All parts are made thin as possible to reduce the los of print volume. </p><p>Remodified the tool bracket for standard hot end to fit Sherpa mini to convert Aquilla to direct drive. </p><p>Then I modified the magnetic cooling duct made by Desktop Inventions to fit on new hot end back plate. Alos he tested Noctua and stock creality blowers - I recomend seeing that video.</p><figure class="media"><oembed url="https://www.youtube.com/watch?v=QZxzuuN2Lyk&t=618s"></oembed></figure><p>The height of BL touch needed to be modified to fit on Aquilla. Also remade the mounting for the hot end cooling fan. Now it is possible to use 4010 or 4020 cooling fan - original was only 4010. With magnetic foixation it is quite easy to remove the cooling fan when acces to hot end is needed.</p><p>For ender 3 they needed to do some adjustments for the y axis limit switch which is not neccessary for the Aquilla. The switch worx as is. </p><p> </p><p>It worx great but i decided to upgrade current design even further:</p><p>- uze the D sub connector. So the wiring from the removed tool will detach automaticly. </p><p>- relocating BL touch probe to the fixed mounting plate. it does not need to detach from the tool. Perhaps even redesigning the touch probe to use other sensor than BL touch.</p><p> </p><p> </p>
With this file you will be able to print Aquila quick tool change with magnetic cooling shroud with your 3D printer. Click on the button and save the file on your computer to work, edit or customize your design. You can also find more 3D designs for printers on Aquila quick tool change with magnetic cooling shroud.
