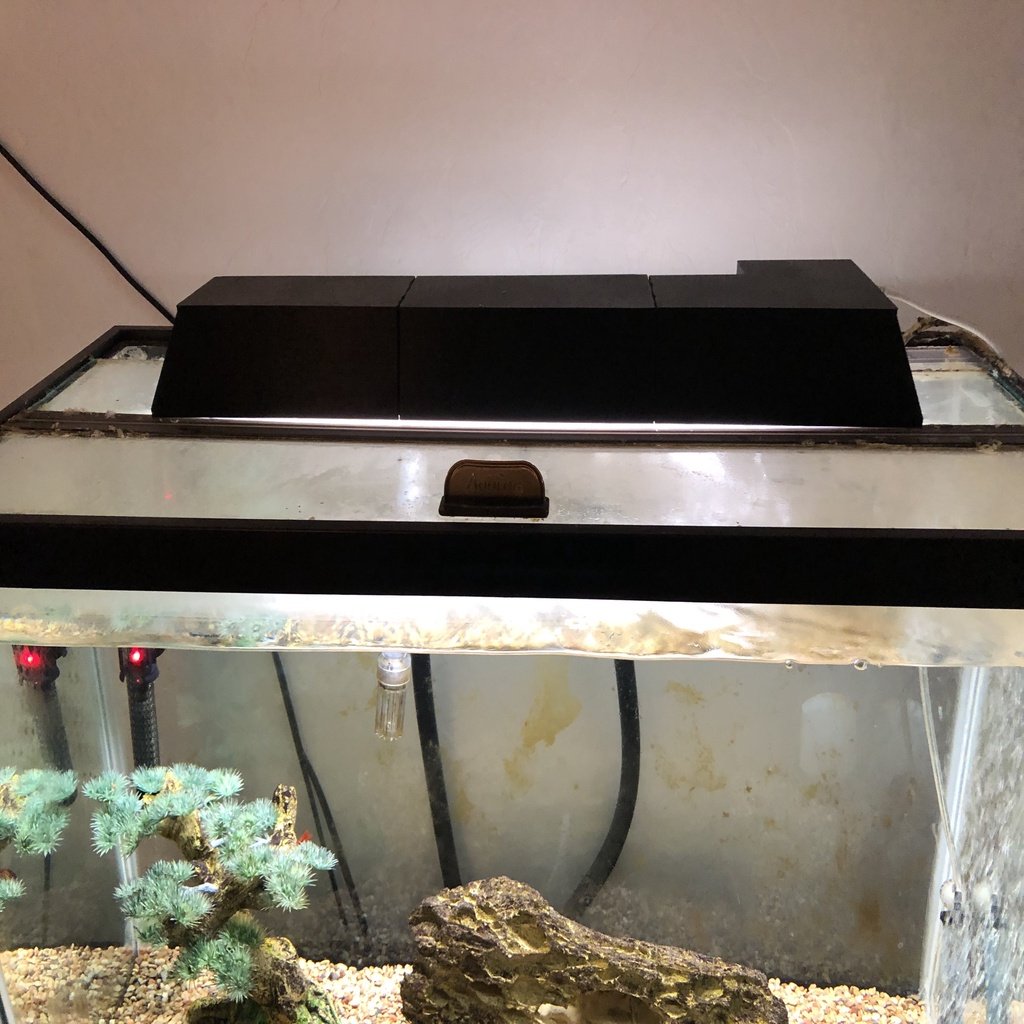
Aquarium Smart Light
thingiverse
Salt creep destroyed my aquarium light, prompting me to buy a new one and discover that under cabinet lighting is virtually identical! For live plants, however, the spectrum matters significantly, so proceed with caution. I found a super cheap under cabinet light from Sylvania smart lighting that perfectly suits my 29-gallon aquarium. Initially, I placed it on top of the glass but disliked the look, leading me to design a cover for the light. I printed it in three pieces using my Prusa mk3s and then "welded" the parts together with a 3D printing pen from inside. The full STL is included for anyone with a massive printer or who wants to remix it! Three of these lights can be strung together with one controller, making it suitable for up to a 100-gallon aquarium. Note: This Z-wave light requires a wireless controller, whether it's SmartThings, Amazon Alexa, or Sylvania's own hub. Bill of materials: * Sylvania smart light: https://www.amazon.com/gp/product/B01M7NFPO7/ref=ppx_yo_dt_b_asin_title_o03_s00?ie=UTF8&psc=1 * M3x5 screws (any countersunk m3x5mm screws will work): https://www.amazon.com/gp/product/B07HC3LQYS/ref=ppx_yo_dt_b_asin_title_o00_s00?ie=UTF8&psc=1 Build instructions: 1. Assemble the different parts using glue, welding, or 3D gloop. 2. Screw the clips into the holes on the 3D printed parts. 3. Remove adhesive from the controller and stick it inside the cutout so that the DC jack lines up with the hole in the part. 4. Clip the light into the clips; they are very flexible, allowing you to push hard and they will clip in. 5. Plug the micro USB into the light and then plug it into power and follow the set-up instructions for Sylvania.
With this file you will be able to print Aquarium Smart Light with your 3D printer. Click on the button and save the file on your computer to work, edit or customize your design. You can also find more 3D designs for printers on Aquarium Smart Light.
