Aquarium Hood LED Light Conversion
thingiverse
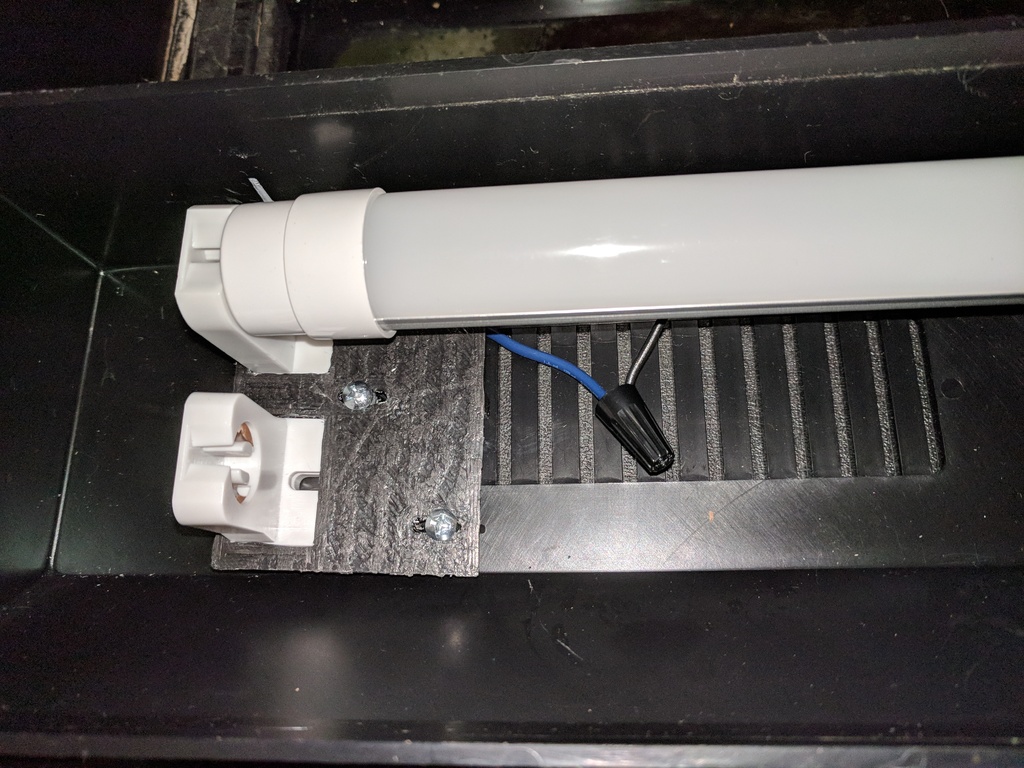
I had problems with my PETSMART 17-3/4" Bulb fluorescent light hoods where the bulbs would burn out quickly and since there was only one light per hood, it wasn't enough to properly cover the plants inside the aquarium. After one of the ballasts burned out, I gave up on the fluorescent setup and decided it was best to invest in LED lights and parts so that I wouldn't have to constantly replace bulbs and drivers in the future. Now my tank looks bright and the plants look like they're finally growing healthily. Remove the internal components from the hoods and take off the plastic parts on the sides, fins, and screw collar. Leave all of the screw collars on the bottom/top of the hoods and keep the screws to reuse them with these new pieces. Print one set of left and right parts. Use the existing two fluorescent sockets from each hood along with the two new parts purchased. The light sockets press fit into the printed parts and are held down by the reused screws. Wire up the sockets using the existing wire as shown in the wiring diagram provided with the bulbs. Make sure you do this correctly or else you'll end up buying a new bulb or two. I've included my GCODE as a reference, so let me know if you like it. I bought two of these from Ebay: G13 T8 Fluorescent & LED Tube Lamp UL Holder Socket Fittings AC100-660V.
With this file you will be able to print Aquarium Hood LED Light Conversion with your 3D printer. Click on the button and save the file on your computer to work, edit or customize your design. You can also find more 3D designs for printers on Aquarium Hood LED Light Conversion.
