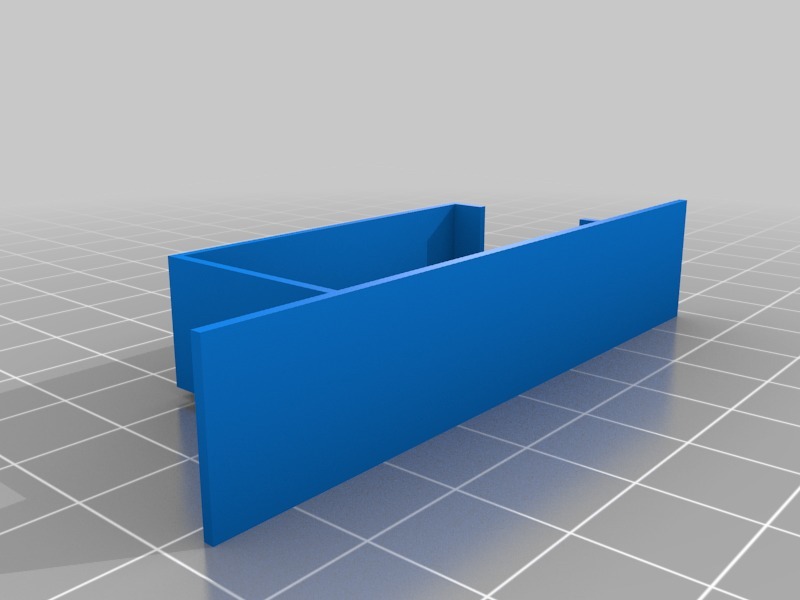
Aqara Sensor Flush Door Housing
thingiverse
Mounting an Aqara door sensor on a wooden door requires careful planning and execution. Begin by examining the door's surface for any obstacles or imperfections that may interfere with the sensor's functionality. Next, choose a location on the door that is far enough from the lock to avoid triggering false alerts due to vibrations caused by locking or unlocking the door. Mark this spot with a pencil to serve as a reference point during installation. To create a hole for the sensor, use a drill bit slightly smaller than the diameter of the sensor's mounting bracket. Drill slowly and carefully through the marked spot, applying gentle pressure to avoid damaging the surrounding wood. Once the hole is complete, insert the mounting bracket into the hole and screw it into place using the provided screws. Finally, attach the Aqara door sensor to the mounting bracket by sliding it onto the bracket's attachment point and securing it with the included adhesive strip or screws. Ensure that the sensor is level and secure before testing its functionality.
With this file you will be able to print Aqara Sensor Flush Door Housing with your 3D printer. Click on the button and save the file on your computer to work, edit or customize your design. You can also find more 3D designs for printers on Aqara Sensor Flush Door Housing.
