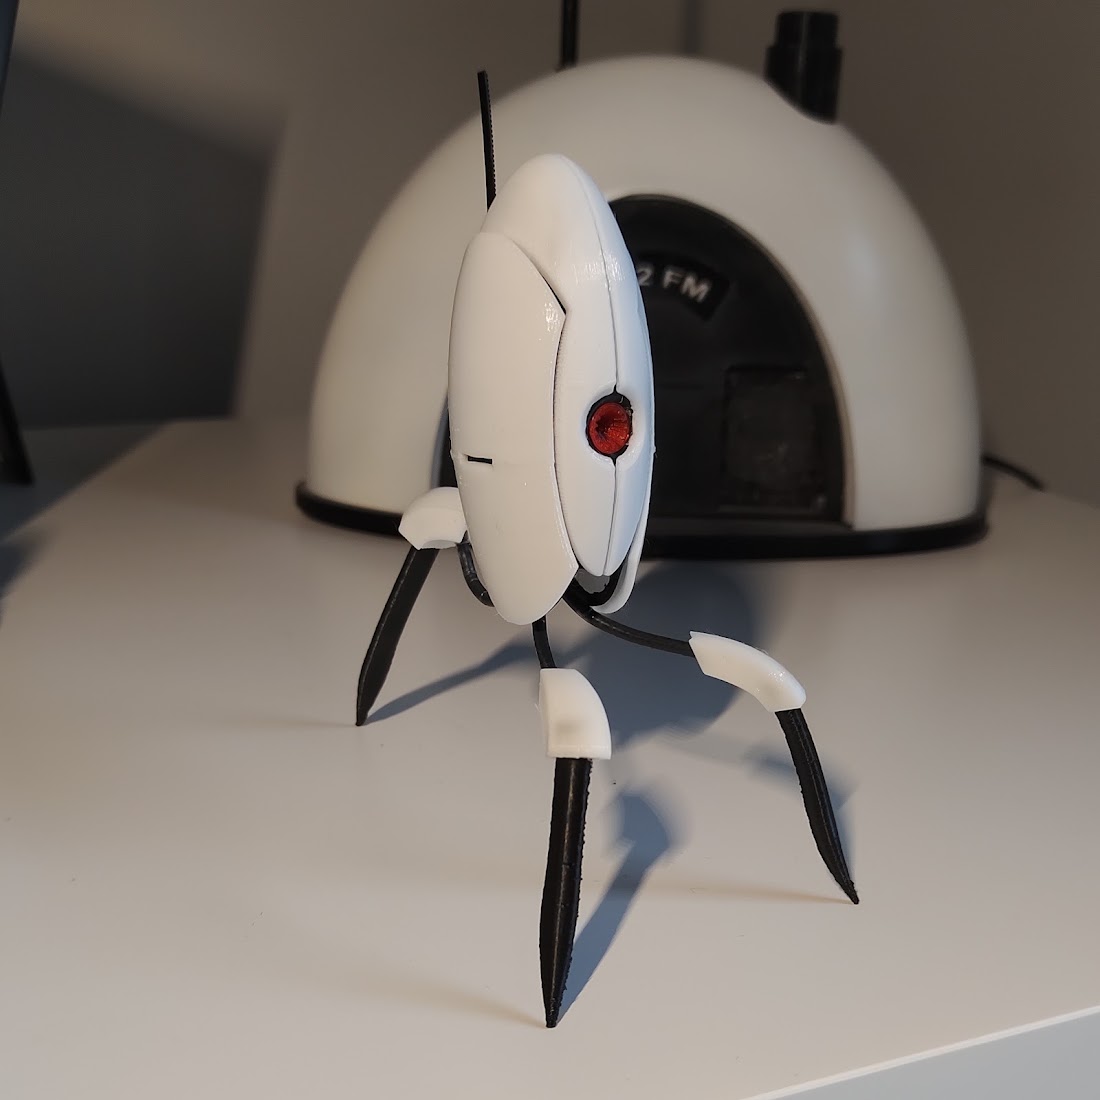
Aperture Science Sentry Turret
prusaprinters
<p>Modelled as closely to the original as I could, while optimizing for printing. Arms open & close.</p><p> </p><h3>PLEASE READ:</h3><p>You will need a small length of sturdy wire to attach the legs, unless you are printing the solid resin version. I used the black wire out of a piece of romex (the kind of wire in your house's walls). </p><p>My print settings</p><p>black-parts.stl - .2mm (or better) - 15% infill - no supports - no bed adhesion<br>Heads-up: this will be a bit of a stringing torture test. Use a lighter to melt away strings.</p><p>white-parts.stl - .2mm (or better) - 100% infill - no supports - no bed adhesion</p><p>white-raft.stl - .2mm (or better) - 100% infill - tree or regular supports - raft</p><p>red-eye.stl - .2mm (or better) - 100% infill - no support or bed adhesion</p><p>Assembly</p><p>Super glue the halfs of the white arm covers together, and the halfs of the black inner gun pods together to make single pieces.</p><p>Insert the pin through one gun pod, body, and then other gun pod. If the pin won't slide through, you may need to drill the holes slightly or adjust tolerances. Use the small washer to secure the other end of the pin. Glue washer in place.</p><p>Super glue white arm covers to the gun pods, making sure they line up well</p><p>Super glue black legs into white leg pieces</p><p>Grab a piece of 16 gauge house wiring. Pull out the black covered wire and snip 3 pieces. Insert into the legs and bottom of the body, and add drops of super glue.</p><p>Cut a short piece of black filament and glue as the antennae.</p><p>Push eye into place, glue if needed.</p><p>The cake is a lie</p>
With this file you will be able to print Aperture Science Sentry Turret with your 3D printer. Click on the button and save the file on your computer to work, edit or customize your design. You can also find more 3D designs for printers on Aperture Science Sentry Turret.
