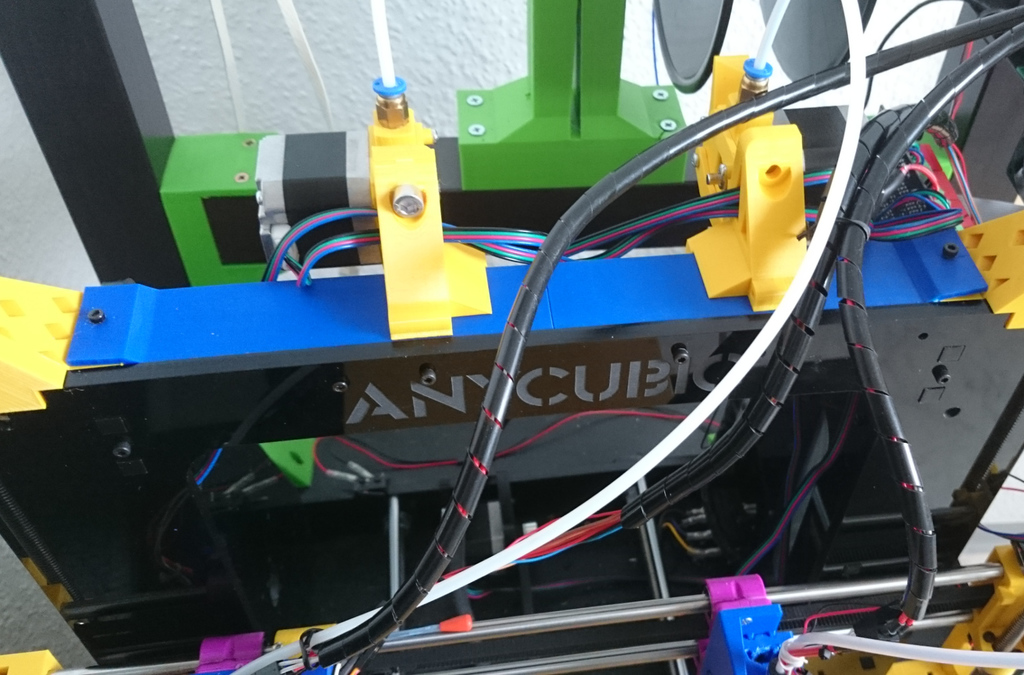
Anycubic Prusa i3 Acrylic top strengthening
thingiverse
Strengthening the top of the Anycubic Prusa i3 Acrylic Print both parts separately and assemble them by sliding one into the other. Remove the screws from the top of your printer, left and right. Next, place the parts onto the top of your Anycubic I3 acrylic and secure them with leftover screws from the kit for testing purposes. If everything fits together smoothly, disassemble the parts again and apply glue to the sliding surfaces on both sides, but only between the left and right sections. Reassemble the parts and secure them once more with screws. Allow the glue to harden completely before using the strengthened top. This modification should significantly enhance stability while still allowing for easy removal. I use mine as a platform for my bowden stepper motors.
With this file you will be able to print Anycubic Prusa i3 Acrylic top strengthening with your 3D printer. Click on the button and save the file on your computer to work, edit or customize your design. You can also find more 3D designs for printers on Anycubic Prusa i3 Acrylic top strengthening.
